


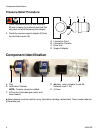


Operation
12 3A0415D
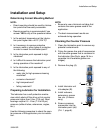
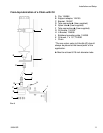
Installing Lubricator to
Lubrication Point
1. Clean the lubrication point to remove any
potential contaminants.
2. Verify the thread of the lubricator corre-
sponds to the thread of the screw point.
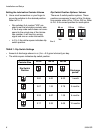
3. Verify Dip Switches are correctly set. See
Table 1, page 8.
4. Prime the grease line and all accessories
with the same grease that is contained in
the lubricator (See Parts, page 16 for a
complete list of available grease car-
tridges).
5. Install reducers, extensions, grease line,
etc. (if necessary).
6. Place drive unit on top of new lubrication
canister until the teeth of both pieces are
locked.
7. Screw the cover of the drive unit onto the
lubrication canister - hand tighten only.
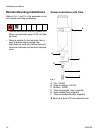
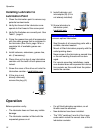
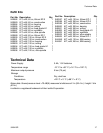
8. (If the plug is not
already removed),
remove the plug (A).
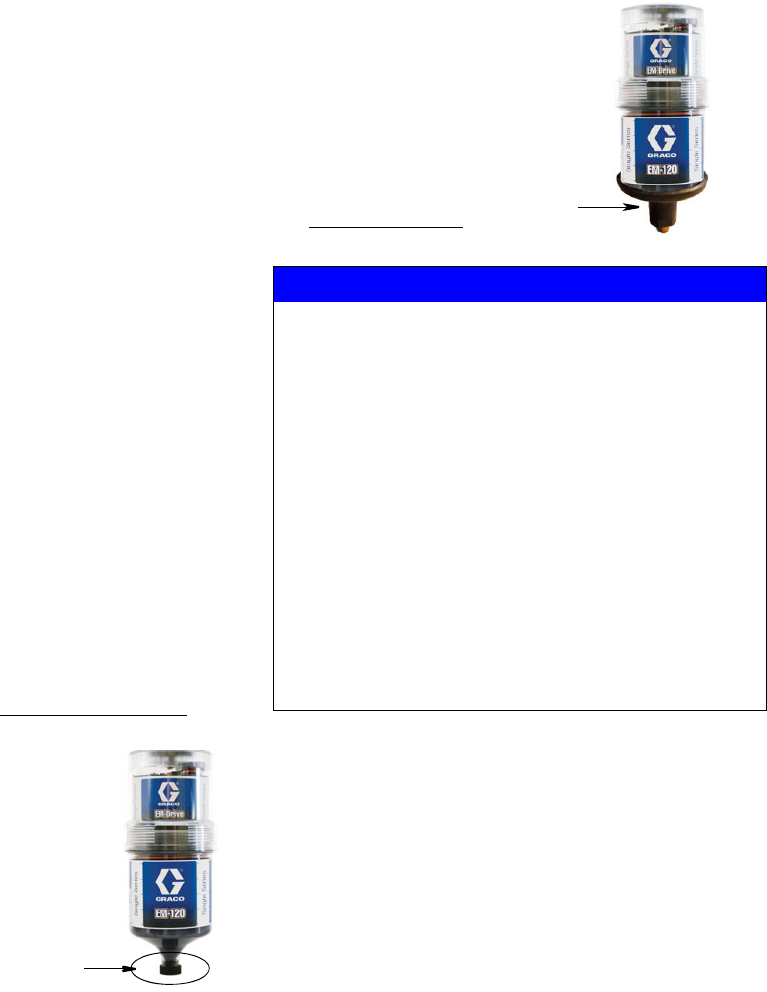
9. Install lubricator unit
into adapter (B) (if it is
not already installed).
10.Screw lubricator to
lubrication point,
hand tight only.
Operation
Before operation verify:
• The lubricator does not have any visible
damage.
• The lubricator canister is filled with the
requested grease or oil.
• For oil filled lubrication canisters, an oil
throttle must be attached.
• New batteries have been installed.
• The “VOL” switches 3 and 4 of the 4-way
code switch match the correct size of the
lubrication canister.
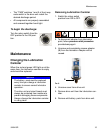
A
NOTICE
To ensure optimal lubrication:
• Seal threads of all connecting parts with a
suitable, standard sealant.
• Mount oil filled lubricators properly with the
outlet pointing down.
• Never screw in the lubricator a second time
or the self-sealing threads will be dam-
aged.
• For remote mounting installations, make
sure bracket does not squeeze the lubrica-
tion canister as this could block the piston
inside the canister.
B