Traffic/Security Filters (HP ProCurve Series 2600/2600-PWR and 2800 Switches)
Using Source-Port Filters
Configuring a Filter on a Port Trunk. This operation uses the same com-
mand as that used for configuring a filter on an individual port. However, the
configuration process requires two steps:
1. Configure the port trunk.
2. Configure a filter on the port trunk by using the trunk name (trk1, trk2,
...trk6) instead of a port name.
For example, to create a filter on port trunk 1 to drop traffic received inbound
for trunk 2 and ports 10-15:
HPswitch(config)# filter source-port trk1 drop trk2,10-15
Note that if you first configure a filter on a port and then later add the port to
a trunk, the port remains configured for filtering but the filtering action will
be suspended while the port is a member of the trunk. That is, the trunk does
not adopt filtering from the port configuration. You must still explicitly con-
figure the filter on the port trunk. If you use the show filter < index > command
for a filter created before the related source port was added to a trunk, the
port number appears between asterisks (
* ), indicating that the filter action
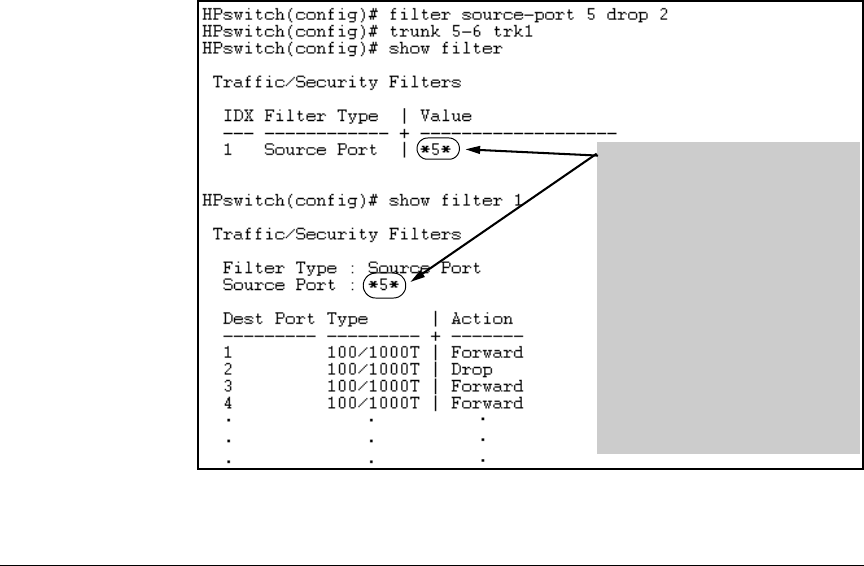
has been suspended for that filter. For example, if you create a filter on port
5, then create a trunk with ports 5 and 6, and display the results, you would
see the following:
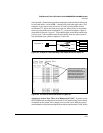
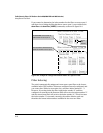
The *5* shows that port 5 is
configured for filtering, but the
filtering action has been suspended
while the port is a member of a trunk.
If you want the trunk to which port 5
belongs to filter traffic, then you must
explicitly configure filtering on the
trunk.
Note: If you configure an existing
trunk for filtering and later add
another port to the trunk, the switch
will apply the filter to all traffic moving
on any link in the trunk. If you remove
a port from the trunk it returns to the
configuration it had before it was
added to the trunk
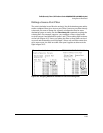
Figure 10-3. Example of Switch Response to Adding a Filtered Source Port to a
Trunk
10-6


