Removal and replacement procedures 44
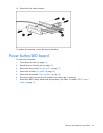
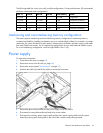
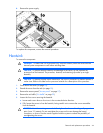
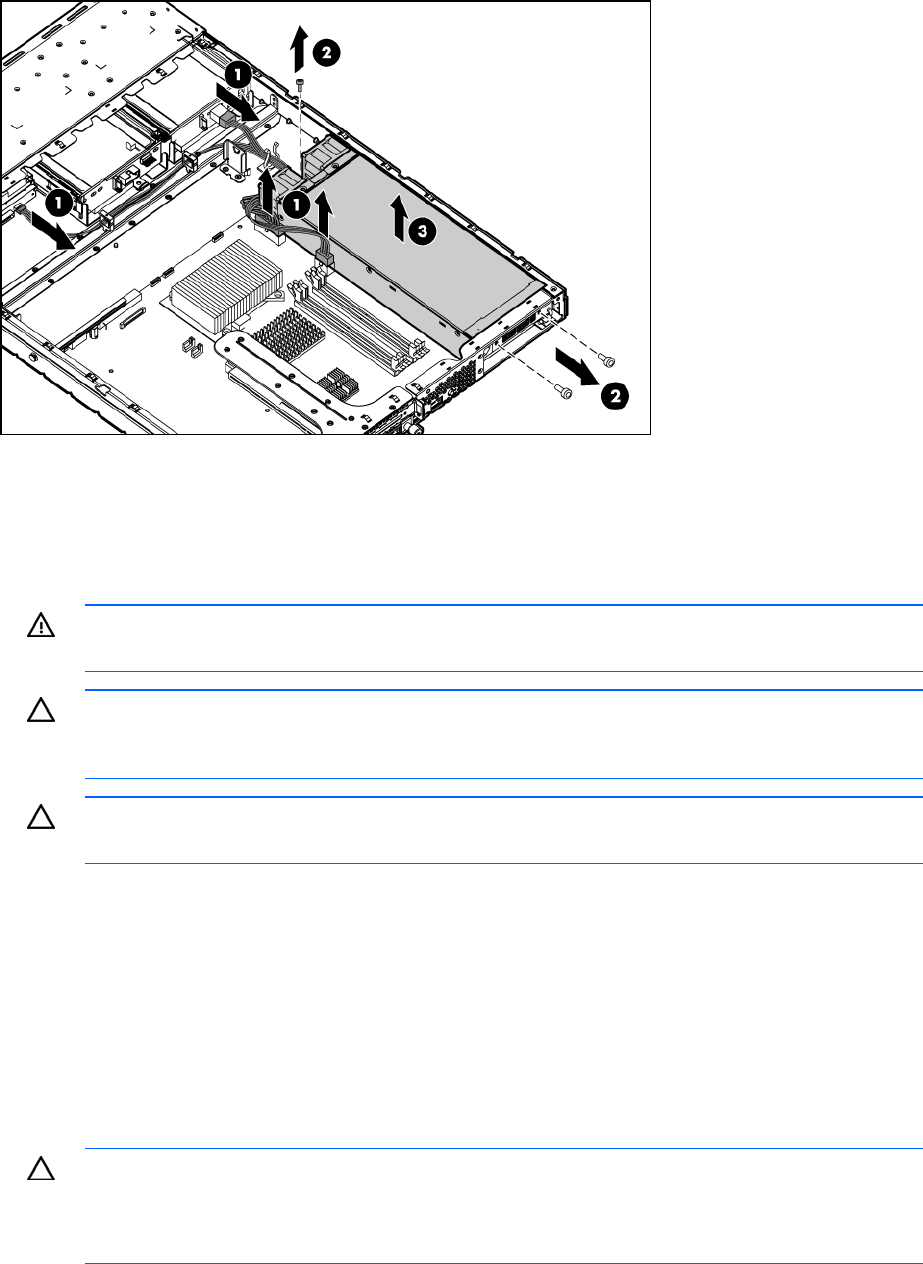
8. Remove the power supply.
To replace the component, reverse the removal procedure.
Heatsink
To remove the component:
WARNING: To reduce the risk of personal injury from hot surfaces, allow the drives and the
internal system components to cool before touching them.
CAUTION: To prevent thermal instability and damage to the server, do not separate the
processor from the heatsink. The processor, heatsink, and retaining clip make up a single
assembly.
CAUTION: To prevent possible server malfunction, do not mix processors of different speeds or
cache sizes. Refer to the label on the processor heatsink for a description of the processor.
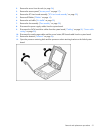
1. Power down the server (on page 26).
2. Extend the server from the rack (on page 25).
3. Remove the access panel ("Access panel" on page 27).
4. Remove the air baffle ("Air baffle" on page 29).
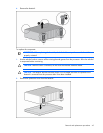
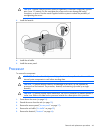
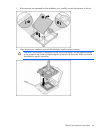
5. Loosen the four screws securing the heatsink.
a. Loosen each screw three or four turns in the counterclockwise direction.
b. Fully loosen the screws to free the heatsink, being careful not to remove the screw assemblies
from the heatsink.
CAUTION: Heatsink retaining screws should be tightened or loosened in diagonally opposite
pairs (in an "X" pattern). Do not overtighten the screws as this can damage the board,
connectors, or screws. Use the wrench supplied with the system to reduce the possibility of
overtightening the screws.


