


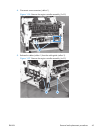
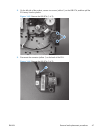
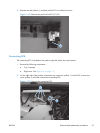

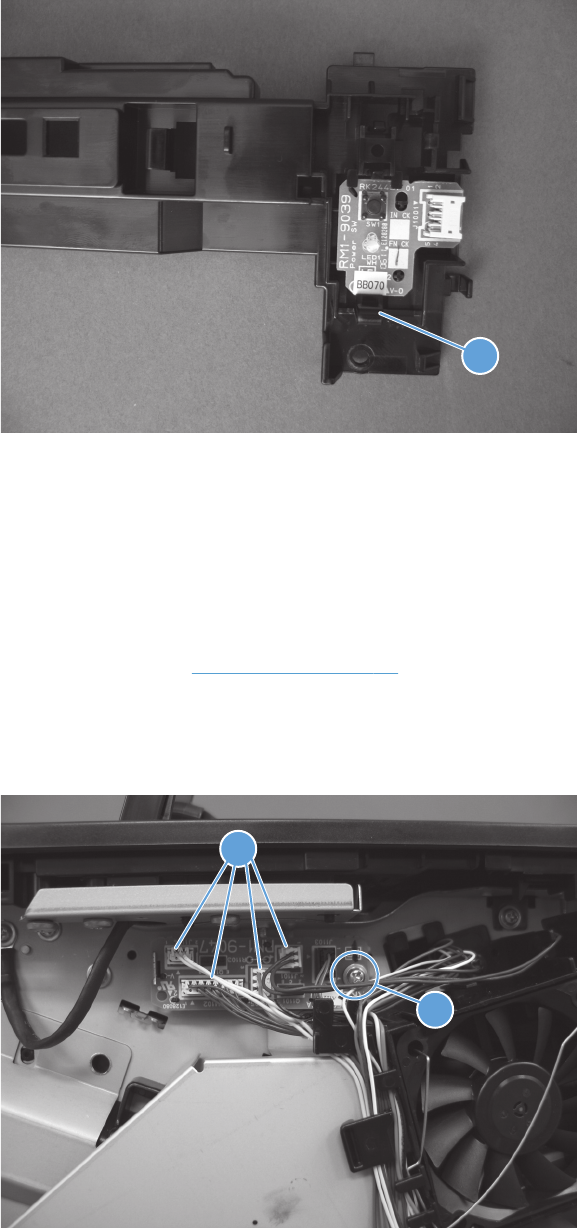
4. Release one tab (callout 1), and then pull the PCA out of the front cover.
Figure 1-69 Remove the power-switch PCA (3 of 3)
1
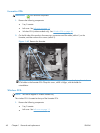
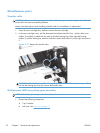
Connecting PCA
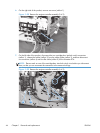
The connecting PCA is located on the product right side, below the control panel.
1. Remove the following components:
●
Tray 2 cassette
●
Right cover. See
Right cover on page 12.
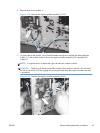
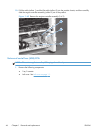
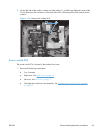
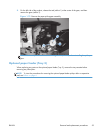
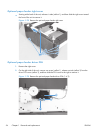
2. On the right side of the product, disconnect any connectors (callout 1) on the PCA, remove one
screw (callout 2), and then remove the connecting PCA.
Figure 1-70 Remove the connecting PCA
2
1
ENWW
Removal and replacement procedures
51