


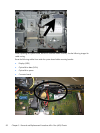
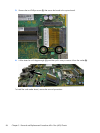
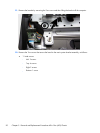
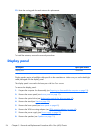
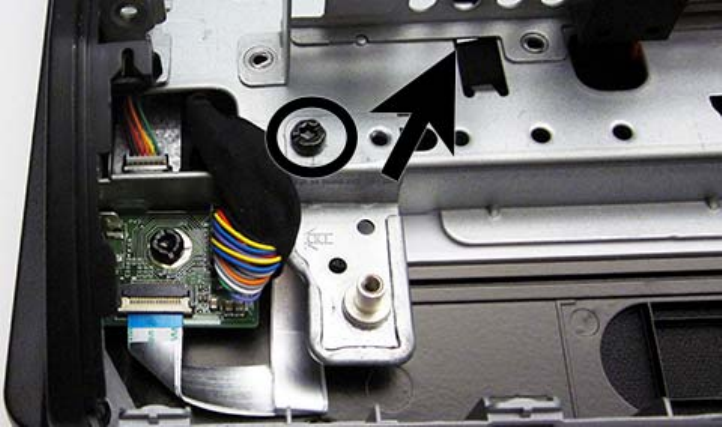
11. Remove the bracket by removing the Torx screw and then lifting the bracket off the computer.
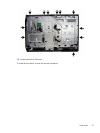
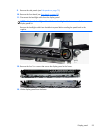
12. Remove the Torx screws that secure the bezel to the main system bracket assembly, as follows:
●
11 total screws
◦
Left: 2 screws
◦
Top: 6 screws
◦
Right 2 screws
◦
Bottom: 1 screw
90 Chapter 5 Removal and Replacement Procedures All-in One (AIO) Chassis