


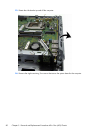
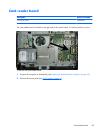
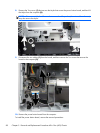
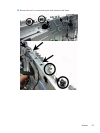
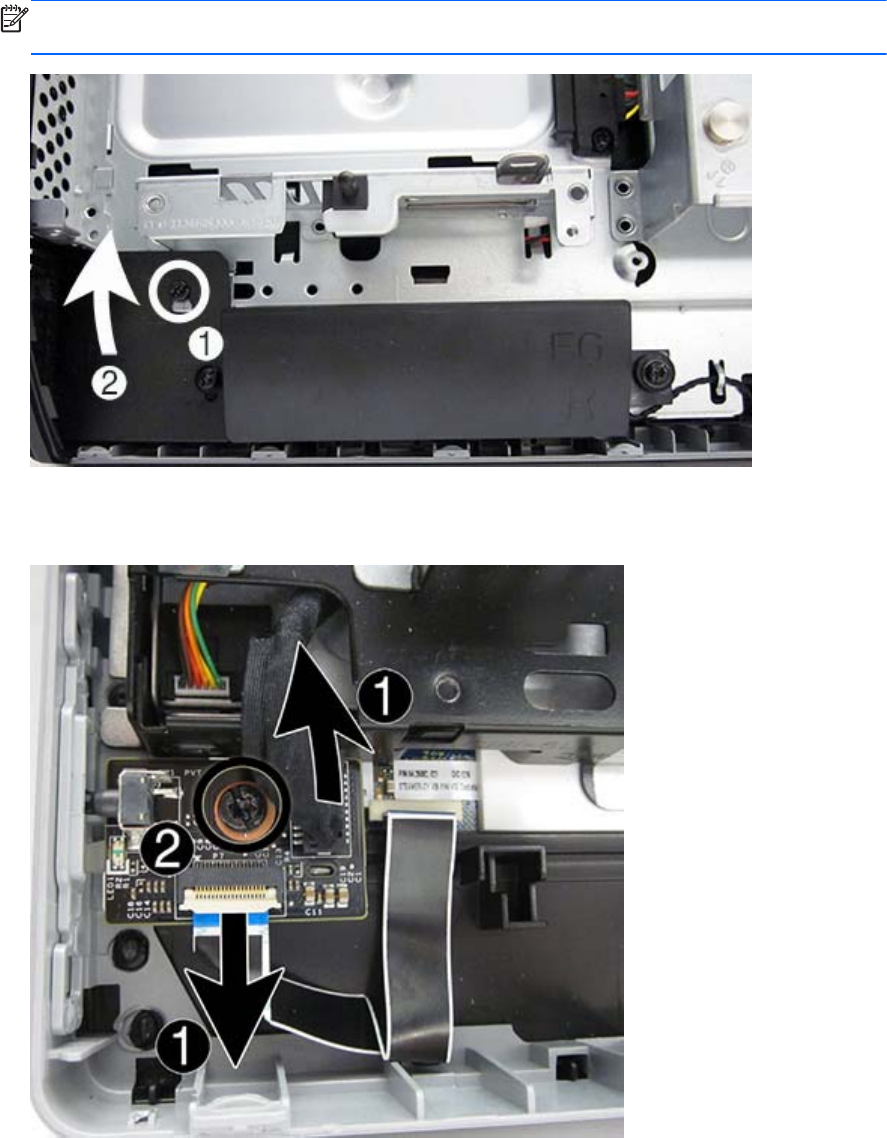
8. Remove the Torx screw (1) that secures the Mylar that covers the power button board, and then lift
the Mylar from the computer (2).
NOTE: On some models, the left screw that secures the left speaker (when viewed from the rear)
may also secure the Mylar.
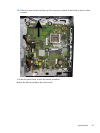
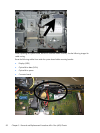
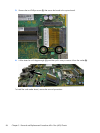
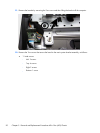
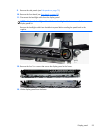
9. Disconnect the two cables (1) from the board, and then remove the Torx screw that secures the
board to the computer (2).
10. Remove the power button board from the computer.
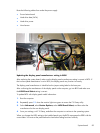
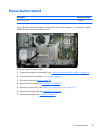
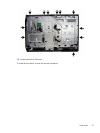
To install the power button board, reverse the removal procedures.
88 Chapter 5 Removal and Replacement Procedures All-in One (AIO) Chassis