


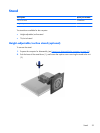
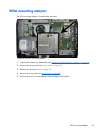
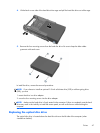
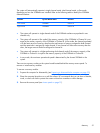

4. Lift the latch on one side of the hard disc drive cage and pull the hard disc drive out of the cage.
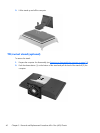
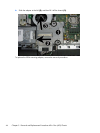
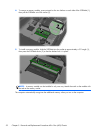
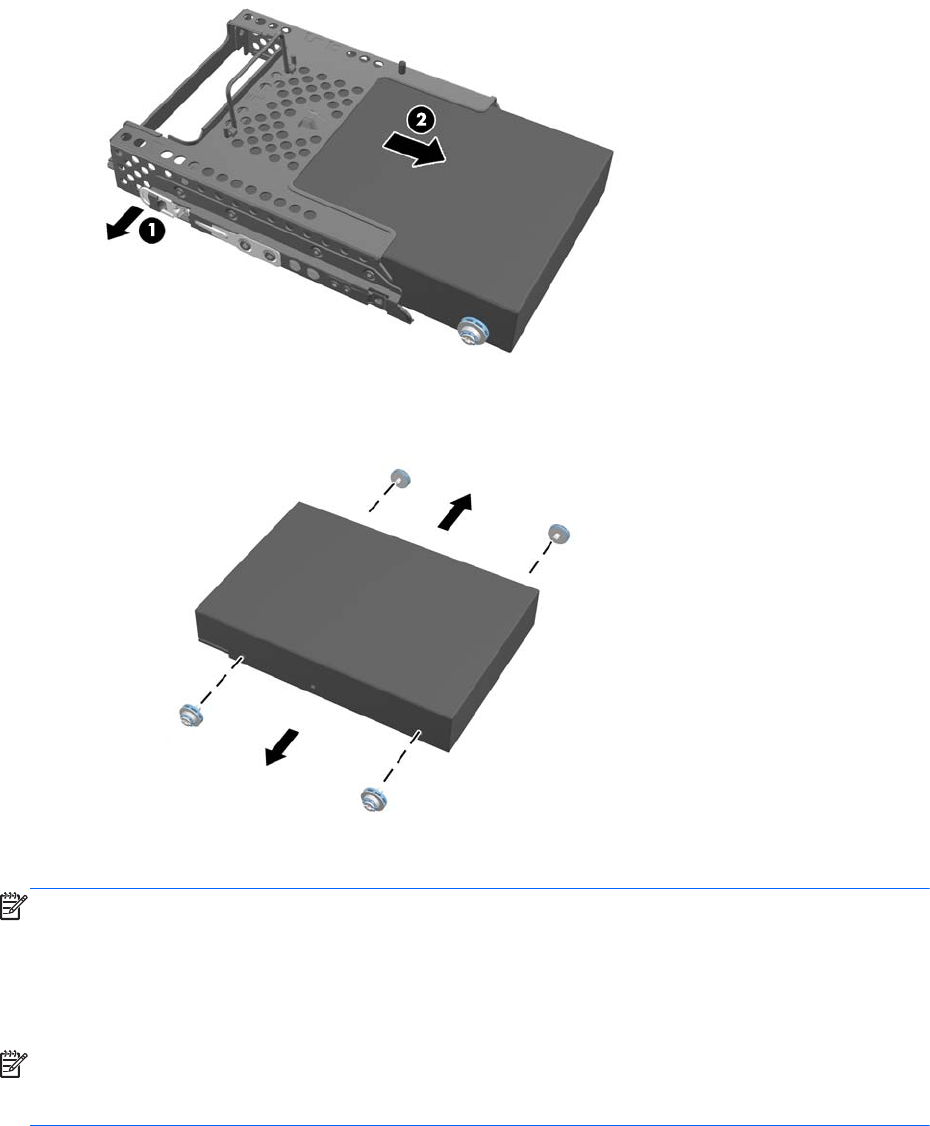
5. Remove the four mounting screws from the hard disc drive. Be sure to keep the blue rubber
grommets with each screw.
In install the drive, reverse the removal procedures.
NOTE: If you choose to install an optional 2.5-inch solid state drive (SSD) or self-encrypting drive
(SED), you must
1. mount the drive in a drive adapter
2. screw the four mounting screws into the drive adapter
NOTE: Make sure the hard drive is firmly seated in the connector. Failure to completely seat the hard
drive may result in the inability to install the access panel, as well as disk errors when booting the
computer.
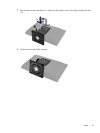
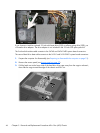
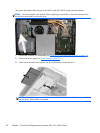
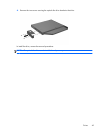
Replacing the optical disc drive
The optical disc drive is located above the hard disc drive on the left side of the computer (when
viewed from behind).
Drives
47