Scanner Assembly Removal
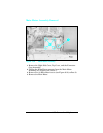
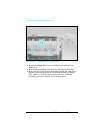
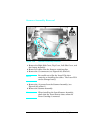
1 Remove the Right Side Cover, Top Cover, Left Side Cover, and
the Output Assembly.
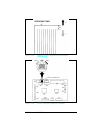
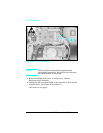
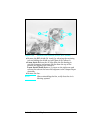
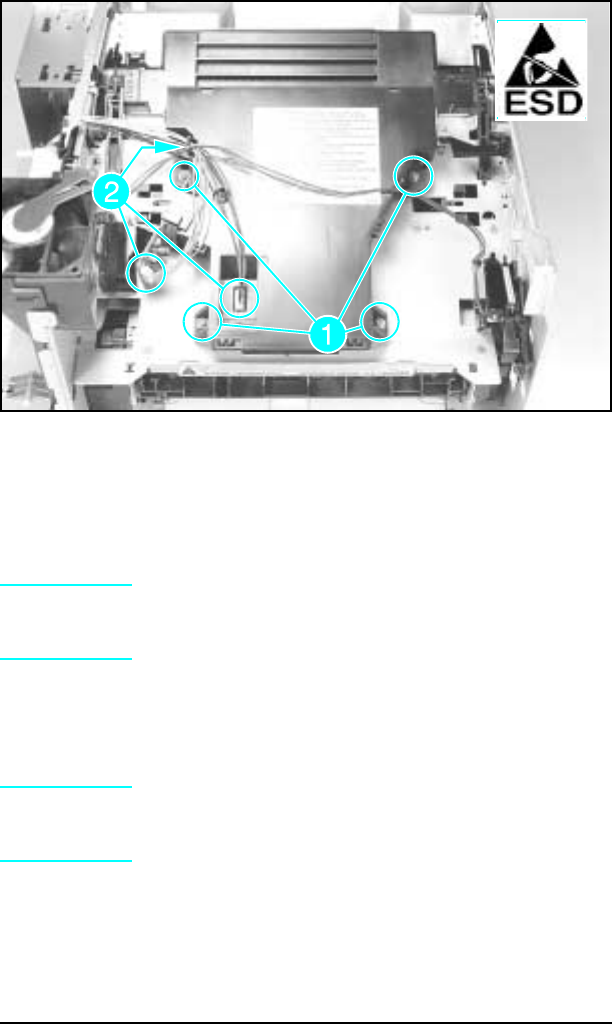
2 Remove all cables from the Scanner retaining clips.
3 Remove the (3) connectors (see Figure 6-36, callout 2).
Note
Be careful not to flex the Laser PCA when
removing or installing the cables. The Laser PCA
can be damaged easily.
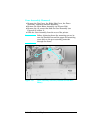
4
Remove the (4) screws from the Scanner Assembly. (see
Figure 6-36, callout 1).
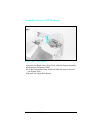
5 Remove the Scanner Assembly.
Note
When installing the Laser/Scanner Assembly,
check that the Laser Shutter closes when the
Toner Cartridge is removed.
Figure 1-36 Scanner Assembly Removal
6-43 Removal and Replacement


