


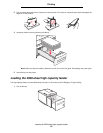
Linking trays
59
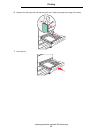
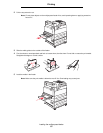
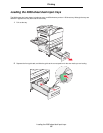
Printing
To define a custom name using the Embedded Web Server:
1 Open the printer Embedded Web Server by typing its IP address in the address bar of a browser. For example:
http://192.168.0.11
2 Click Configuration.
3 Click PAPER MENU.
4 Click CUSTOM NAMES.
5 Define one or more custom names.
For example, you could enter names such as “Short-edge Letter” or “Yellow Glossy.”
6 Click Submit.
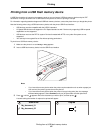
Linking trays
Tray linking enables the automatic linking feature for trays when you load the same size and type of print media in multiple
sources. The printer automatically links the trays; when one tray is empty, print media feeds from the next linked tray.
For example, if you have the same size and type of print media loaded in tray 2 and tray 4, the printer selects print media
from tray 2 until it becomes empty, and then the printer automatically feeds print media from the next linked tray—tray 4.
By linking all five trays, you effectively create a single source with a capacity of 4,000 sheets.
If you load the same size print media in each tray, make sure the print media is all the same type in order to link the trays.
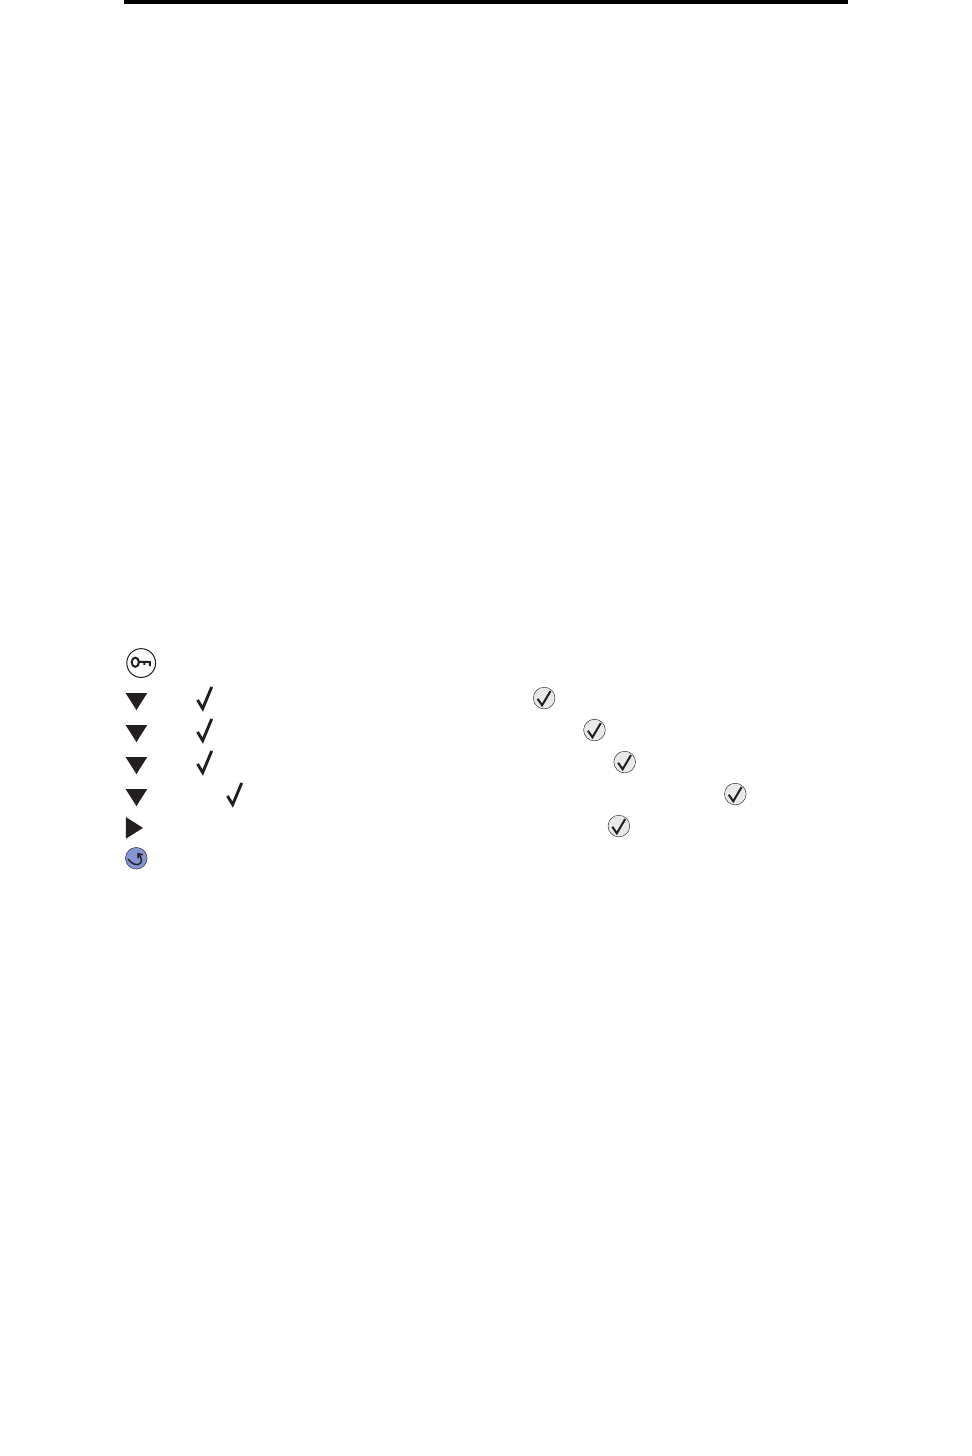
To set the paper type or size:
1 Press on the operator panel.
2 Press until Paper Menu appears, and then press .
3 Press until Paper Size/Type appears, and then press .
4 Press until Tray <x> Size/Type appears, and then press .
5 Press until the appears next to the media size you loaded, and then press .
6 Press until the media type you loaded appears, and then press .
7 Press repeatedly to return to the Ready state.
Once the trays you selected are loaded with the same size and type of print media, select the same Paper Type setting in
the Paper menu for these sources.
To disable tray linking, set the Paper Type to a unique value in each one of the trays. If all the trays do not have the same
type of print media when they are linked, you could mistakenly print a job on the wrong paper type.