


•
•
•
•
•
•
•
•
•
•
•
•
•
•
•
•
•
•
•
•
•
•
•
•
•
•
•
•
•
•
•
•
•
•
•
•
•
•
•
•
•
•
•
•
•
•
•
•
•
•
•
•
•
•
•
•
•
•
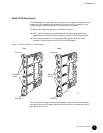
FPC Installation Instructions
21
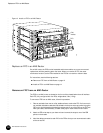
Replace a PIC in an M40e-FPC
Remove a PIC from an M40e-FPC
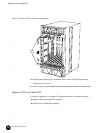
To remove a PIC from an M40e-FPC, follow this procedure:
1. Place an electrostatic bag or antistatic mat on a flat, stable surface to receive the PIC.
2. Attach an ESD strap to your bare wrist and connect the strap to one of the ESD points on
the chassis.
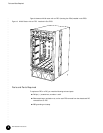
3. With the M40e-FPC lying component-side down and with the PIC faceplates facing you,
use a screwdriver to loosen the two screws that secure the PIC to the FPC.
4. Carefully turn over the M40e-FPC and lay it on the mat component-side up with the PIC
faceplates facing you.
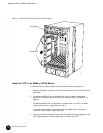
5. Arrows on the M40e-FPC indicate the position of metal bars that are attached to the PIC
circuit board near the front end. To remove the PIC from the slot, place a finger behind
each bar and pull the PIC toward you gently but firmly.
6. Place the PIC in the electrostatic bag or on the antistatic mat prepared in Step 1.
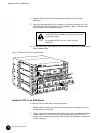
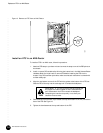
Install a PIC in an M40e-FPC
To install a PIC in an M40e-FPC, follow this procedure:
1. Attach an ESD wrist strap to your bare wrist, and connect the wrist strap to one of the
ESD points on the chassis.
2. Place the M40e-FPC on an antistatic foam mat, component-side up and with its
faceplate facing you. If a foam mat is not available, substitute a standard flat antistatic
mat but use extra care when laying the M40e-FPC on it to avoid damaging the electrical
components.
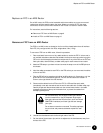
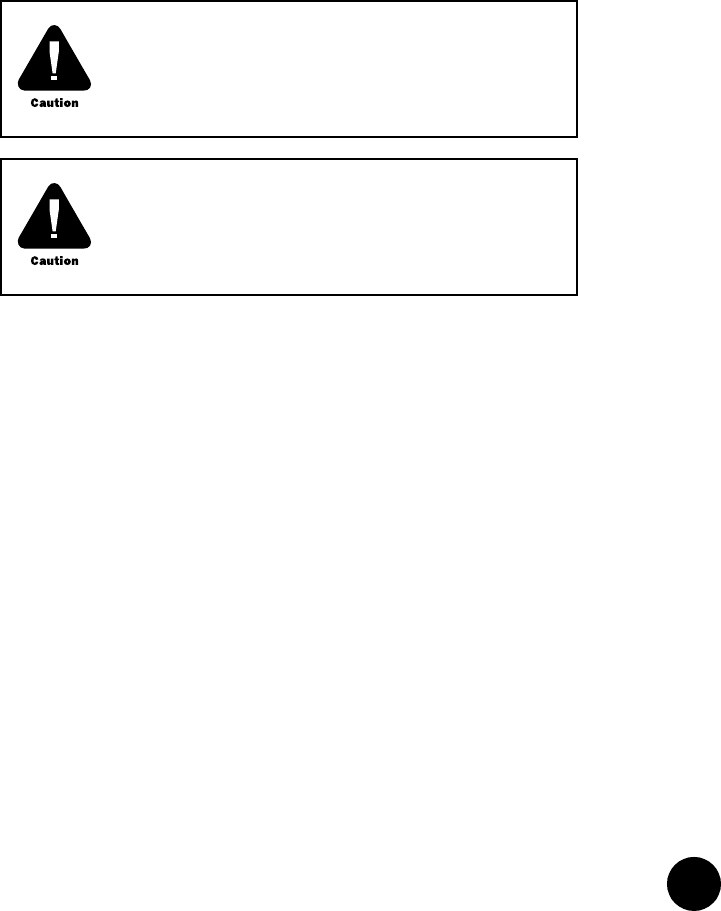
Do not grasp the PIC anywhere other than at the metal
bars described in the instruction. Do not touch or apply
force to the PIC’s heat sinks, circuit boards (even at the
edges), or other electronic components.
You might need to rock the PIC back and forth to loosen it
from the connector in the M40e-FPC slot. To avoid bending
the pins on the connector, use the smallest and gentlest
motion possible.