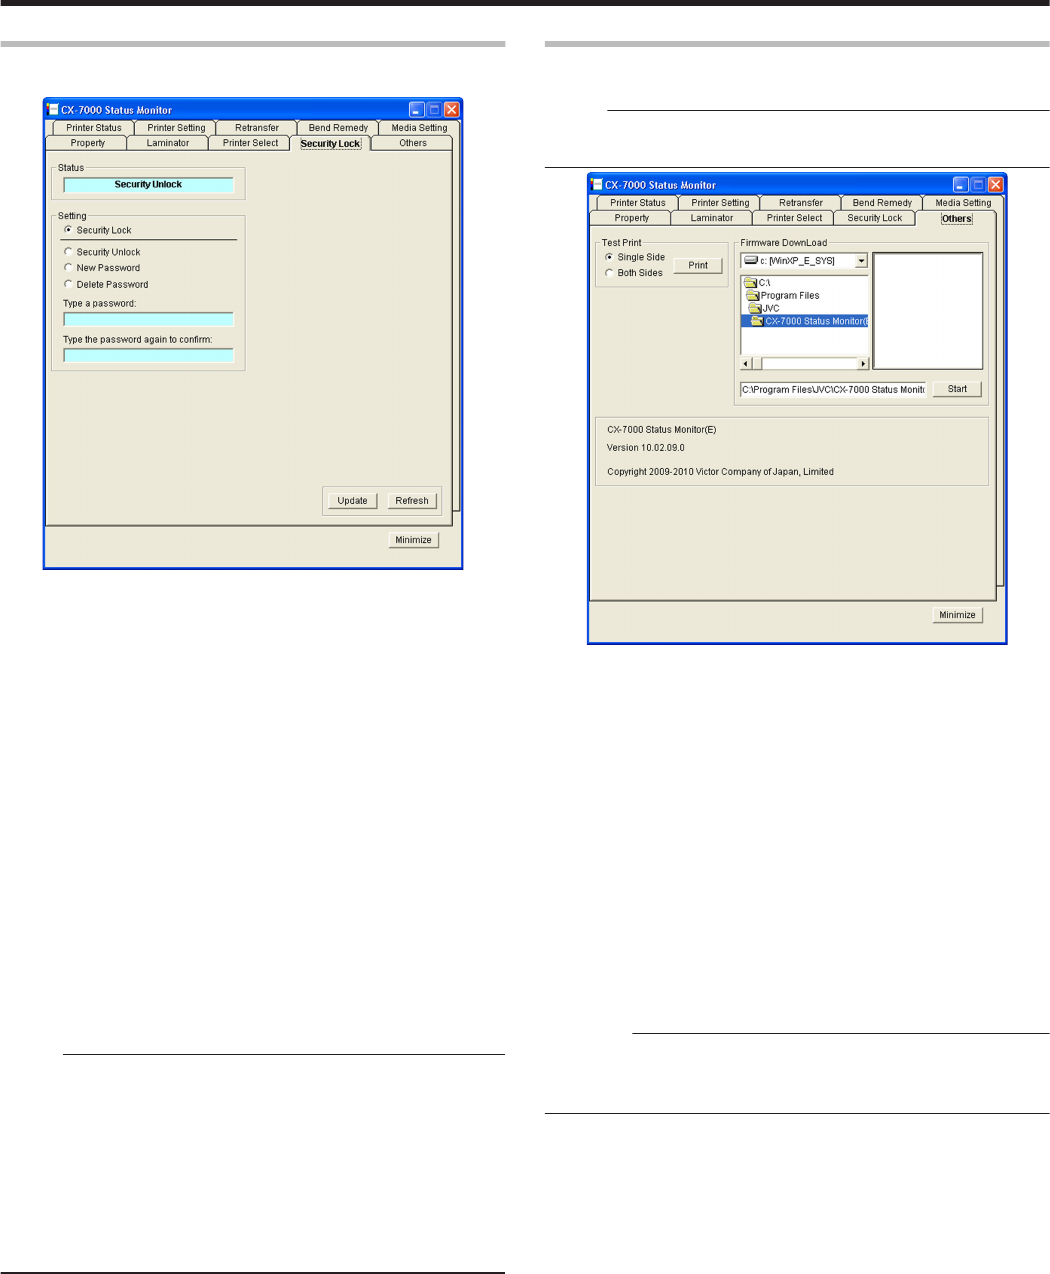
[Security Lock] Tab
For displaying and setting the security lock status.
.
m
Status
Displays the current security lock status.
m
Setting
m
[Security Lock]
Select [Security Lock], followed by clicking [Update] to activate the
security lock.
The security lock cannot be activated if a password is not specified.
m
[Security Unlock]
Select [Security Unlock], enter the password in [Type a password],
followed by clicking [Update] to deactivate the security lock.
m
[New Password]
Select [New Password], and enter a password of up to eight
characters.
Enter the same password for [Type a password] and [Type the
password again to confirm], followed by clicking [Update] to set the
password.
m
[Delete Password]
Select [Delete password], enter the password in [Type a password],
followed by clicking [Update] to delete the password.
Memo:
v
To change the password, you have to delete it and register a new
password again.
v
If you forgot the password, please consult our authorized dealer or
the servicing personnel.
v
There is no relation between the password for the status monitor and
the security number that is input on the operation panel of the
printer. You can specify different values for these items.
The password for the status monitor supports alphanumeric
characters.
"Security Lock" (A page 20)
m
[Update] button
Applies the selected value to the printer.
m
[Refresh] button
Displays the printer settings on the screen.
[Others] Tab
This tab enables you to perform test prints and download the firmware.
Memo:
v
For printers connected via Ethernet (LAN), the test print and
firmware download items are not displayed.
.
m
Test Print
Test print uses the printer’s self-diagnosis function without making use
of the printer driver. You can use it to verify whether the printer is
functioning correctly.
1
Select [Single Side] or [Both Sides], and click [Print]
v
Test print starts. The built-in standard color pattern of the printer is
printed on a card.
m
Firmware DownLoad
Updates the printer’s firmware.
1
Perform the “Firmware Update” procedure on the operation panel of
the printer
"Firmware Update" (A page 24)
2
Select a file, and click [Start]
3
Follow the instructions on the screen
Cautions:
v
For details on update of the printer’s firmware, please consult the
servicing personnel or our authorized dealers.
v
The printer may not start up if update of the firmware fails.
m
Software
Displays the version and copyright information.
Setup
117


