


26
Basic Operation Procedures
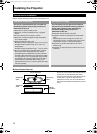
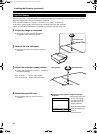
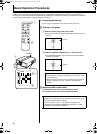
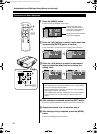
a Removing the lens cap
● Upon using, mount the lens cap to prevent soiling of the lens.
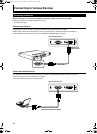
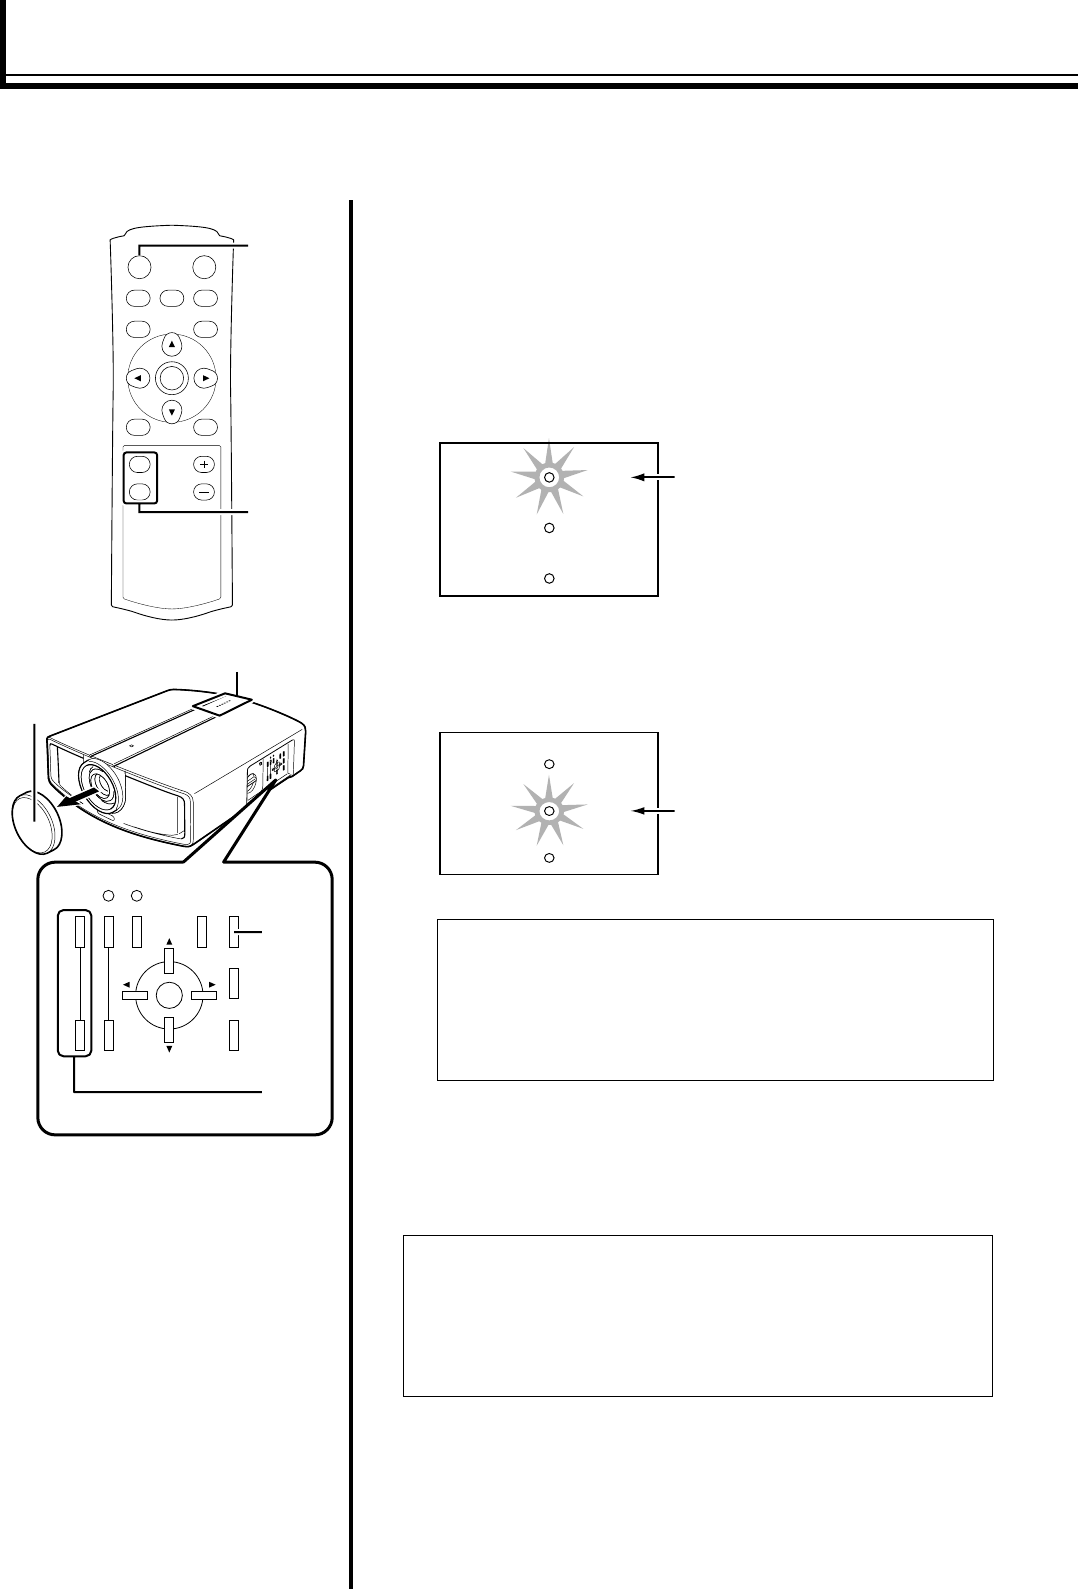
b Turning on the power
A Insert the power plug to the power outlet
● The main power turns on and the [STAND BY] indicator on the unit
lights up.
B Press the [OPERATE ON] button for 1 second or more
● The [OPERATE] indicator on this unit lights up and the projected
image slowly appears.
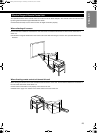
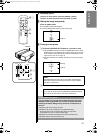
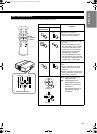
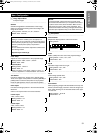
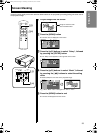
c Adjusting zoom (screen size)
To enlarge the screen size, press the [ZOOM T] button
To reduce the screen size, press the [ZOOM W] button
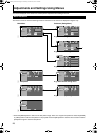
If setting for this unit is not completed, please refer to AAdjustments and Settings Using MenusB (A Page 28) upon
turning on the power and perform the required setting accordingly. Once the basic setting is completed, this unit can be
used by simply performing the following operation procedures.
TW
ZOOM
+
-
FOCUS
MENU EXIT
OPERATE
ON
OPERATE
OFF
HIDE
RS232C Rx
Tx
ON
ENTER
OFF
CHP
TEST
MENU EXIT
LIGHT
OPERATE
HIDE
PRESET
ZOOM
T
W
FOCUS
a
b -
B
c
c
b - B
Indicator
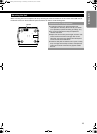
NOTES:
● Upon projection, the image may flicker for a few seconds. This is
not a malfunction.
● When the light source is turned on, the lamp will slowly become
brighter. It will take more than 1 minute for the brightness to
stabilize.
NOTES:
● To adjust zoom and focus, set AZoom/FocusB in the AOptionsB menu
to AUnlockB (default setting: AUnlockB).
● When this is set to ALockB, a Anot availableB message will be
displayed upon pressing the [ZOOM T/W] or [FOCUS +/-] button,
indicating that the operation is disabled.
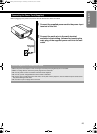
STAND BY
OPERATE
LAMP
Indicators on this unit
Light On
STAND BY
OPERATE
LAMP
Indicators on this unit
Light On
DLA-HD10_EN-FR.book Page 26 Thursday, November 10, 2005 12:54 PM