


16
How to Install the Projector
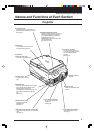
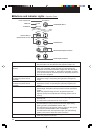
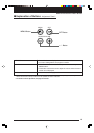
■ Installation sequence
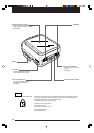
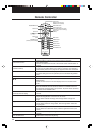
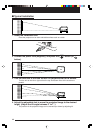
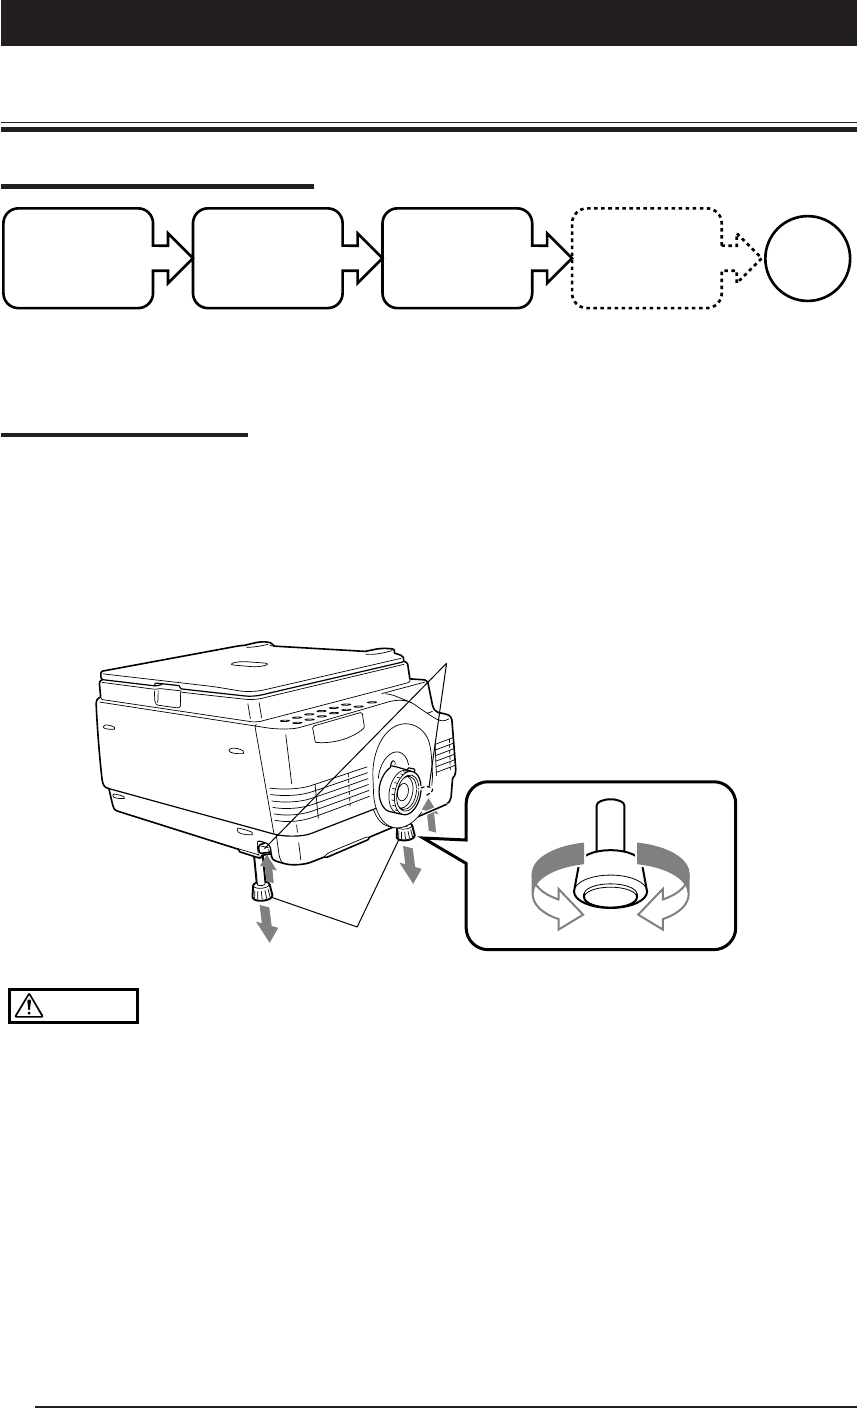
■Adjusting the Tilt
The position and tilt angle of the projected screen can be adjusted by adjusting the adjustable
feet.
Press both the left and right tilt adjustment levers to lift the main unit, and release them when
the desired height is reached.
You can fine-adjust the tilt by turning the bottom section of the adjustable feet. Turning this
section counterclockwise raises the main unit, and turning it clockwise lowers the main unit.
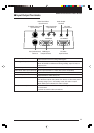
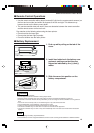
CAUTION
• Do not tilt the main unit at extreme angles by turning only one side of the adjustable feet. Doing so may cause the
main unit to slip or fall down, resulting in accidents or failures.
•Vent A1 takes in air to cool the inside of the projector. As air is taken in by large suction force, cloth or paper may
be sucked in against the vent. If this happens, the temperature inside may build up, and cause accident or failure.
• The rubber feet may soil the installation surface depending on where the projector is installed.
Check the
installation site
and image size.
Prepare the screen.
Install the projector.
Install the input
devices.
End
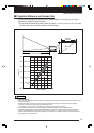
See "Projection Distance and
Screen Size" on page 17.
PC, video deck, etc.
Extends
foot.
Retracts
foot.
Adjustable Feet
Tilt Adjustment Lever