Installing the Hardware
Part No. 6B4389 June 1999 2-7
Installing the Ethernet Cable
To connect the NIC to a 10baseT or 100baseTX Fast Ethernet
network, you need a 10 or 100 MB capable Ethernet hub/switch
with at least one unused port installed on your network and an
appropriate length of RJ45 modular cable. Category 5 cabling is
necessary for 100 MB operation.
1. Connect one end of the RJ45 network cable to the Ethernet
port on the NIC.
2. Connect the other end of the RJ45 network cable to the
Ethernet port on your hub or switch.
The NIC automatically senses if it is connected to a 10BaseT or a
100BaseTX network.
Printing a Test Page
You need to print a test page to verify that the NIC is installed
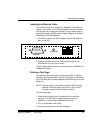
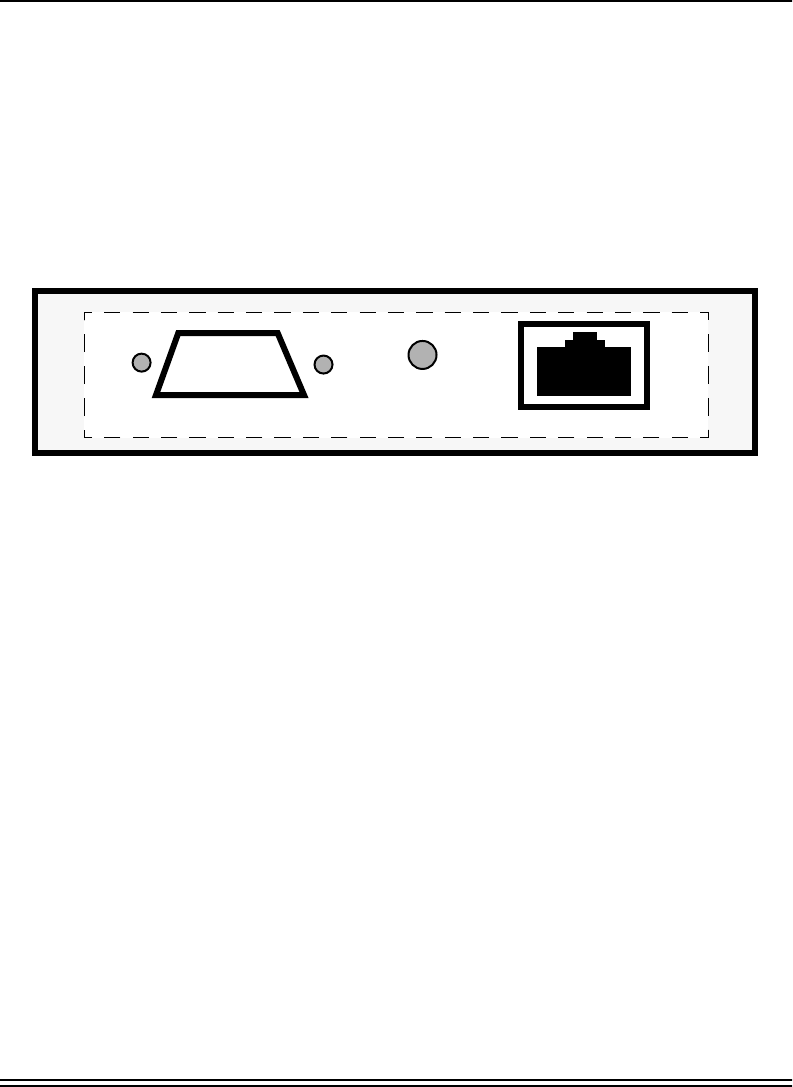
correctly. Use the test button on the NIC face plate to make a test
print. The test button is located between the Ethernet port and the
serial port.
NOTE: The test button is also used to reset the NIC to factory
defaults. Press the switch, and hold it in for at least 5
seconds to reset the NIC to factory defaults.
To print a test page:
1. Make sure that the printer is connected to a functioning
network. If the NIC does not detect protocols such as
AppleTalk, it automatically disables that protocol.
2. Turn on the power to the printer.
3. Locate the test button on the NIC faceplate.
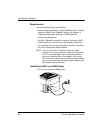
Test Button
o o o o o
o o o o
Serial Port
Ethernet Port


