14
4. If you want to record a one-shot sample,
press the same SAMPLE BANK button be-
fore reaching the specified BEAT. Sam-
pling will end, and a one-shot sample will
be created. The SAMPLE BANK button
used for recording will light red. It will be
easier to record a one-shot sample if you
specify a longer setting such as “16.”
5. If the specified BEAT time elapses before
you press the SAMPLE BANK button,
sampling will end, and a loop sample will
be created. The KP3 will automatically
switch to playback, and the SAMPLE
BANK button will light orange.
NOTE The data that had been in the selected
SAMPLE BANK button will be overwritten.
Playing back samples
The SAMPLE BANK buttons will light
green if they contain a loop sample or red
if they contain a one-shot sample. Keys
that contain no sample data will be dark.
When you press a button that contains a
loop sample, loop playback will start. The
button will be lit orange during playback.
Press the button once again to stop play-
back.
When you press a button that contains a
one-shot sample, the button will momen-
tarily go dark and the one-shot sample will
play.
NOTE If a sample effect is selected for the program,
playback will begin when you touch the touch pad
after selecting a SAMPLE BANK button.
Sample playback levels
If you want to adjust the sample playback
volume for all banks, use the level slider.
Adjusting the level of an individual
sample bank
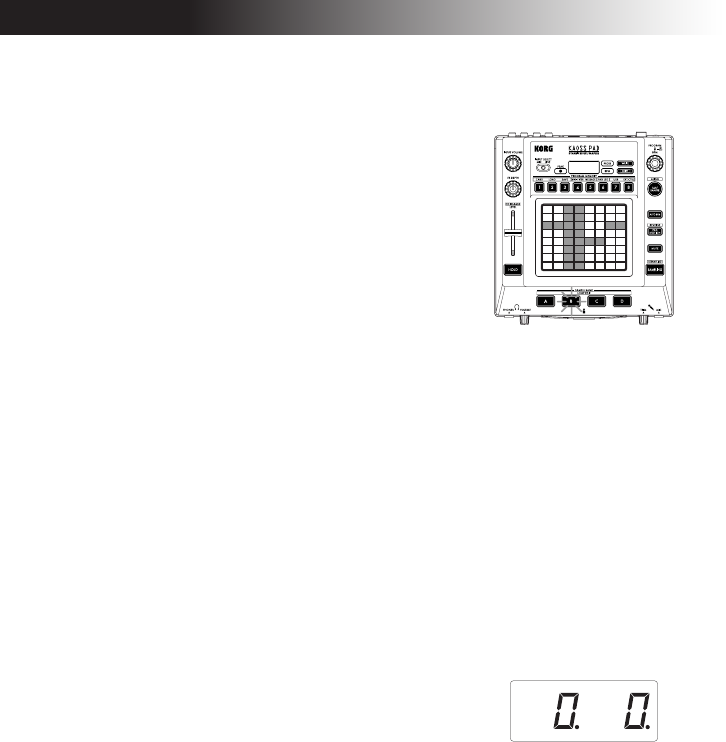
1. Hold down the SHIFT button and press
the desired SAMPLE BANK button; the
button will blink green.
2. The pad LEDs corresponding to the se-
lected bank (i.e., located above the button)
will display a bar graph, and LEDs above
the remaining banks will indicate their re-
spective level points.
3. Touch the pad to adjust the playback
level of the sample for that bank.
Editing playback settings for
loop samples
To edit the playback settings for a loop
sample, hold down the SHIFT button and
press a SAMPLE BANK button that con-
tains a loop sample.
NOTE If you press a SAMPLE BANK button that
contains a one-shot sample, you won’t be able to edit
settings other than the level.
Start Point setting
1. The SHIFT button will be lit and the
specified SAMPLE BANK button will
change to blinking green.
The display will show the loop start point
setting.
2. Use the PROGRAM/BPM knob to ad-
just the start point in steps of 1/32nd of a
beat, over a range of ± 1 beat.
Slice setting
Loop samples can be sliced into equal
parts. You can select whether each sliced
part will play or not play. Sliced parts that
do not play are skipped, so the overall
length of the loop will be made shorter.
This allows you to create a variety of new
rhythmic figures and loops from the same
original data. For example by playing only
the first two beats and last two beats of a
