


Component Identification 2 - 3
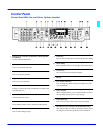
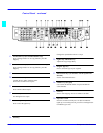
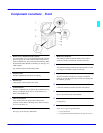
Component Locations - Front
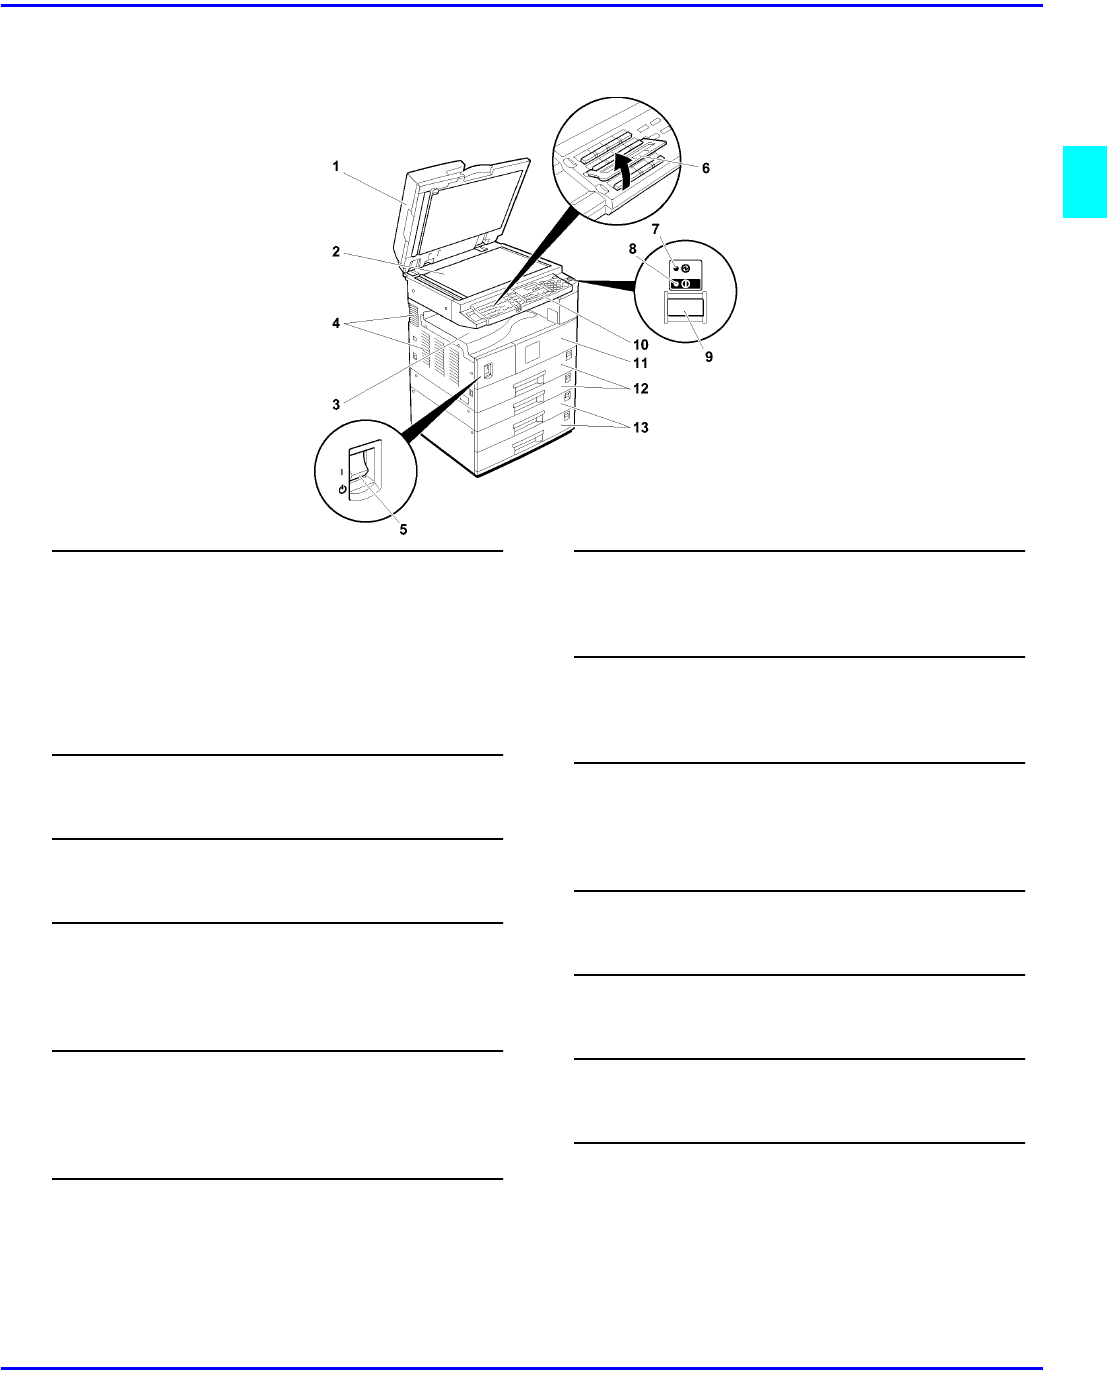
1
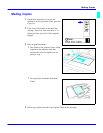
Platen cover or document feeder (option)
Lower the platen cover over originals placed on the exposure
glass for copying. If you have the document feeder, insert a
stack of originals here. They will be fed automatically. When
the document feeder (RADF) is installed, you can copy two-
sided originals.
The illustration shows the document feeder.
2
Exposure Glass
Position originals here face down for copying.
3
Internal Tray
Copied paper is delivered here face down.
4
Ventilation Duct
Prevents overheating. Do not obstruct the ventilation hole by
placing or leaning an object near it. If the machine over-
heats, a fault might occur.
5
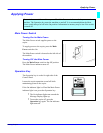
Main Power Switch
If the machine does not operate after turning on the
operation switch, check if the main power switch is turned
on. If it is off, turn it on.
6
Behind Cover
Flip up to you use the keys underneath.
7
Main Power Indicator
This indicator lights up when the main power switch is
turned on, and goes off when the switch is turned off.
8
On Indicator
This indicator lights up when the operation switch is turned
on, and goes off when the switch is turned off.
9
Operation switch (Fax or printer installed machine only)
Press this switch to turn the power on (the On indicator
lights up). To turn the power off, press this switch again (the
On indicator goes off).
10
Operation Panel
Control all machine operations from the control Panel.
11
Front Cover
Open to access the inside of the machine.
12
Paper Tray
Set paper here.
13
System Stand (option)
There are two types of System Stands
• 1 Tray System Stand
• 2 Tray System Stand and hold 500 sheets of paper for each tray.