


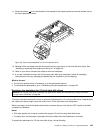
1. Remove all media from the drives and turn off all attached devices and the server. Then, disconnect all
power cords from electrical outlets and disconnect all cables that are connected to the server.
2. If the server is installed in a rack cabinet, remove the server from the rack cabinet and place it on a at,
clean, and static-protective surface. See the Rack Installation Instructions that comes with the server.
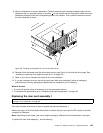
3. Remove the server cover. See “Removing the server cover” on page 71.
4. Remove the cooling shroud. See “Removing and reinstalling the cooling shroud” on page 76.
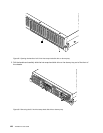
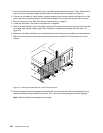
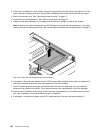
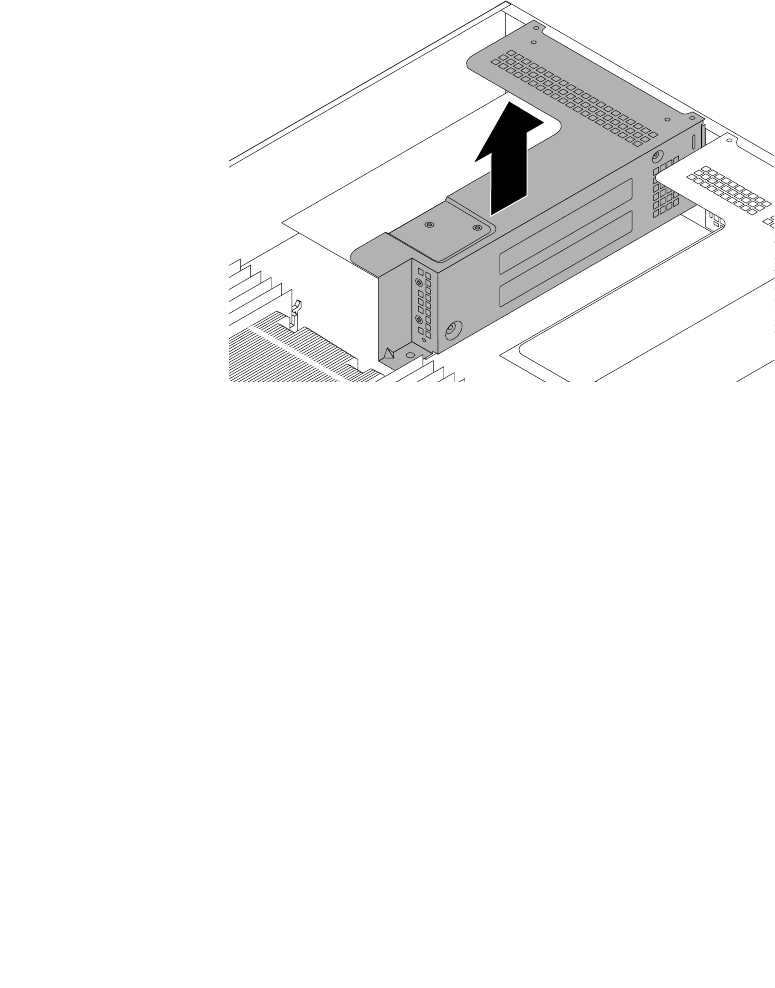
5. Locate the riser card assembly 1. See “Server components” on page 29.
6. Grasp the riser card assembly 1 by its edges and carefully lift it straight up and off the chassis.
Figure 103. Lifting the riser card assembly 1 off the chassis
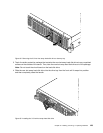
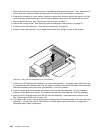
7. If there is any PCI Express card installed on the riser card assembly 1, especially when a RAID card and
an expander card are installed, note down the cable connections, disconnect all cables from the card(s),
and then completely remove the riser card assembly 1 out of the chassis.
8. Touch the static-protective package that contains the new riser card assembly 1 to any unpainted
surface on the outside of the server. Then, remove the new riser card assembly 1 from the package.
9. Remove the PCI Express card(s) from the old riser card assembly 1 and install them on the new one.
See “Replacing the RAID card” on page 139.
10. If necessary, refer to your note to reconnect any cables to the PCI Express card(s) on the new riser card
assembly 1. You also can refer to “Mini-SAS to mini-SAS signal cable connections” on page 38 for
information about cable connections.
136 ThinkServer User Guide