1. Remove all media from the drives and turn off all attached devices and the server. Then, disconnect all
power cords from electrical outlets and disconnect all cables that are connected to the server.
2. If the server is installed in a rack cabinet, remove the server from the rack cabinet and place it on a at,
clean, and static-protective surface. See the Rack Installation Instructions that comes with the server.
3. Remove the server cover. See “Removing the server cover” on page 71.
4. Remove the riser card assembly 2 and lay it upside down on a at, clean, and static-protective surface.
See “Replacing the riser card assembly 2” on page 137.
Note: Usually Ethernet card(s) are installed on the riser card assembly 2. An Ethernet card also can
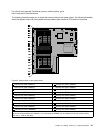
be installed in any PCI Express card slot that supports it. See “Rear view of the server” on page 25 to
identify the PCI Express card slots of your server.
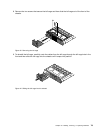
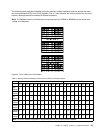
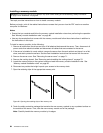
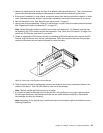
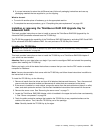
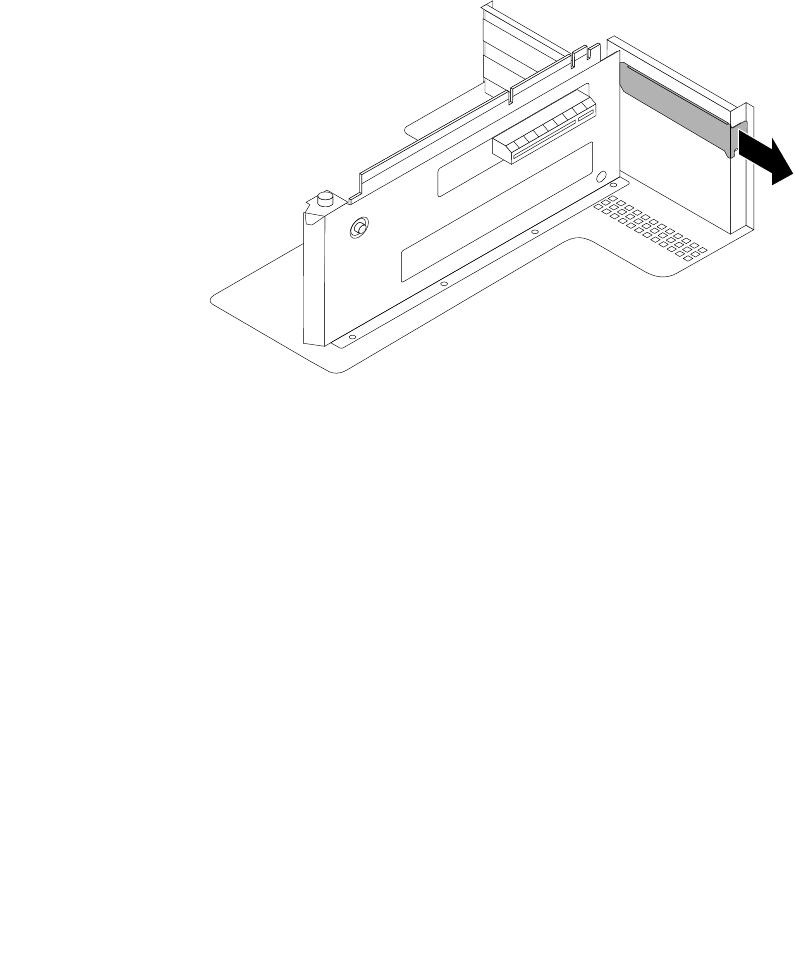
5. Locate an appropriate PCI Express card slot for installing the Ethernet card and then remove the PCI
Express card slot bracket from the riser card assembly. Store the bracket in the event that you later
remove the Ethernet card and need the bracket to cover the place.
Figure 52. Removing a PCI Express card slot bracket
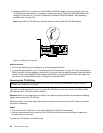
6. Touch the static-protective package that contains the Ethernet card to any unpainted surface on the
outside of the server. Then, take the Ethernet card out of the package.
Note: Carefully handle the Ethernet card by its edges.
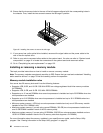
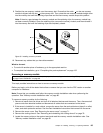
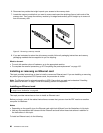
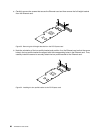
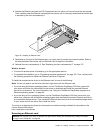
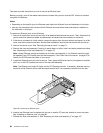
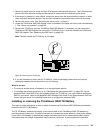
7. If you want to install an Ethernet card into the slot for a low-prole card, you might need to replace
the full-height bracket for the Ethernet card with the low-prole bracket contained in the Ethernet
card package by doing the following:
Note: Depending on the specic type, the Ethernet card and its bracket might look different from the
following illustrations.
Chapter 6. Installing, removing, or replacing hardware 87


