


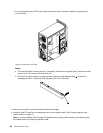
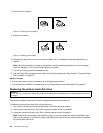
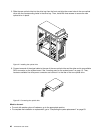
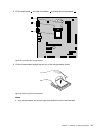
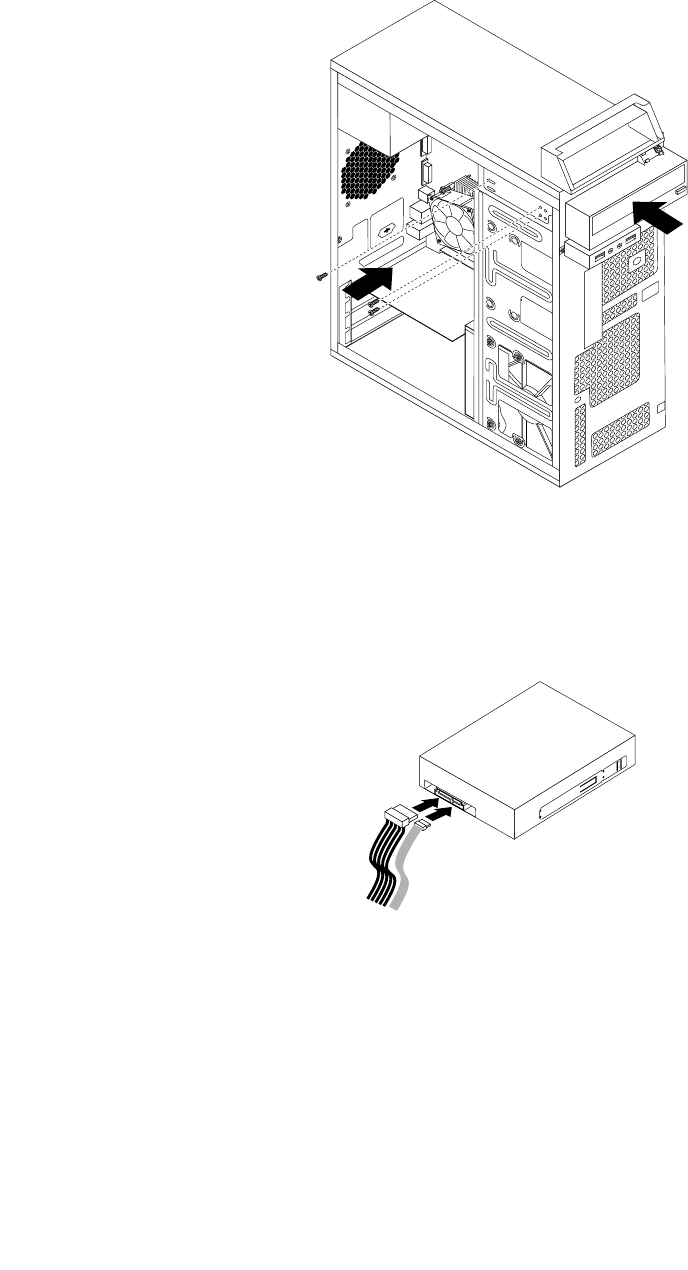
5. Slide the new optical drive into the drive bay from the front and align the screw holes in the new optical
drive with the corresponding holes in the drive bay. Then, install the three screws to secure the new
optical drive in place.
Figure24. Installing the optical drive
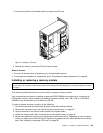
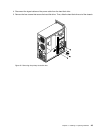
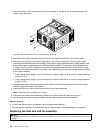
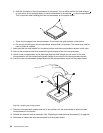
6. Connect one end of the signal cable to the rear of the new optical drive and the other end to an available
SATA connector on the system board. See “Locating parts on the system board” on page 13. Then,
locate an available ve-wire power connector and connect it to the rear of the new optical drive.
Figure25. Connecting the optical drive
What to do next:
• To work with another piece of hardware, go to the appropriate section.
• To complete the installation or replacement, go to “Completing the parts replacement” on page 63
.
46 ThinkCentre User Guide