


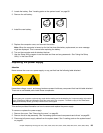
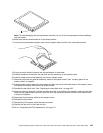
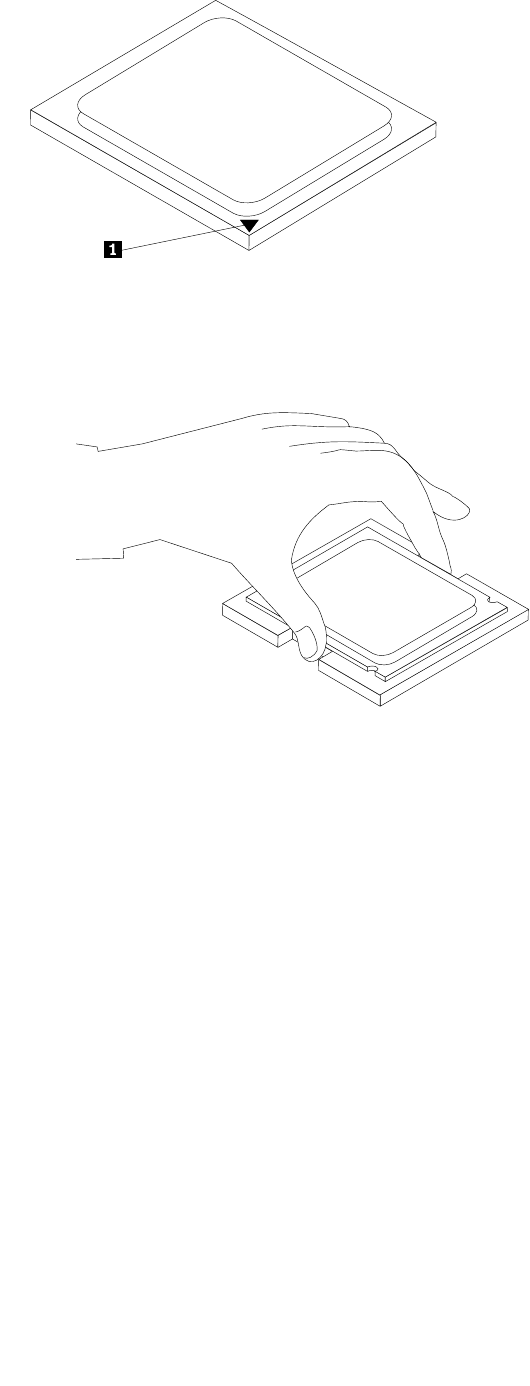
Note: To avoid damaging the microprocessor contacts, do not tilt the microprocessor when installing it
into the socket.
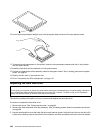
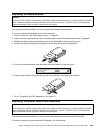
16.Make sure that the small handle is in the raised position.
17.Lower the microprocessor straight down into the system board socket of the new system board.
18.Lower the small handle to secure the microprocessor in the socket.
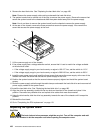
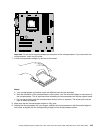
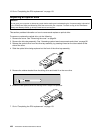
19.Install the retention module for the heat sink and fan assembly on the system board.
20.Install the heat sink and fan assembly on the new system board.
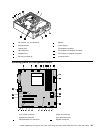
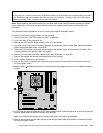
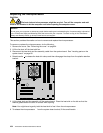
21.Reconnect the heat sink and fan assembly cable to the system board. See "Locating parts on the
system board" on page 95
.
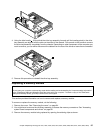
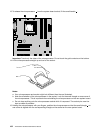
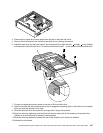
22.Install the new system board into the chassis and align the screw holes with those in the chassis. Insert
and tighten the screws that secure the system board.
23.Reinstall the hard disk drive. See "Replacing the hard disk drive" on page 106.
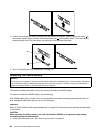
24.Align the drive bay assembly with the two slots and rails on the sides of the chassis, reconnect the drive
cables to the system board, and then slide the drive bay assembly towards the rear of the chassis until
it snaps into position.
25.Reconnect the remaining cables to the system board.
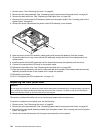
26.Reinstall the front bezel.
27.Reinstall any PCI adapter cards that were removed.
28.Position the fan duct on the heat sink fan.
29.Go to "Completing the FRU replacement" on page 113.
Chapter 9 Replacing FRUs (Types 7057, 7062, 7092, 9342, 9344, 9354, 9426, 9486, 9624, 9707, 9787, 9804, 9945) 103