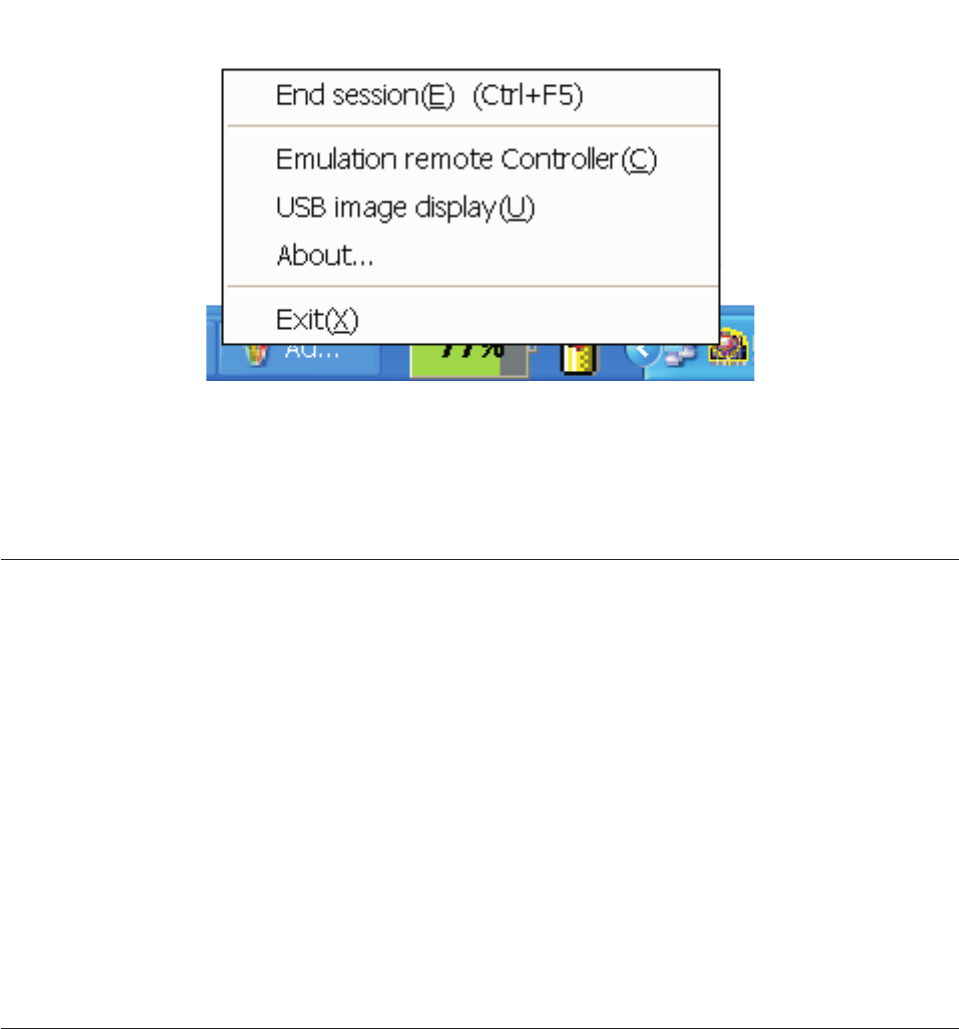
Right-click the Lenovo Wireless Projector icon in the system tray and select USB
image display to start this function.
Note: You may also start USB image display with the projector OSD menu.
For information go to “USB image display” on page 3-7 on page 5-3.
Ending projection
You can use any of the following procedures to end the current wireless projection
session:
v Right-click Lenovo Wireless Projector system tray icon to select End Project.
v Press hotkeys (Ctrl+F5) to end the current projection.
v Double-click the Lenovo Wireless Projector system tray icon, and the following
prompt will appear:
Select Yes to end the projection, and No to abort this action.
v Press Wireless button on the remote controller to end the projection
immediately.
v Right-click Lenovo Wireless Projector system tray icon to select Exit.
Note: This procedure will also end your software session.
After
ending the projection, your original network environment will be restored,
and other notebook computers can project to the projector.
Wireless projector system tray icon
After starting the Wireless Projecting software, you can right-click the Wireless
Projector system tray icon.
v Project: Select Project, or press the hotkey P for the quick projection to the
bound projector. If there is no projector to be bound in the wireless projector list,
the main window will be shown.
v Configuration: Select Configuration, Setting tab and the Adapters tab can be
selected in Configuration dialog.
v About: Select About, you can view the version information of the Lenovo
Wireless Projector Service Application.
3-8 C400 Wireless Projector: User’s Guide
