Getting Familiar with your NAS
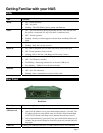
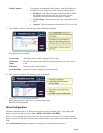
LEDs
LED Function
Ready
• ON – Normal operation.
• OFF – No power.
• Blinking – This LED blinking during startup and shutdown.
Status
• ON – This LED will be On during the Startup self-test; it will turn Off once
the self-test is completed. If it stays ON, there is a hardware error.
• OFF – Normal operation.
• Blinking – During a software upgrade, both the Status and Ready LEDs will
blink.
Disk
• OFF - Idle.
• Blinking – Hard disk is being accessed.
Disk Full
• ON - Disk is completely full. No more data can be stored on this disk
• OFF -Normal operation, disk is not full.
• Blinking - Disk is 98% full (The Buzzer will also beep 3 times.)
USB
• ON - USB device connected to the USB port
• OFF - No USB device installed
• Fast Blinking - Data being transferred to or from the USB device
• Slow Blinking – USB device can be removed safely
Ethernet
• ON – Link established.
• OFF – No LAN connection.
• Blinking – Data is transmitted or received via the LAN.
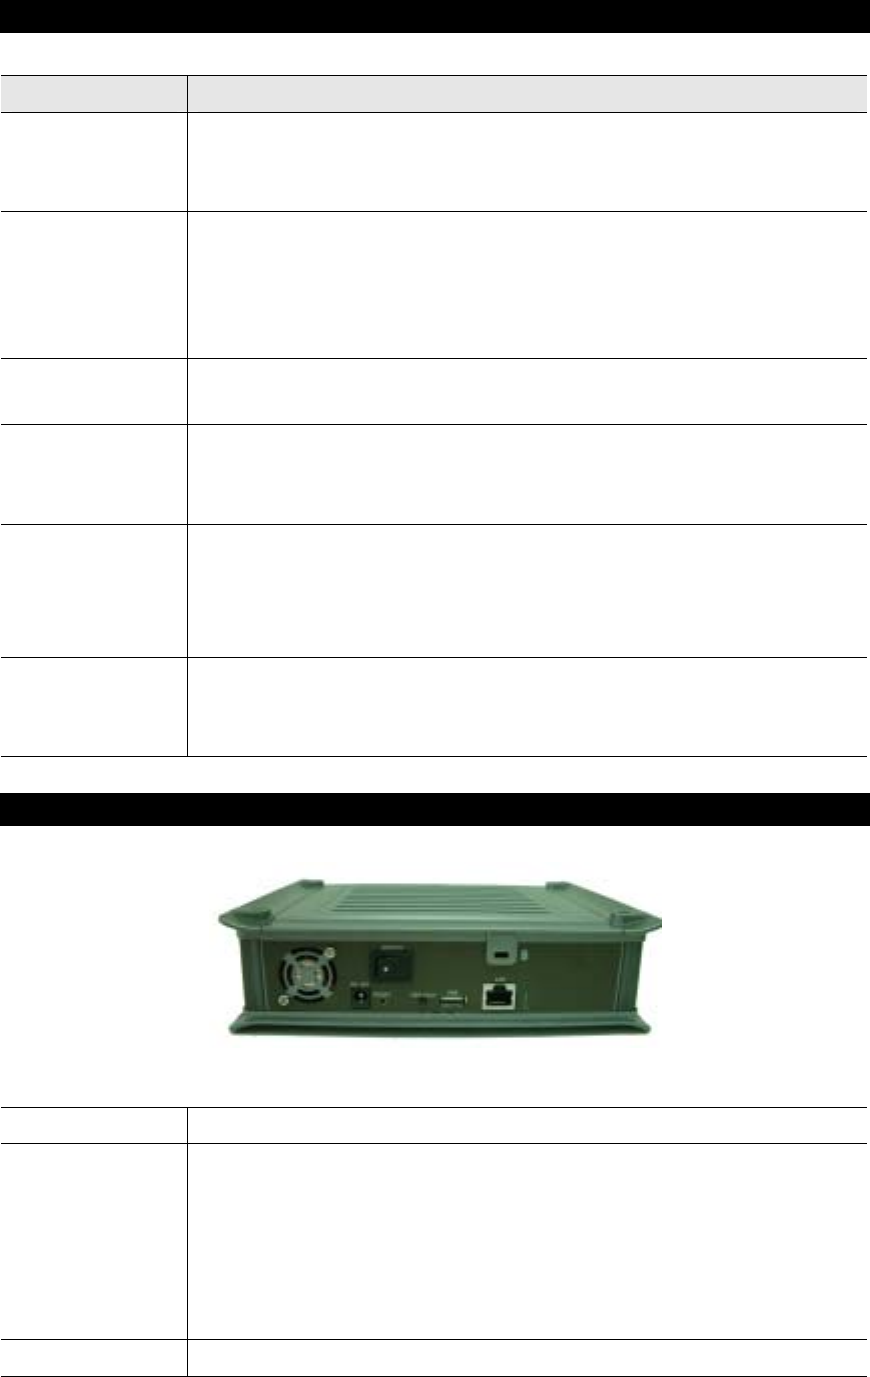
Rear Panel
Read Panel
Power Input
Connect the supplied power adapter here.
Reset Button
(IP/Password)
This button has 2 functions:
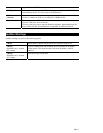
• If the NAS's IP Address is lost, press and hold this button for 2 seconds. The
IP Address will be set to the default value of 192.168.0.100 (Network Mask
of 255.255.255.0) and it will beep once to indicate the reset has occurred
• If the NAS administrator’s password is lost, press and hold this button for 10
seconds. The password will then be cleared (no password), and the NAS will
beep again.
USB Port
Connect
y
our USB Hard Disk Drive or USB Flash Drive here. The USB HDD
Page 3


