12
Chapter 4: Using the Console Interface for Configuration
Configuring the Switch through the Console Interface
WebView Switches
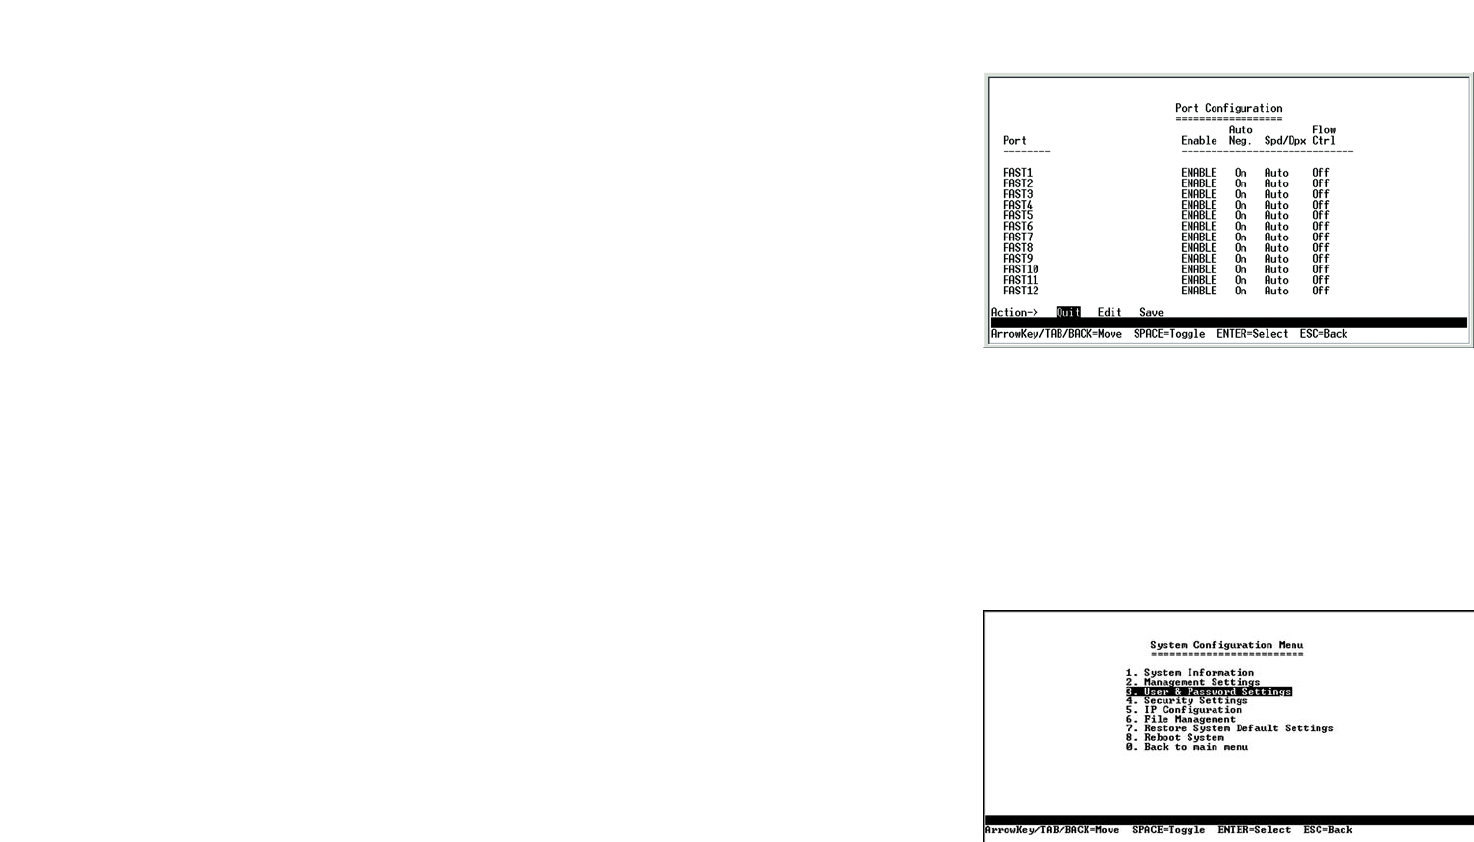
Port Configuration
On the Switch Main Menu screen, select Port Configuration and press the Enter key if you want to configure the
Switch’s ports.
The Port Configuration screen displays the port numbers, their status, auto-negotiation status, speed and duplex
mode, and status of flow control, which is the flow of packet transmissions.
Select Edit to make changes. When your changes are complete, press the Esc key to return to the Action menu,
and select Save to save your changes.
Help
Select Help and press the Enter key if you want to view the help information. This screen explains how to
navigate the various screens of the console interface.
System Configuration Menu
On the System Configuration Menu screen, you have these choices:
1. System Information
2. Management Settings
3. User & Password Settings
4. Security Settings
5. IP Configuration
6. File Management
7. Restore System Default Settings
8. Reboot System
0. Back to main menu
Figure 4-9: System Configuration Menu
Figure 4-8: Port Configuration
