23
Chapter 5: Using the Web-based Utility for Configuration
Sys. Info. (System Information) Tab - Time Synchronization
WebView Switches
Sys. Info. (System Information) Tab - Time Synchronization
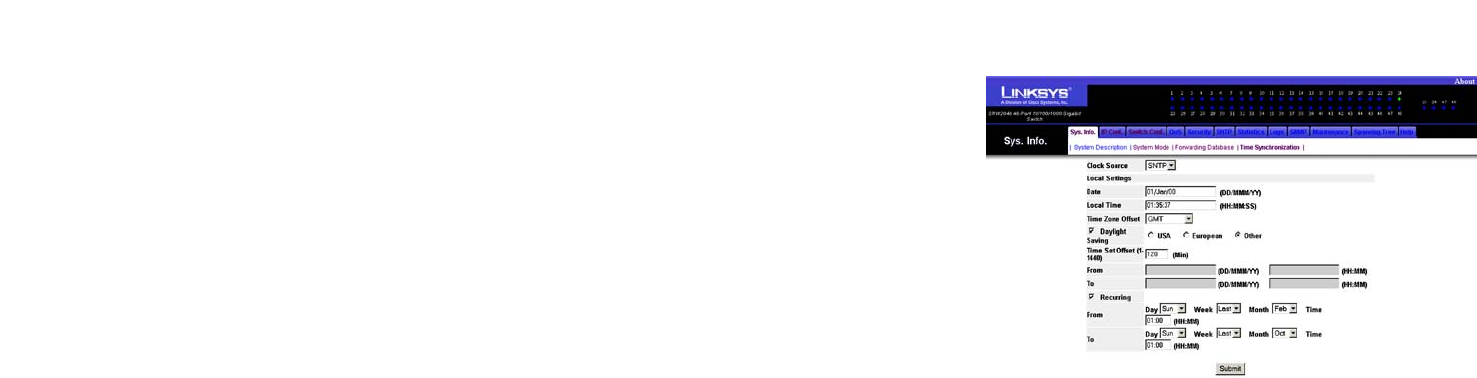
The Time Synchronization screen allows you to configure the time settings for the Switch.
Clock Source. If you want to set the system clock via an SNTP (Simple Network Time Protocol) server, then select
SNTP. Otherwise, select None.
Local Settings
Date. Specify the system date here.
Local Time. Specify the system time here.
Time Zone Offset. Enter the difference between Greenwich Mean Time (GMT) and local time.
Daylight Saving. Select Daylight Saving to enable it on the Switch. If the Switch should use US daylight
savings, then select USA. If the Switch should use EU daylight savings, then select European. If it should use
another kind of daylight savings, then select Other and complete the From and To fields.
Time Set Offset (1-1440). For non-US and European countries, specify the amount of time for daylight savings.
The default is 60 minutes.
From. If you selected Other for the Daylight Saving setting, then enter the date and time when daylight savings
begins.
To. If you selected Other for the Daylight Saving setting, then enter the date and time when daylight savings ends.
Recurring. If you selected Other for the Daylight Saving setting and daylight savings has the same start and end
dates and times every year, then select Recurring.
From. If you selected Recurring, then enter the date and time when daylight savings begins.
To. If you selected Recurring, then enter the date and time when daylight savings ends.
Click the Submit button to save your changes.
Figure 5-6: System Information - Time Synchronization


