


CFB 08/31/2010 Page 37
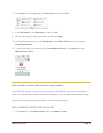
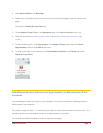
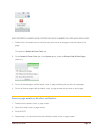
If you don't see the style that you want, click the arrow to expand the Quick Style gallery.
If the style that you want does not appear in the Quick Style gallery, press CTRL+SHIFT+S to open
the Apply Styles task pane. Under Style Name, click the style that you want.
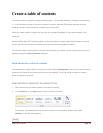
Create a table of contents from the gallery
After you mark the entries for your table of contents, you are ready to build it.
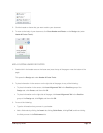
1. Click where you want to insert the table of contents, usually at the beginning of a document.
2. On the References tab, in the Table of Contents group, click Table of Contents, and then click the
table of contents style that you want.
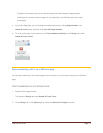
NOTE If you want to specify more options — for example, how many heading levels to show —
click Insert Table of Contents to open the Table of Contents dialog box. To find out more about the
different options, see Format the table of contents.
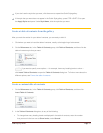
Create a custom table of contents
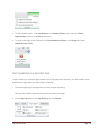
1. On the References tab, in the Table of Contents group, click Table of Contents, and then click
Insert Table of Contents.
2. In the Table of Contents dialog box, do any of the following:
To change how many heading levels are displayed in the table of contents, enter the number
that you want in the box next to Show levels, under General.