


GUIDE TO INSTALLATION AND OPERATION
Kaleido K2 | 5
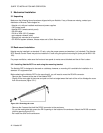
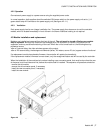
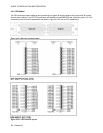
Figure 3.2.2 Moving the connector
Once the DE-9 connector is installed in the proper opening and the unit reassembled, do the following:
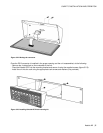
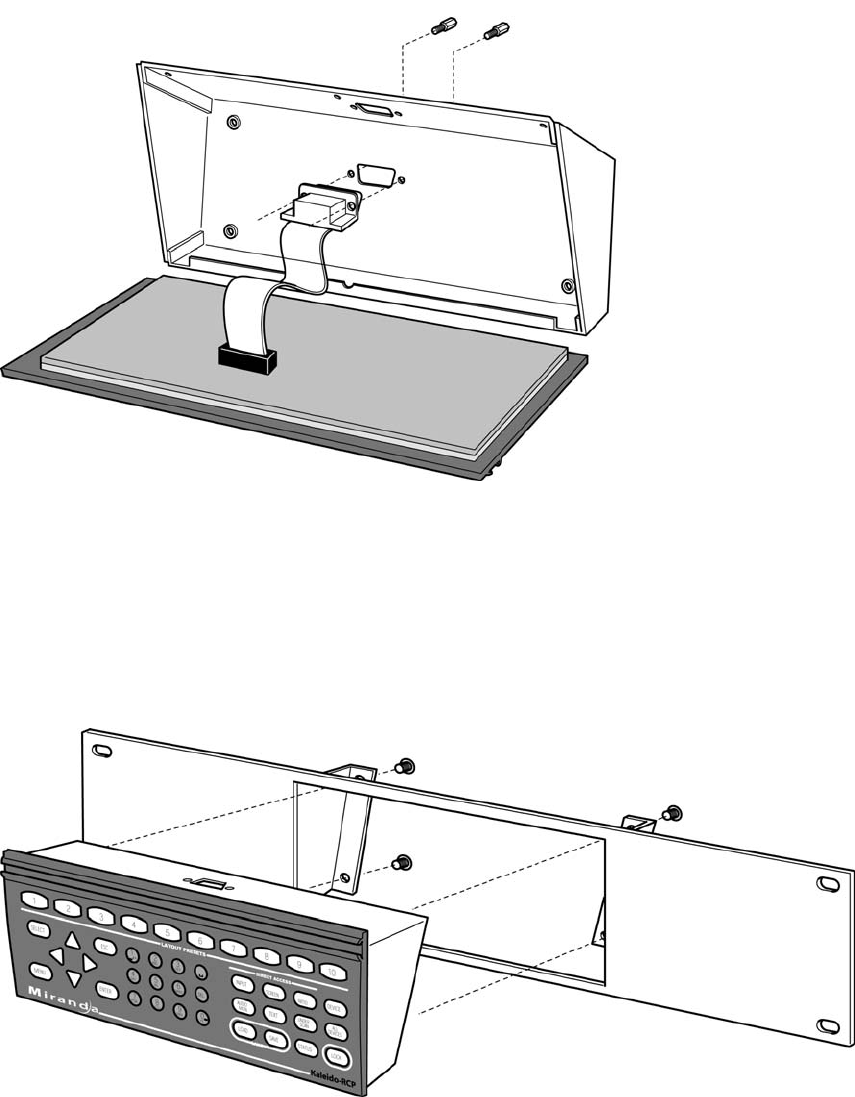
- Remove the 4 rubber feet on the underside of the unit.
- Place the Kaleido-RCP into the mounting bracket and secure it using the supplied screws (figure 3.2.3).
- Install the unit into the rack using the appropriate rack screws and washers (not provided).
Figure 3.2.3 Installing Kaleido-RCP into mounting kit