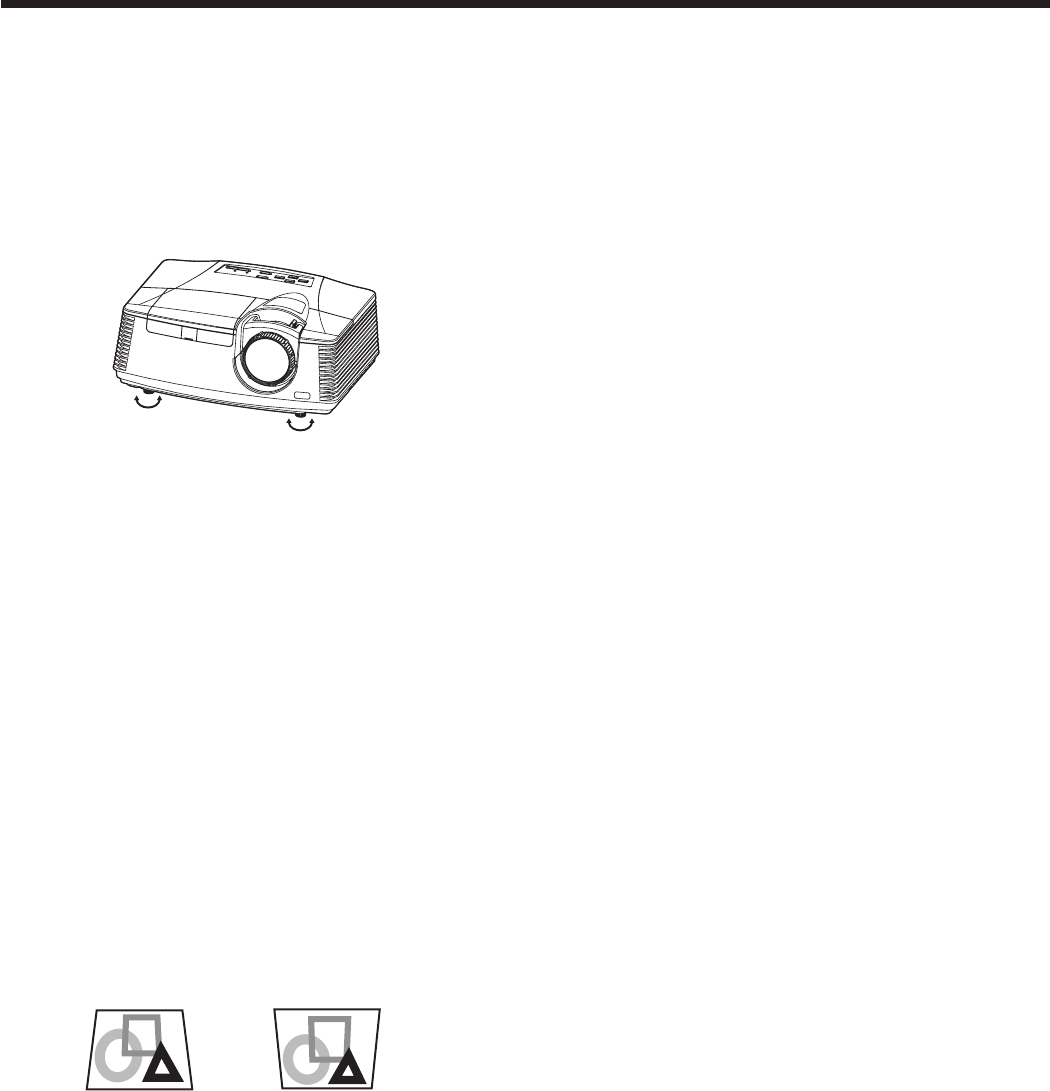
Adjustment of the projection angle
For the best projection, project images on a flat screen
installedat90degreestotheoor.Ifnecessary,tiltthe
projector using the two adjustment feet on the bottom
of the projector.
Using the adjustment feet (front)
1. Tilt up the projector to the appropriate angle.
2. Rotate the adjustment feet (front) for fine
adjustment.
Important:
• Installthescreenonaatwallat90degreestothe
floor.
• Slantingtheprojectormorethan±10°(rightand
left)or±15°(frontandrear)maycausetroubleor
explosion of the lamp. You can tilt the projector up
to 8 degrees using the adjustment feet only.
• Imagesmaynotbeprojectedinashapeofa
regular rectangle or with its aspect ratio 4:3,
depending on the installation conditions of the
projector and the screen.
When projected images are
distorted to a trapezoid
When Auto Keystone in the Installation menu is set
to On, this projector automatically corrects vertical
keystone distortion. For fine adjustment, press the
KEYSTONE button on the projector or the remote
control to display Keystone, and adjust the image by
pressing the , button (or VOLUME , button
on the remote control).
In the following cases:
Press the
button. Press the
button.
• Inthekeystoneadjustment,youcanobtainan
optimum result when the LENS SHIFT dial is at the
factory default position. (See page 9.)
• Theautomatickeystoneadjustmentmaynot
be carried out correctly because of the ambient
temperature and the installation conditions of the
projector and the screen. In such cases, correct the
keystone manually.
• Whentheprojectorisprojectingimageswhere
acceleration is present, such as in a vehicle and
aircraft, the automatic keystone adjustment may
not function correctly. In such a case, set Auto
Keystone in the Installation menu to Off and correct
the keystone manually.
Preparation (continued)
• Youcancorrecttheverticalkeystones.However,
their adjustment ranges are limited in such
correction.
Important:
• Whenthekeystoneadjustmentiscarriedout,the
adjustment value is indicated. Note that this value
doesn’t mean a projection angle.
• Theallowablerangeoftheadjustmentvaluein
the keystone adjustment varies depending on
the installation condition, input signal and aspect
settings in MENU.
• Whenthekeystoneadjustmenttakeseffect,the
resolution decreases. In addition, stripes may
appear or straight lines may bend in images with
complicated patterns. They are not due to product
malfunctions.
• Noisemayappearonthescreenduringthe
keystone adjustment because of the type of the
video signal being projected and the setting values
of the keystone adjustment. In such cases, set the
keystone adjustment values in the range where the
image is displayed without noise.
• Whenthekeystoneadjustmentiscarriedout,the
image may not be displayed correctly because of
the type of input signal.
