


UC-7420/7410 User’s Manual Getting Started
2-5
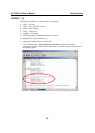
Linux Users
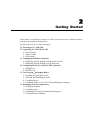
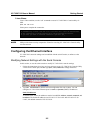
From a Linux machine, use the “ssh” command to access UC-7420/7410’s Console utility via
SSH.
#ssh 192.168.3.127
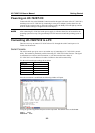
Select yes to complete the connection.
[root@bee_notebook root]# ssh 192.168.3.127
The authenticity of host ‘192.168.3.127 (192.168.3.127)’ can’t be established.
RSA key fingerprint is 8b:ee:ff:84:41:25:fc:cd:2a:f2:92:8f:cb:1f:6b:2f.
Are you sure you want to continue connection (yes/no)? yes_
NOTE SSH provides better security compared to Telnet for accessing UC-7420/7410’s Console utility
over the network.
Configuring the Ethernet Interface
UC-7420/7410’s network settings can be modified with the serial Console, or online over the
network.
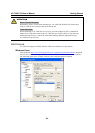
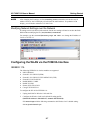
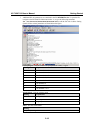
Modifying Network Settings with the Serial Console
In this section, we use the serial console to modify UC-7420/7410’s network settings.
1.
Follow the instructions given in a previous section to access UC-7420/7410’s Console Utility
via the serial Console port, and then type
#cd /etc/network
to change directories.
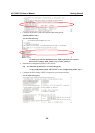
2.
Type
#vi interfaces
to edit the network configuration file with vi editor. You can
configure UC-7420/7410’s Ethernet ports for static or dynamic (DHCP) IP addresses.
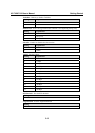
Static IP addresses:
As shown below, 4 network addresses need to be modified: address, network, netmask, and
broadcast. The default IP addresses are 192.168.3.127 for LAN1 and 192.168.4.127 for
LAN2, with default netmask of 255.255.255.0.