


37
4. Convenient Features
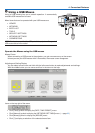
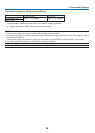
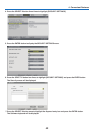
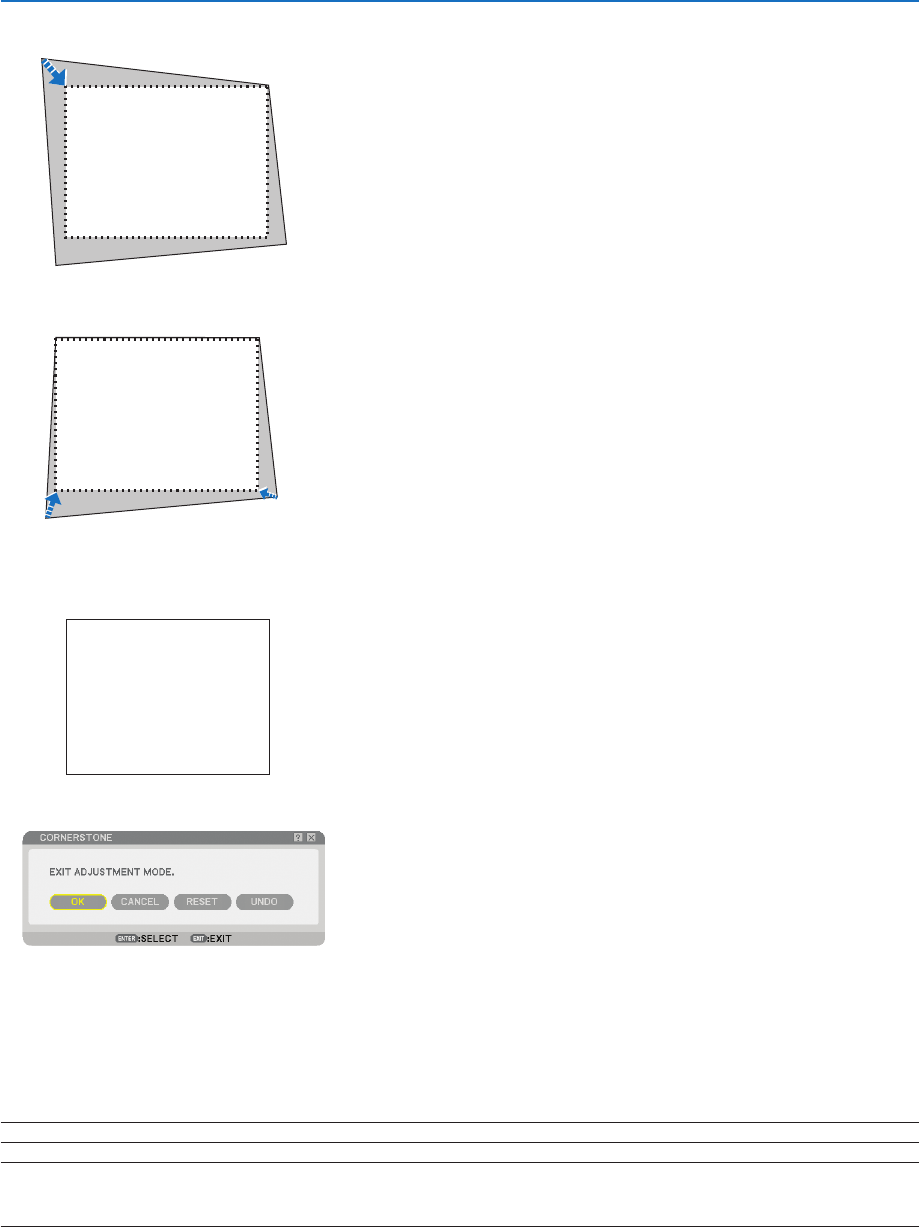
8. Press the ENTER button.
10
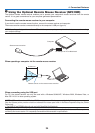
. Press the SELECT ◀ or ▶ button to highlight the [OK] and press the ENTER button.
This completes the Cornerstone correction.
Selecting [CANCEL] will return to the adjustment screen without saving changes (Step 3).
Selecting [RESET] will return to the factory default.
Selecting [UNDO] will exit without saving changes.
NOTE: To reset the 3D Reform correction setting values, press and hold the 3D REFORM button for a minimum of 2 seconds.
NOTE: During 3D Reform adjustment, [ASPECT RATIO] and [SCREEN] may not be available. Should this happen, fi rst reset the
3D Reform data and then do each setting. Second repeat the 3D Reform adjustment. Changing [ASPECT RATIO] and/or [SCREEN]
setting can limit 3D REFORM in its adjustable range.
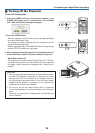
Screen
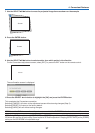
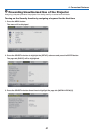
9. Use the SELECT ▲▼◀▶ button to select another icon which points in the direction.
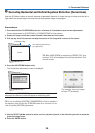
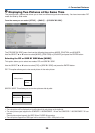
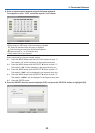
On the Cornerstone adjustment screen, select [EXIT] or press the EXIT button on the remote control.
The confirmation screen is displayed.
7. Use the SELECT ▲▼◀ ▶ button to move the projected image frame as shown on the example.
Screen
Screen