24
OKIFAX 4500
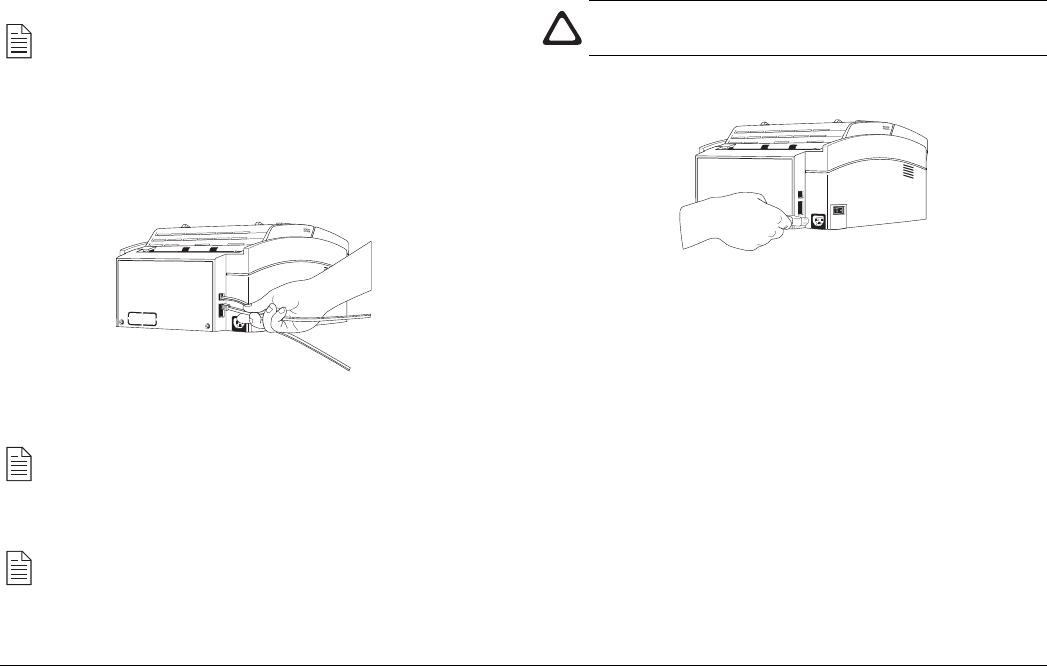
2. Insert the other end of the telephone cable into your wall
telephone socket.
Note: Now, you can connect either an external telephone
or the external handset option for your fax machine. See
the instructions below.
Connecting Telephone, Handset or Answering Machine
1. Insert one end of the telephone cable into one of the two
TEL terminals on the back of the fax machine.
2. Insert the other end of the telephone cable into the socket in
your telephone, handset or answering machine.
Note: To connect both an answering machine and a
telephone, first connect your answering machine to your
fax machine and then insert your telephone’s cable into
the telephone socket on your answering machine.
Note: You will need to have the TAD mode feature turned
on for an answering machine to work with your fax
machine. See Setting the Answering Mode later in this
user’s guide.
Connecting Power Cable
Caution: Before connecting power, ensure that the power
switch is OFF (“0” is in depressed position)
1. Insert the power cable into the power inlet socket located
on the back of the fax machine.
2. Connect the unattached end of the power cable into an
earthed AC power outlet.
3. Switch your fax machine on using the power switch. The
time and current answering mode will appear on the display.
Your fax machine is now in stand-by mode, ready to send
or receive faxes.
Loading Paper
Your fax machine can hold up to 100 sheets of standard weight
(80 gsm) paper. For best results, use paper specially made for
laser printers or photocopiers.
Your fax machine automatically reduces the vertical length of
the page images it receives to fit on the paper loaded in your fax
machine (down to 75% of the original length). For example, if a
