User’s Guide 25
English
document created originally on legal-size paper is received, your
fax machine reduces the received pages to fit on A4 or letter-
size paper.
Note: Your fax machine is set at the factory to use A4
paper. If you intend to use a different paper size, change
the 1’ST PAPER SIZE user function setting to match
your new paper size. See Programming later in this user’s
guide for instructions.
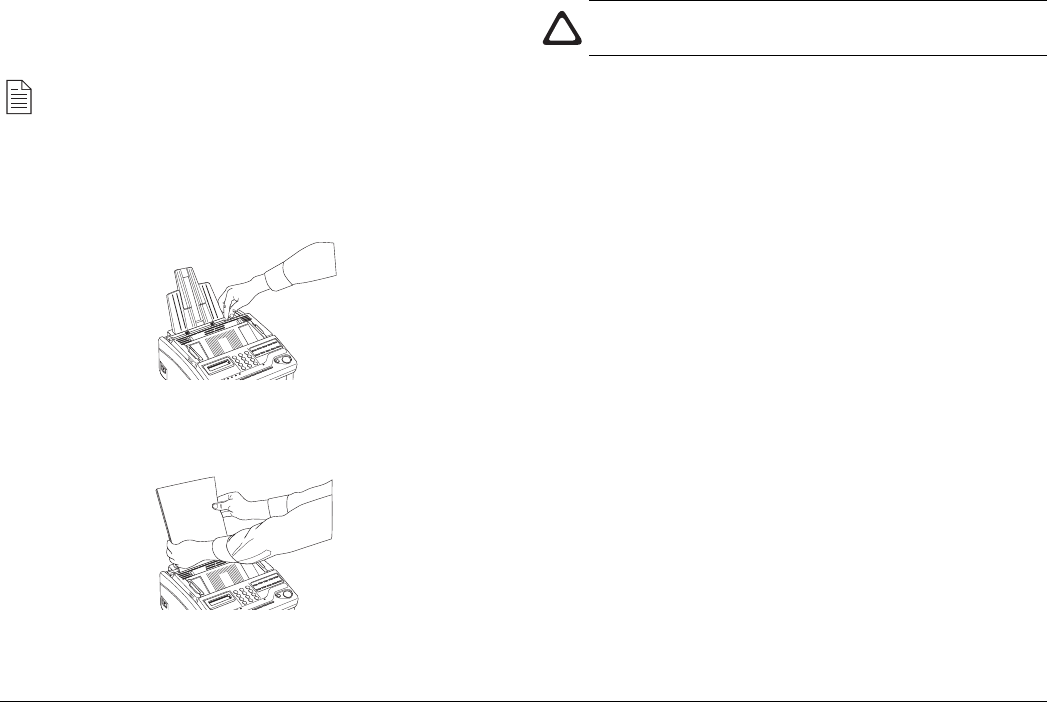
1. Adjust the right paper guide to the width size of your paper.
2. Remove the paper from its wrapper (up to 100 sheets). Note
the “print side” notice printed on the label. Fan the paper.
3. Insert sheets of paper into the paper tray, print side down.
4. Adjust the left paper guide so that it is aligned to the paper
width.
Caution: Be sure to grasp the paper tightly to avoid
slipping of the uppermost sheet of paper.
Setting the Clock
Follow these instructions to set the time and date on your fax
machine.
1. Press the SELECT FUNCTION key.
2. Press the USER PROG One Touch key.
3. On the numeric keypad, press 3. The display will show
3:CLOCK ADJUSTMENT
YES (
ßß
ßß
ß) NO (
àà
àà
à/1-7)
4. Press the ô YES key. The display will show the currently
set date and time.
5. Using the numeric keypad, enter the new date and time.
6. Press the ô YES key to confirm your entry.
7. Press the SELECT FUNCTION key to finish.
Setting the Answering Mode
Your fax machine has a number of answering modes which
determine how it handles incoming calls (both fax and voice).
The current answering mode appears on your fax machine’s
stand-by display.


