128 Appendix F: Interfacing
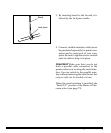
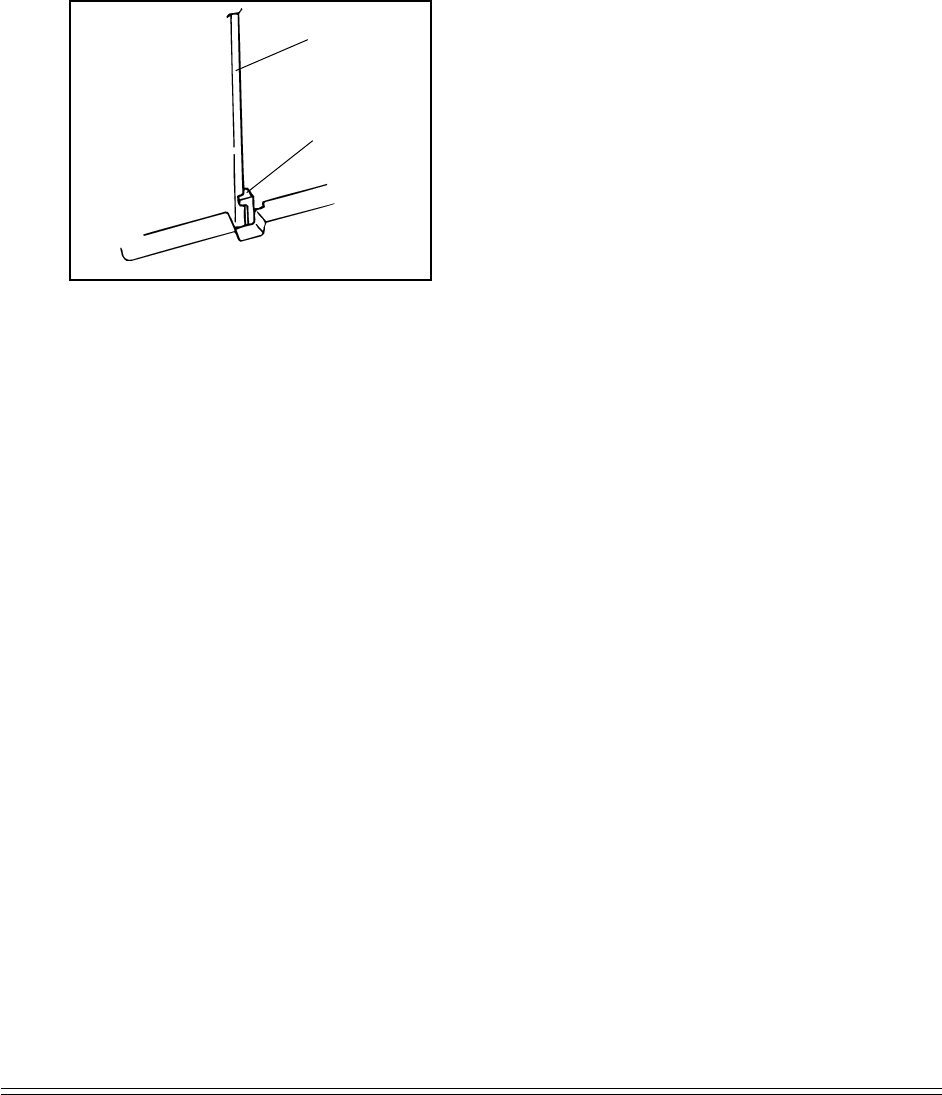
3. By inserting board to the far end, it is
locked by the lock piece inside.
Board
Lock piece
4. Connect suitable interface cable (must
be purchased separately) to printer con-
nector and to serial port of your com-
puter. Be sure to tighten screws on both
ends of cable to keep it in place.
Important!
Make sure that you do not
have a parallel cable connected to the
printer when you’re using the serial inter-
face. You can switch to the parallel inter-
face without removing the serial board, but
only one cable can be attached at a time.
When the serial interface is installed, the
“Serial I/F” portion of the Menu will be-
come active (see page 73).


