


C3400n User’s Guide
87
fuser_out_F5_10.jpg
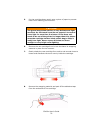
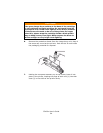
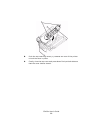
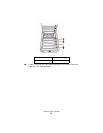
3. Pull the two fuser retaining levers (2) towards the front of the
printer so that they are fully upright.
4. Holding the fuser by its handle (1), lift the fuser straight up and
out of the printer. If the fuser is still warm, place it on a flat
surface which will not be damaged by heat.
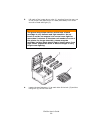
5. Remove the new fuser from its packaging and remove the transit
material.
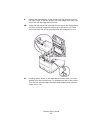
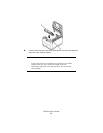
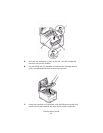
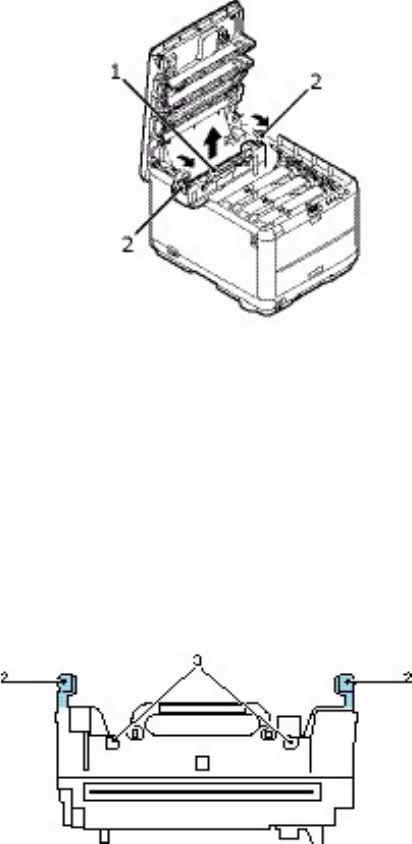
6. Holding the new fuser by its handle, make sure that it is the
correct way round. The retaining levers (2) should be fully
upright, and the locating lugs (3) should be towards you. There is
one locating lug at each end of the fuser.
Fuser Alone.jpg
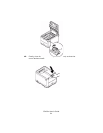
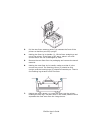
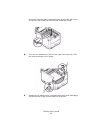
7. Holding the fuser handle (2), lower the fuser into the printer,
locating the two lugs into their slots in the metal partition which
separates the fuser area from the image drums.