30
Getting StartedUseful InformationTroubleshootingAppendix
Hardware Diagnostics
Run this utility using the default settings in the Setup Utility.
If the Setup Utility or other settings will not allow a hardware to be executed, the hardware icon will be displayed in gray.
1 Connect the AC adaptor, and turn on the wireless switch.
During the diagnostic check, do not remove the AC adaptor, or attach any peripheral devices.
2
Turn on or restart the computer, and press
F2
or
Del
while [Panasonic] boot screen is dis-
played.
The Setup Utility starts up.
z If the password is requested, enter the Supervisor Password.
z If you are using the computer after changing the settings from the status at the time of purchase, we recom-
mend that you make a note of the settings that are changed.
3 Press
F9
.
At the confirmation message, select [Yes] and press
Enter
.
4 Select the [Main] menu, then select [Optical Drive Power] and press
Enter
.
5 Select [On] and press
Enter
.
6 Press
F10
.
At the confirmation message, select [Yes] and press
Enter
.
The computer will restart.
7 While [Panasonic] boot screen is displayed, press and hold
Ctrl
+
F7
until “Please Wait”
appears at the bottom of the display.
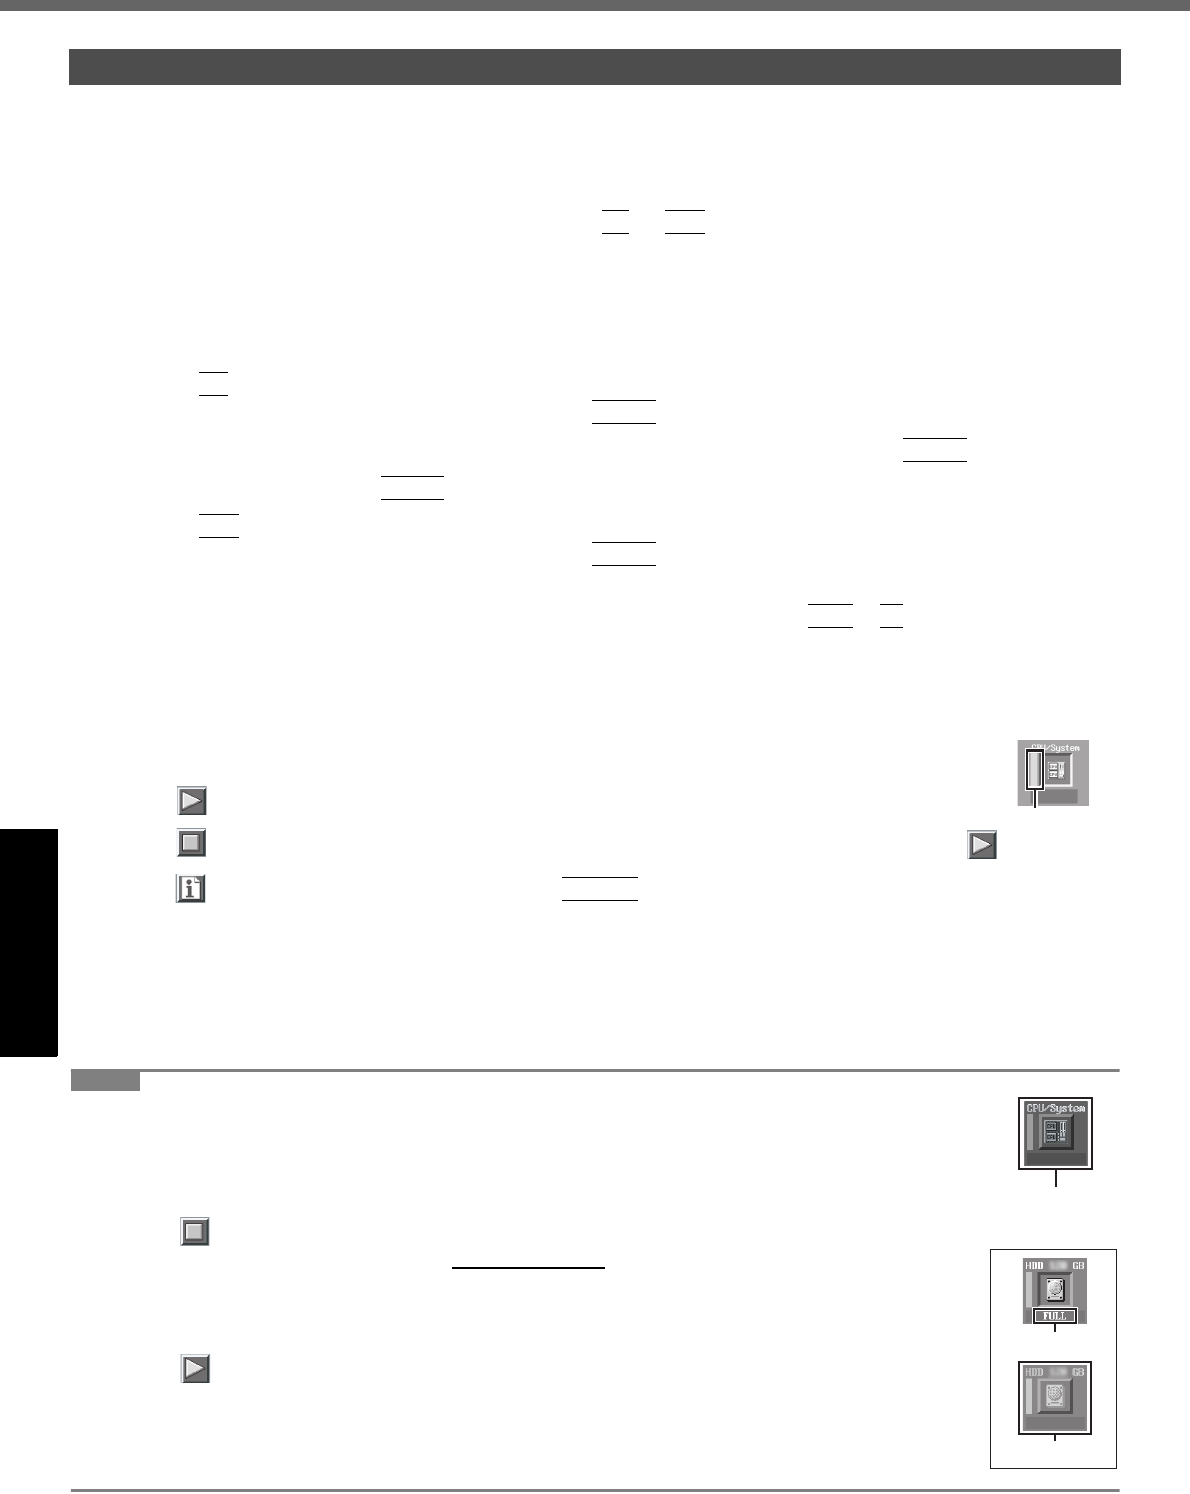
When the PC-Diagnostic Utility starts up, it will automatically begin the diagnostic check for all hardware components.
z If the password is requested, enter the password.
z The touch pad and the internal keyboard cannot be used until alternating blue and yellow colors are displayed
on the left side of the
hardware
icon (A).
z By clicking the icon, you can execute the following operations:
• : Start the diagnostic check from the beginning
• : Stop the diagnostic check (You cannot restart the check partway through by clicking )
• : Display help (click the screen or press
Space
to return to the original diagnostic check screen)
z
You can check the status of the diagnostic check by the display color on the left side of the hardware icon (A).
• Aqua: Not running diagnostic check
• Alternating blue and yellow: Currently running diagnostic check. The interval of the alternating colors differs depend-
ing on the type of diagnostic check currently running.
During memory diagnostic check, the display may freeze for a long period of time. Wait until the process is complete.
• Green: No problems discovered
• Red: Problems discovered
NOTE
z Using the following procedure, you can run a diagnostic check on a specified hardware component,
or run an extended diagnostic check on the hard disk, keyboard and touch pad (You do not need to
perform the extended diagnostic check for the keyboard and touch pad in normal use.). The
extended diagnostic check on the hard disk is more detailed, and so requires a longer period of time
to run.
A Click to stop the diagnostic check.
B
Click the icon for the hardware that is not to be checked, so that the icon is displayed in gray (B).
When running a check on the hard disk
, keyboard or touch pad
, clicking the icon once will turn on
the extended diagnostic check (“FULL” (C) will be displayed below the icon); click again, and the
icon will be displayed in gray (D).
C Click to start the diagnostic check.
Running the Diagnostic Check
A
e.g. hard disk
C
D
B


