


OnSite System Installation 30
OnSite Series Getting Started Guide 3 • Installation Overview
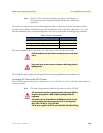
Note Take care to load the rack so that it is not top heavy.
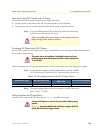
Note Do not cover vents that would restrict airflow. Leave a minimum of a
half-rack space above and below the OS-10 system for adequate ven-
tilation.
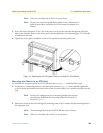
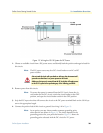
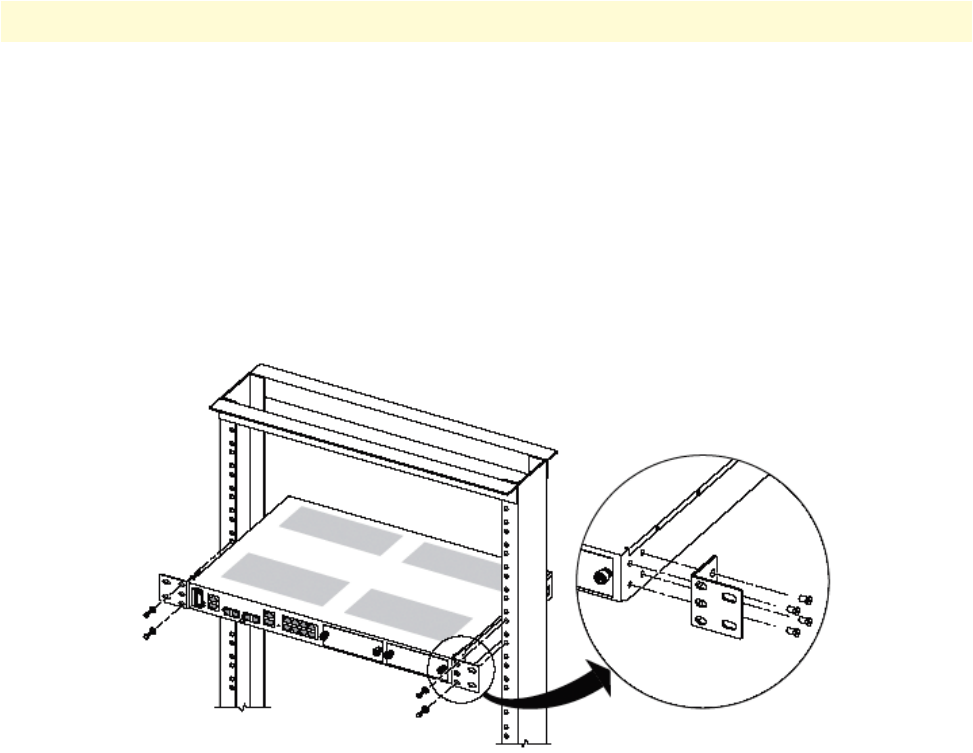
3. Secure the chassis using four 12-24 x 3/4-inch screws (two screws for each side) through the elongated
holes in the L bracket nearest to the chassis and to the threaded holes in the mounting post. Use a suitable
screwdriver for this task.
4. Tighten any loose captive installation screws on the expansion slot front panel covers.
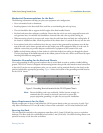
Figure 10. Mounting the OS-10 System Chassis in an EIA/TIA 19-Inch Rack
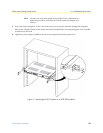
Mounting the Chassis to an ETSI Rack
To install the OS-10 system chassis in an ETSI 300-mm rack, see Figure 11 and follow these steps:
1. Install the two L mounting brackets in the orientation shown in Figure 11. Insert and fully tighten the
screws to secure the brackets to the chassis (four screws for each bracket). Use a suitable screwdriver for this
task.
Note For this rack configuration, the L mounting bracket holes are posi-
tioned 50 mm back from the front panel of the OS-10 system, as
shown in Figure 11.
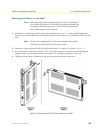
2. Position the chassis in the rack and align the mounting holes in the L bracket with the mounting holes in
the equipment rack.
Note The mounting-hole pitch for the ETSI 300 mm rack is 25 mm.
Note Take care to load the rack so that it is not top heavy.