Completing the hardware installation 33
Model 3125 RAS Getting Started Guide 2 • Hardware installation
Connecting to the T1/E1/PRI WAN ports
An active T1/E1/PRI is not necessary to configure the RAS. However, an active T1/E1/PRI connection is
required to receive or make calls. The factory-set default configuration of the access server has the T1/E1 ports
disabled.
Note The cable connecting the T1/E1/PRI WAN ports to the RJ-48C ter-
mination jack should be CAT-3 or higher and extend no farther than
1 mile from the digital services termination.
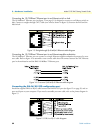
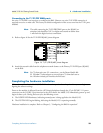
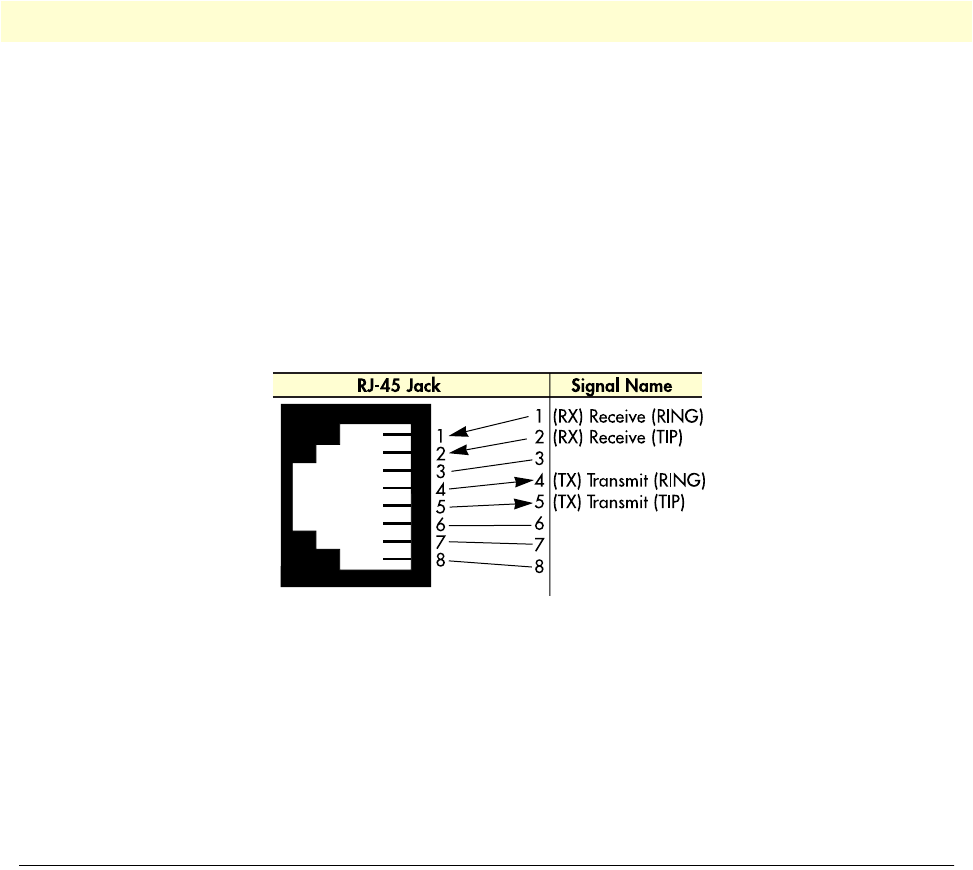
1. Refer to figure 16 for the T1/E1/PRI RJ-48C pinout diagram.
Figure 16. T1/E1/PRI RJ-48C pinout diagram
2. Attach the network cable from the telephone network demarc to the Primary T1/E1/PRI port (RJ-48C)
on the RAS.
Note For 75-ohm twin-coax E1 connections, use the Patton Model 460
E1 120-ohm/75-ohm adapter to convert from a 75-ohm dual-coax to
the 120-ohm twisted-pair interface the RAS uses.
Completing the hardware installation
This section verifies that the Model 3125 RAS hardware is operational to the point where you can begin con-
figuring the software settings.
Power to the modules is delivered from the cPCI chassis backplane through the 47-pin PICMG 2.11 power
connectors on the 3125RC. Upon insertion in the cPCI chassis, the Model 3125 immediately powers up and
begins its boot cycle. During the boot cycle, the following occurs:
1. The POWER LED illuminates, indicating normal power is being applied to the Model 3125.
2. The SYSTEM LED begins flashing, indicating the Model 3125 is operating normally.
Hardware installation is complete. Refer to Chapter 3, “Configuring the RAS for operation”.


