


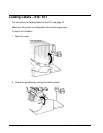
Users Manual - 610/611/612 Printers Getting Started •• 3
Establishing Communications
Before the printer can accept print jobs from the host, you must:
♦ Connect the communication cable to the printer and to the host.
♦ Set the communication values on the printer to match those at the host. (Only
required if you are using the serial port.)
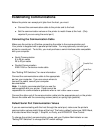
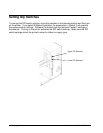
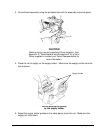
Connecting the Communication Cable
Make sure the printer is off before connecting the cable to the communication port.
Your printer is supplied with a parallel printer cable. You may optionally connect your
printer to a serial port. To do this, you must purchase a serial interface cable compatible
with your computer.
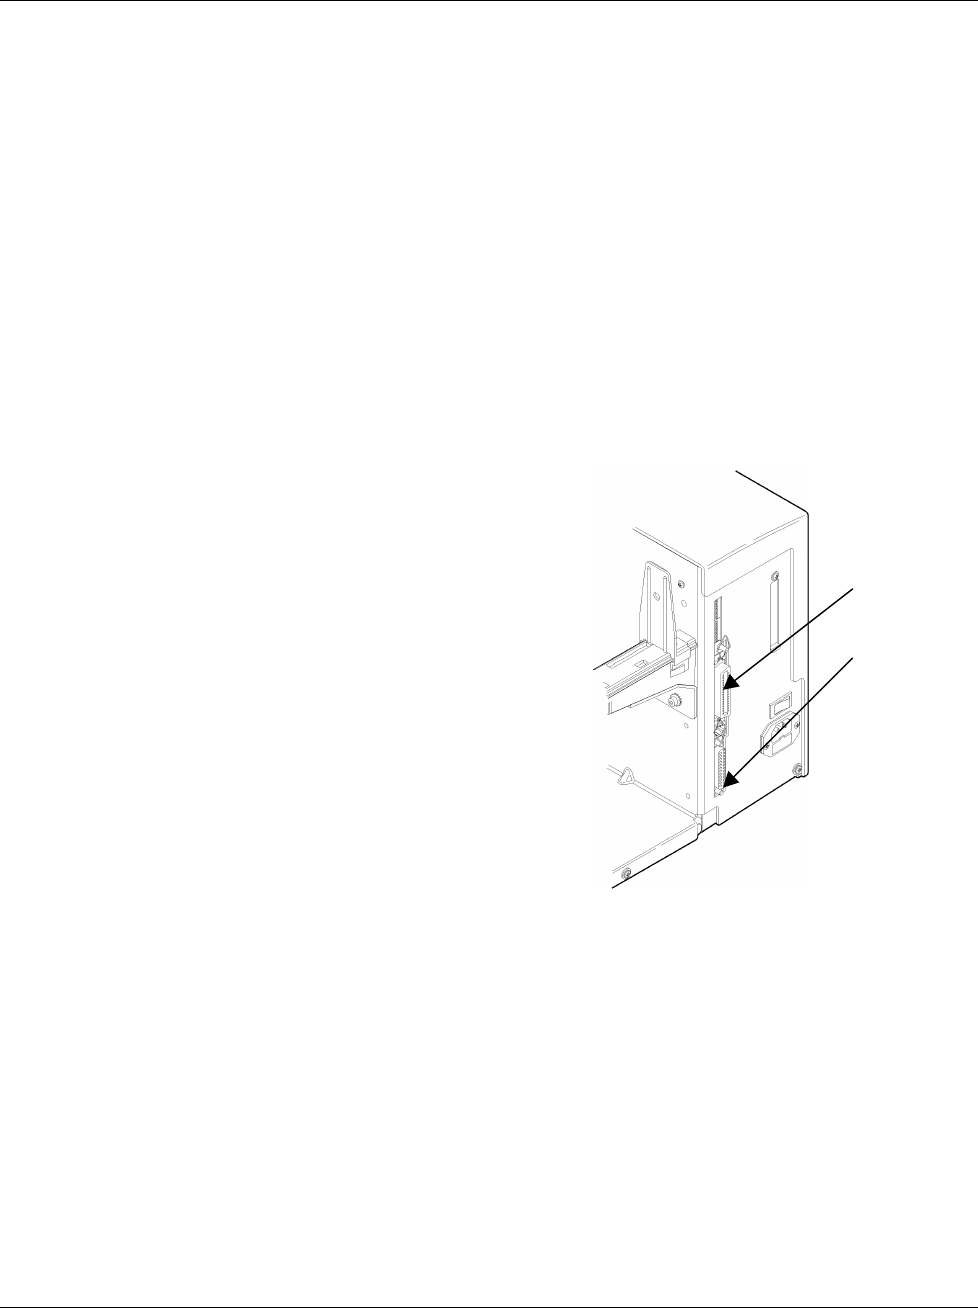
♦ Serial Communication
9 to 25 pin cable
25 to 25 pin cable
♦ Parallel Communication
IEEE-1284 or Centronics mode cable
See "Setting DIP Switches," for more information.
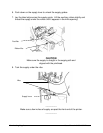
Connect the communications cable to the appropriate
port on your computer. If you are unsure where to
connect the cable, consult your computer
documentation.
Note: It is highly recommended that you use the
cable supplied with your printer. Paxar cannot be
responsible for communications problems when a non-Paxar cable is used.
Connect the other end of the communication cable into the appropriate port on the printer.
Secure the cable with the connecting screws (serial) or spring clips (parallel).
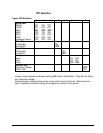
Default Serial Port Communication Values
If you are communicating with the host through the serial port, make sure the printer's
communication values match those at the host. The factory default values are: 9600-Baud,
8 bit data frame Word Length, 1 Stop Bit, no Parity, and XON/XOFF Flow Control.
To change the printer's communication values, ask your System Administrator or see
"Setting DIP Switches" to change the DIP switch settings.
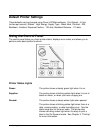
Parallel Port
Serial Port