


17
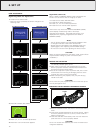
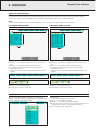
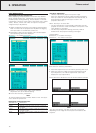
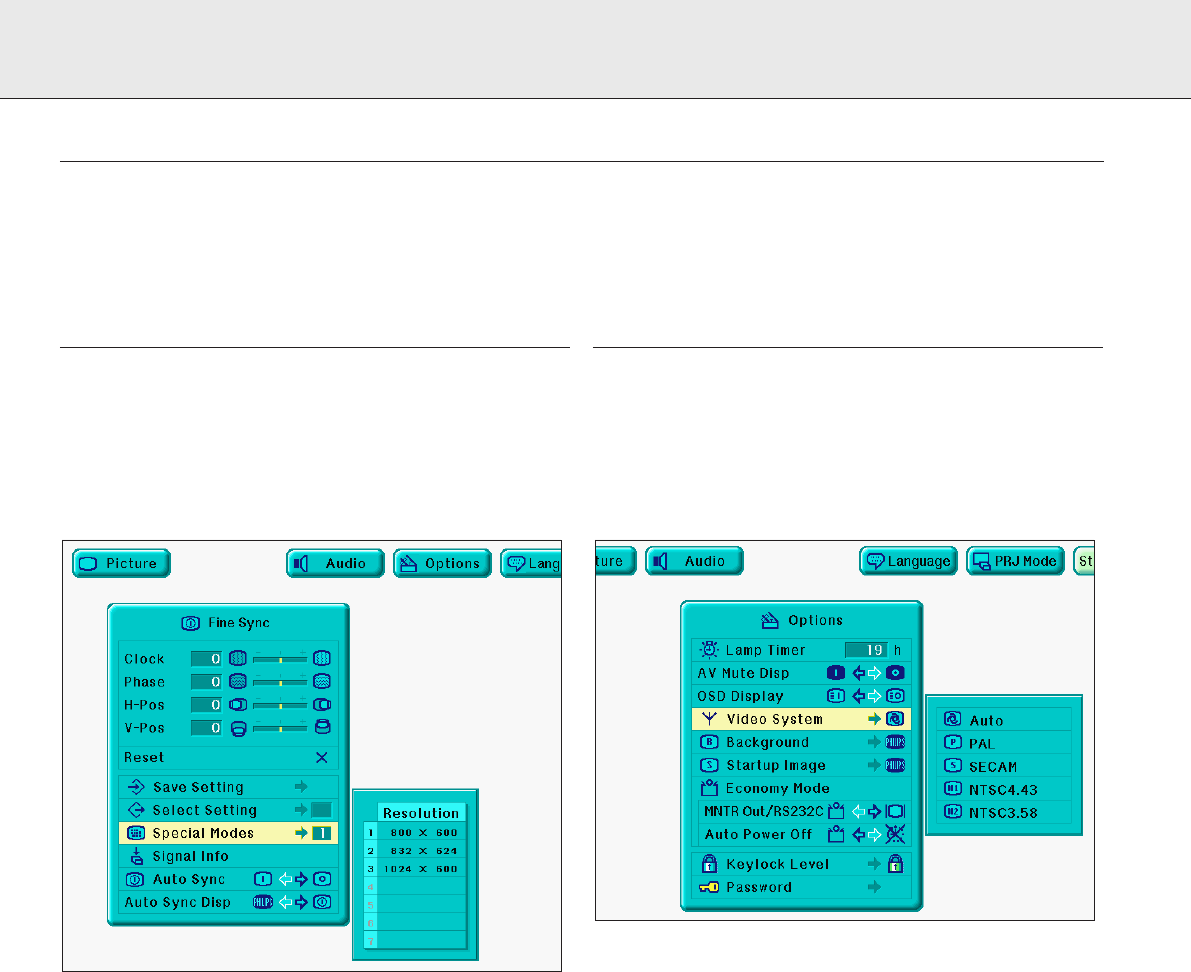
DATA MODE INPUT SIGNAL
Data mode input selection
Ordinarily, the type of input signal is detected and the correct
resolution mode is automatically selected. However, for some
signals, ‘Special Modes’ on the ‘Fine Sync’ menu screen may
need to be changed to match the computer display mode.
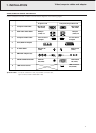
1.
Press Menu.
2.
Press 1 / 2 to select ‘Fine Sync’.
3.
Press 3 / 4 to select ‘Special Modes’.
4.
Press OK to move into the Special Modes.
5.
Press 4 to select the optimal resolution mode.
6.
Press OK to save the setting.
7.
To exit from the GUI, press Menu.
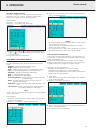
Notes:
– Avoid displaying computer patterns which repeat every other
line (horizontal stripes). (Flickering may occur, making the
image hard to see.)
– When inputting DTV 480P signals, select ‘480P’ in step 4
above.
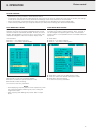
VIDEO MODE INPUT SIGNAL
Video mode system selection
The video input system mode is preset to ‘Auto’; however, it
can be changed to a specific system mode, if the selected
system mode is not compatible with the connected audiovisual
equipment.
1.
Press Menu.
2.
Press 1 / 2 to select ‘Options’.
3.
Press 3 / 4 to select ‘Video System’.
4.
Press OK to move into the Video System mode.
5.
Press 4 to select the desired video system mode.
6.
Press OK to save the setting.
7.
To exit from the GUI, press Menu.
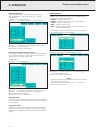
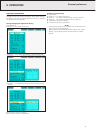
8. OPERATION
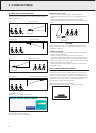
PICTURE CONTROL
– The projector’s picture is set to standard specifications at the factory. However, you can adjust the image to suit your own
preferences by using the Data or Video ADJUST feature.
– The projector will store the last used settings for every source. So when you switch from one source to another, the settings
of the source switched from will be stored and the settings of the source switched to will be recalled.
– When the projector is switched off and on again the settings for the selected source will be recalled again.
– Three memory modes allow you to adjust and save up to three sets of settings (see ‘Personal Preferences’).
Picture control