


25
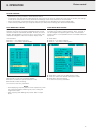
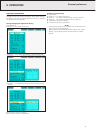
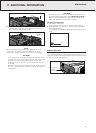
ON-SCREEN DISPLAY OVERRIDE FUNCTION
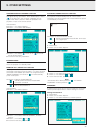
This function allows you to turn off the on-screen messages
that appear during ‘input select’. Once ‘OSD Display’ is set to
‘’ in the GUI menu, the on-screen messages will not
appear when Data 1, Data 2 or Video are pressed on the
projector or Input on the remote control.
1.
Press Menu.
2.
Press 1 / 2 to select ‘Options’.
3.
Press 3 / 4 to select ‘OSD Display’.
4.
Press 1 / 2 to select ‘’ to turn on or ‘’ to turn off
the On-Screen Display.
5.
To exit from the GUI, press Menu.
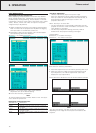
ECONOMY MODE
This function allows you to reduce the power consumption
when the projector is in Standby mode.
MONITOR OUT / RS232C OFF FUNCTION
This projector consumes power when using a monitor
connected to the Data out port for Data in 1, 2 and a computer
connected to the RS232C port. When not using these ports,
‘MNTR Out/RS232C’ can be set to ‘’ to reduce standby
power consumption.
Description of Monitor Out/RS-232C Off
Standby power for Monitor Out/RS-232C
connection turned off
Monitor Out/RS-232C on
1.
Press Menu.
2.
Press 1 / 2 to select ‘Options’.
3.
Press 3 / 4 to select ‘MNTR Out/RS232C’, and then
press 2.
4.
Press 3 / 4 to select ‘’ or ‘’.
5.
To exit from the GUI, press Menu.
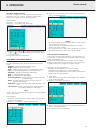
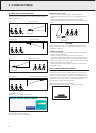
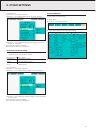
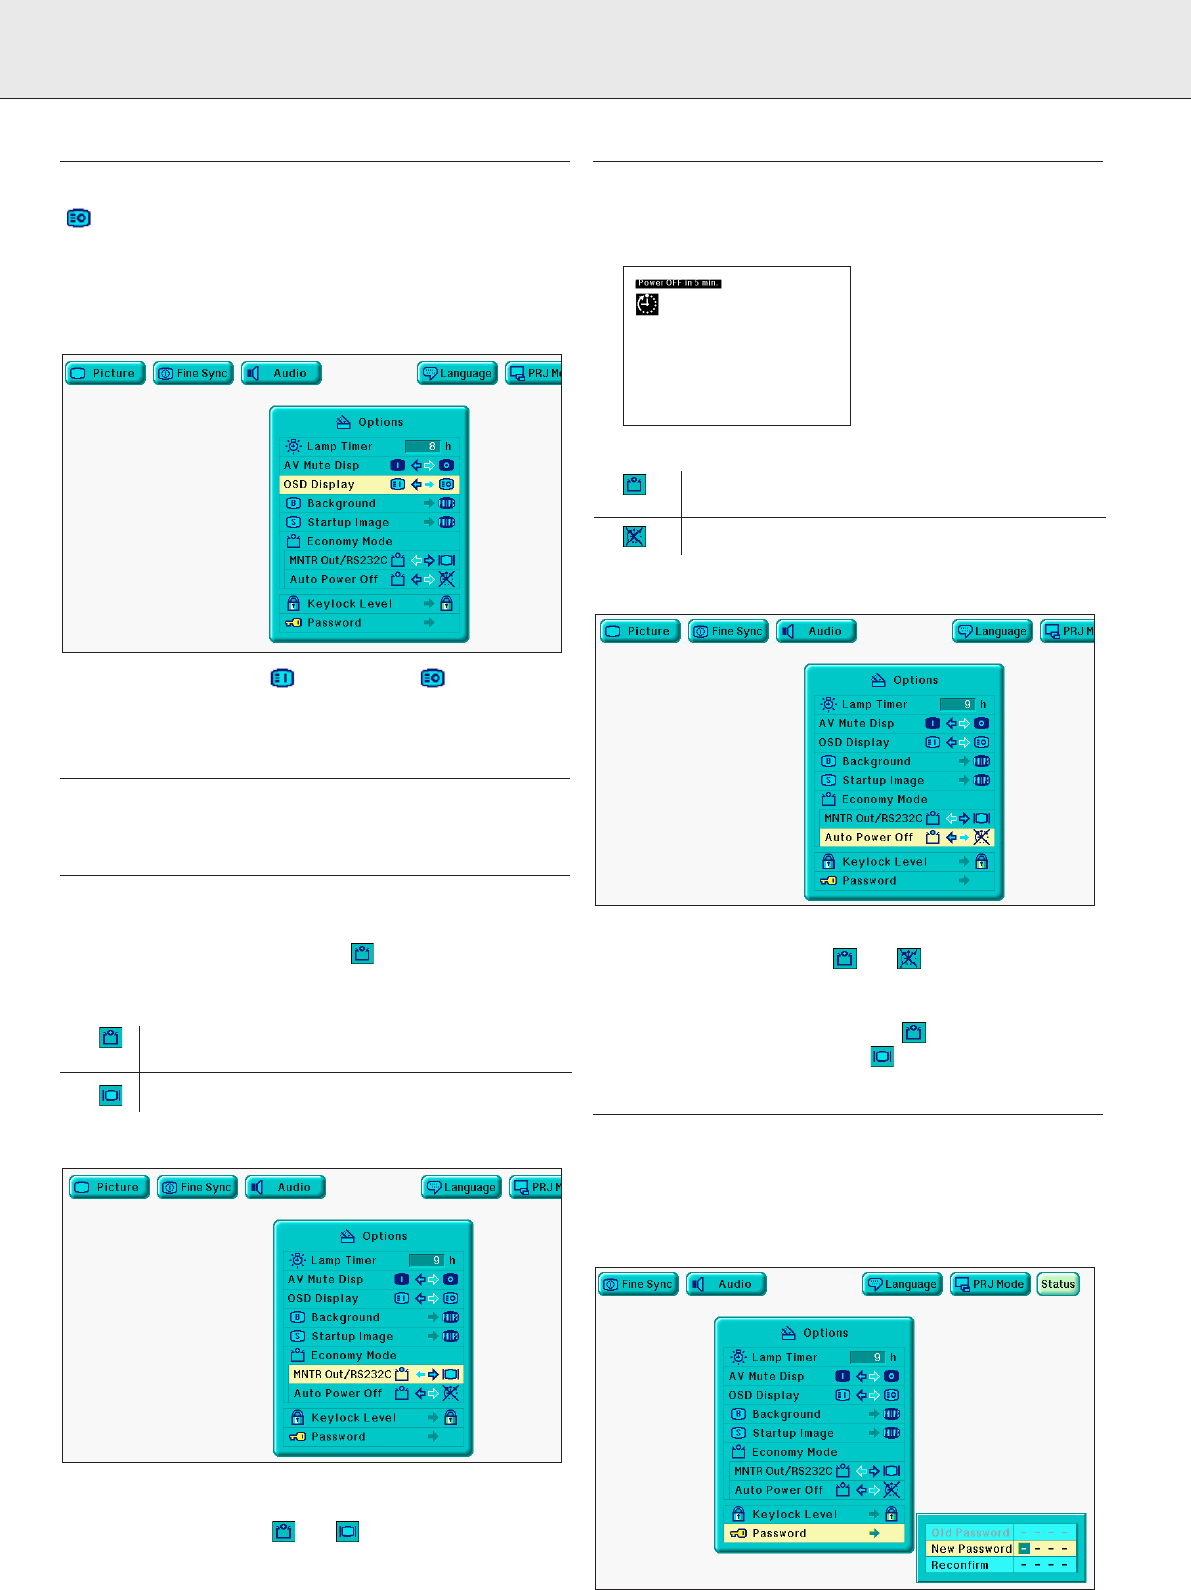
AUTOMATIC POWER SHUTOFF FUNCTION
When no input signal is detected for more than 15 minutes,
the projector will automatically shut off. The on-screen
message on the left will appear five minutes before the power
is automatically turned off.
Description of Automatic Power Shutoff
Power automattically shuts off after 15 minutes
of no signal input
Automatic Power Shutoff disabled
1.
Press Menu.
2.
Press 1 / 2 to select ‘Options’.
3.
Press 3 / 4 to select ‘Auto Power Off’.
4.
Press 3 / 4 to select the ‘’ or ‘’.
5.
To exit from the GUI, press Menu.
Note:
‘Auto Power Off’ is factory preset to ‘’, and ‘MNTR
Out/RS232C’ is factory preset to ‘’.
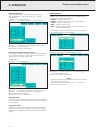
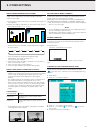
PASSWORD
A password can be set by the user and used with the keylock
level to prevent adjustments to certain settings on the GUI
Setting the Password
1.
Press Menu.
2.
Press 1 / 2 to select ‘Options’.
3.
Press 3 / 4 to select ‘Password’, and then press 2.
9. OTHER SETTINGS