


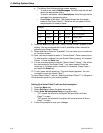

5 • Mailing System Setup
5-14 SV61162 Rev. D
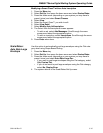
e. The Select Auto Ad/Inscriptions screen appears:
• To add an ad, select Ads/Mes
sages. Scroll through the list and
select the appropriate option.
• To add an inscription, select Inscrip
tions. Scroll through the list
and select the appropriate option.
•Press Enter when done.
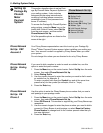
The display shows the first weight
break for this Smart Class™. Since we did not create a fourth
weight break it is listed as None.
8. Press the Enter key again an
d "Select Custom Carrier" appears in the
display. You are presented with a list of available custom carriers for
grouping your Smart Classes.
9. Select one that is listed as "Available". You can have up to a maximum
of 4 custom carriers.
10
. Next, you are prompted to enter a "Carrier Name". Enter a name (up to
15 letters and/or numbe
rs) for your Smart Class grouping, for example,
Carrier 1. Press the Enter key.
11. You are now prompted to enter the "Smart Class™ Name". This will be
the
cla
ss name for the Smart Class™ you have created. Enter the
name (up to 15 letters and/or numbers), for example, Smart Class 1,
and press the Enter key.
12. To exit, press the left arrow key. The main display appears. You can
now begin
to use this Smart Class™.
To use a Smart Class™, refer to “Selecting a Smart Class™” in Chapter 4
of
the operator guide for your mailing system.
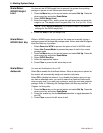
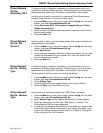
Setting Up a Smart Class™ with an Auto Inscription
1. Press the Men
u key
.
2. Select Set Up and press
the down arrow key.
3. Select Auto Ad/Inscription
Setup to toggle printing:
• "On" means the ad and/or inscription will print when a Smart
Class™ is used.
• "Off" means the ad and/or inscription will not print when
a Smart
Class™ is used.
4. Follow the prompts to save your changes.
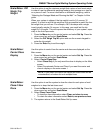
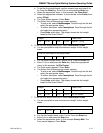
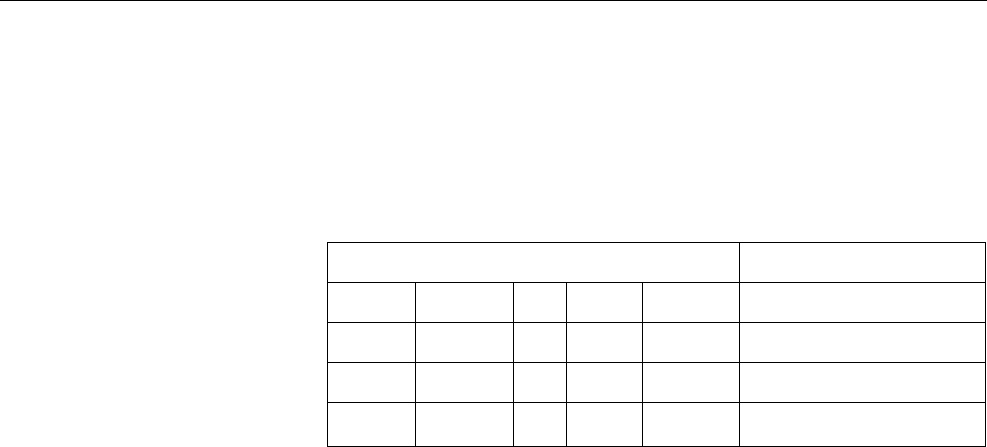
Weight Class/+Fees
0 lb 0.0 oz — 0 lb 3.0 oz 1stAuto...r 5 Dig
0 lb 3.0 oz — 0 lb 13.0 oz 1st Cls Presort
0 lb 13.0 oz — 1 lb 0.0 oz Priority Mail
0 lb 0.0 oz — 0 lb 0.0 oz None