


- 10 -
2. In some area, installing a surge suppression device may also help to protect your Web Smart Switch from being
damaged by unregulated surge or current to the Web Smart Switch.
his part describes how to install your Web Smart Ethernet Switch and make connections to the Switch. Please read the
dures in the order being presented o install your Web Smart Switch on a desktop
ng steps.
o install Web Smart Switch on a desktop or shelf, simply completed the following steps:
the recessed areas on the bottom of the Web Smart Switch.
cts.
scussed in
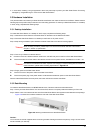
2.3 Hardware Installation
T
following topics and perform the proce . T
or shelf, simply completed the followi
2.3.1 Desktop Installation
T
Step 1: Attached the rubber feet to
Step 2: Place the Web Smart Switch on a desktop or shelf near an AC power source.
Step 3: Keep enough ventilation space between the Web Smart Switch and the surrounding obje
#Notice:
When choosing a location, please keep in mind the environmental restrictions di
Chapter 1, Section 4, Specification.
Step 4
. Connect one end of a standard network cable to the 10/100 RJ-45 ports on the front of the Web Smart Switch.
ork devices such as printer servers, workstations or routers…etc.
or
: Connect your Switch to network devices.
A
B. Connect the other end of the cable to the netw
#Notice:
more information, please see the Cabling Specification in Appendix A.
Connection to the Web Smart Switch requires UTP Category 5 network cabling with RJ-45 tips. F
Step 5
. Connect one end of the power cable to the Web Smart Switch.
andard wall outlet then power on the Web Smart Switch.
emain solid Green.
o install the Web Smart Switch in a 19-inch standard rack, follow the instructions described below.
rt Switch on a hard flat surface, with the front panel positioned towards your front side.
d to the package.
: Supply power to the Web Smart Switch.
A
B. Connect the power plug of the power cable to a st
When the Web Smart Switch receives power, the Power LED should r
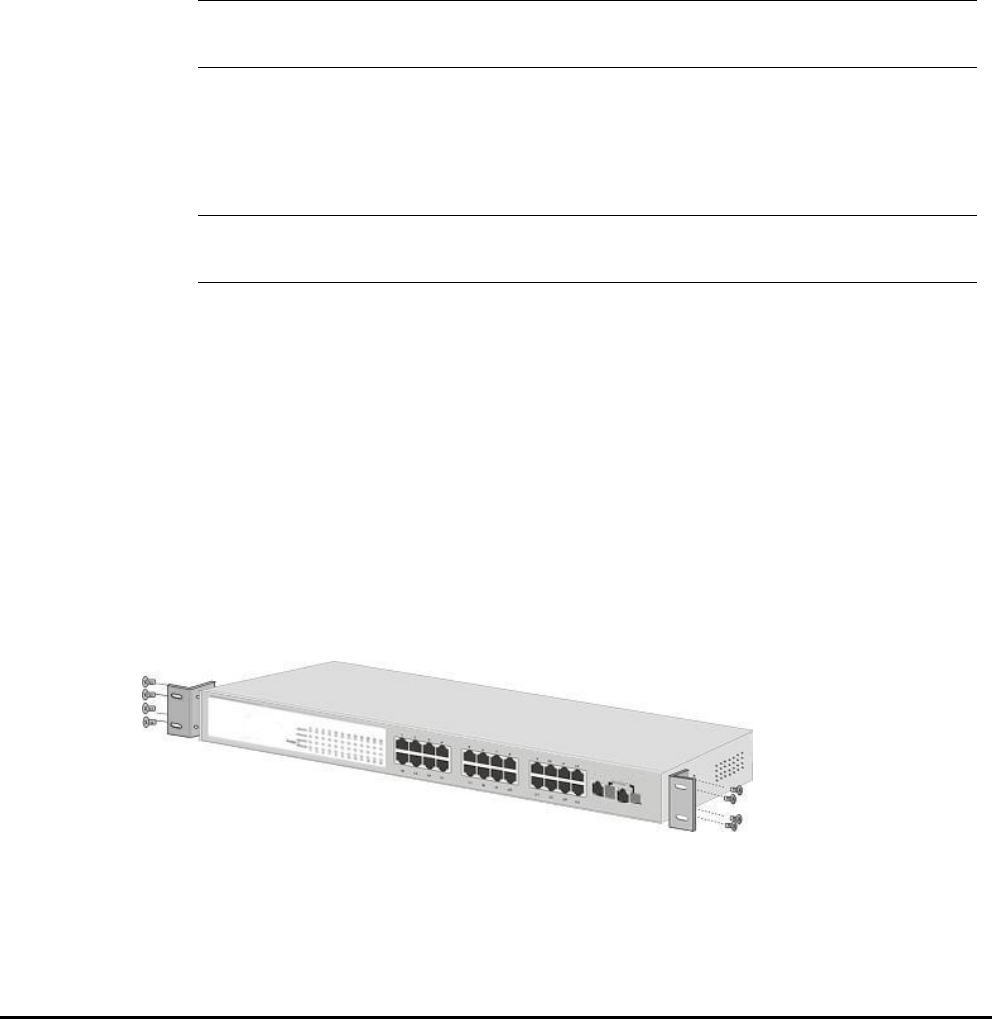
2.3.2 Rack Mounting
T
Step 1: Place your Web Sma
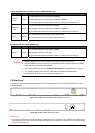
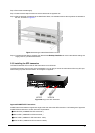
Step 2: Attach a rack-mount bracket to each side of the Web Smart Switch with supplied screws attache
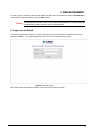
Figure 2-6 shows how to attach brackets to one side of the Web Smart Switch.
Figure 2-6 Attaching the brackets to the Web Smart Switch
Caution:
must use the screws su rts by using incorrect screws
ould invalidate your warranty.
You
w
pplied with the mounting brackets. Damage caused to the pa