Sending Scan Files by E-mail
26
2
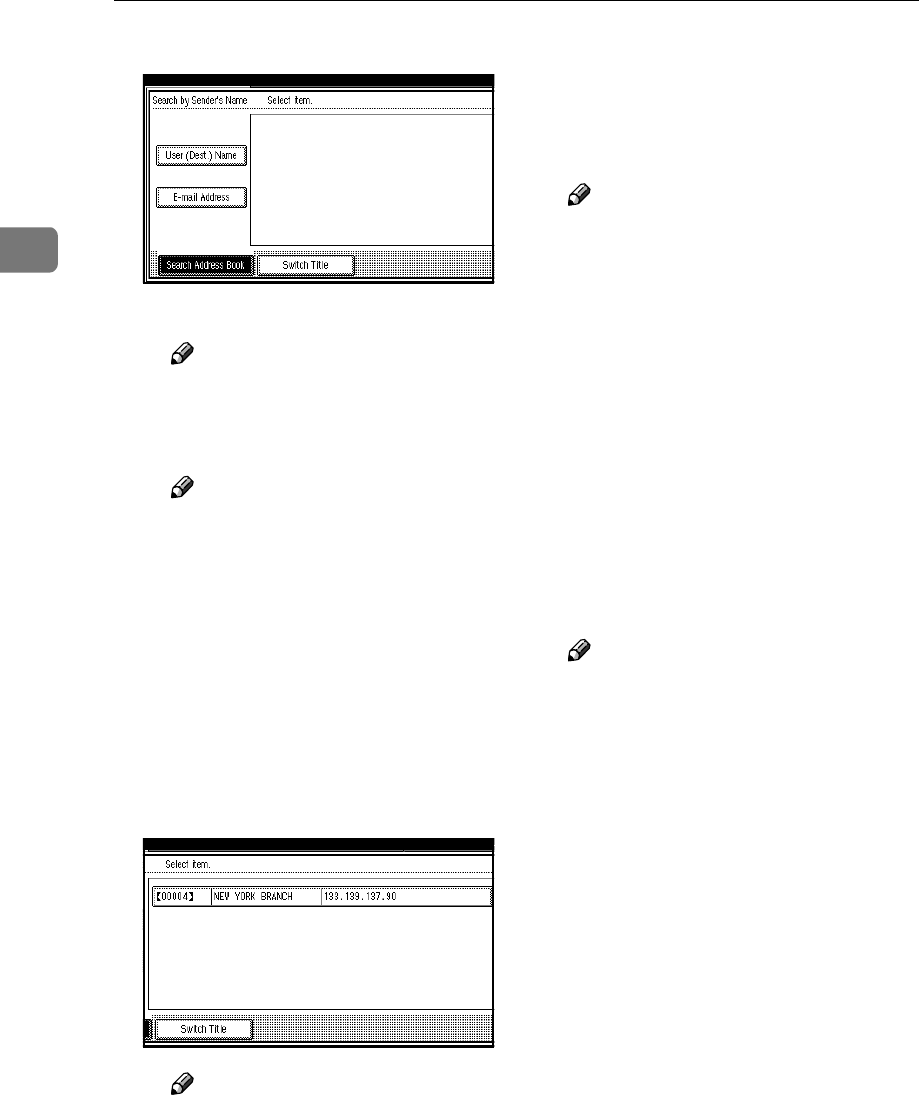
C Press [User (Dest.) Name].
The soft keyboard appears.
Note
❒ To search for an e-mail ad-
dress, press [E-mail Address].
D Enter part of the sender name.
Note
❒ Enter the first character or
characters of the sender name.
❒ It is also possible to perform
a combined search using [Us-
er (Dest.) Name] and [E-mail Ad-
dress].
❒ It is necessary to differentiate
between uppercase and low-
ercase letters.
E Press [OK].
F Select the sender.
Note
❒
When a protection code has
been set, a screen for entering
the protection code appears af-
ter selecting the sender. Enter
the protection code, and then
press [
OK
]. If the protection
code you entered is correct, the
sender name is highlighted.
G Press [Exit].
H Press [OK].
J
JJ
J
For a reception confirmation e-mail,
press [Return Receipt].
Note
❒ To use [Return Receipt] you must:
• Log on as a user
• Specify the sender in Step
I
❒ When [Return Receipt] is select-
ed, an e-mail notifying that the
e-mail has been read by the des-
tination party is sent to the
sender selected here. However,
if the mailing software used by
the destination party does not
support MDN (Message Dispo-
sition Notification), the e-mail
may not be sent.
K
KK
K
Specify a subject if necessary.
Note
❒ To specify a subject, you can se-
lect it from the list, enter it di-
rectly, or combine selecting and
entering it.
❒ For details about the maximum
number of characters that can
be entered, see p.112 “E-mail”.
❒ When a subject has been speci-
fied, this information is added
to the scan file. The subject is au-
tomatically placed in the subject
field of the e-mail.
❒ The subjects that can be selected
from the list must be registered
in [System Settings] in advance.
See Network Guide.
The procedure to specify the sub-
ject “[Urgent] New product appear-
ance” is explained as an example
here.
A Press [Subject / Message].
