


32
2. Creating 3D Data
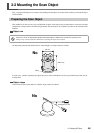
2-3 Performing Scanning
Once you have mounted the object of the machine, you can now perform scanning.
Before you start scanning, make sure the door is closed and turn on the machine.
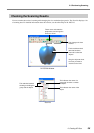
Basic Scanning
This is the scanning that you perform first after mounting the scan object. The scanning data obtained by executing basic
scanning makes possible a wide variety of operations.
Procedure
1
Start Dr.PICZA3.
From the [Start] menu, choose [All programs (or Programs)], then [Roland
Dr.PICZA3], then [Dr.PICZA3].
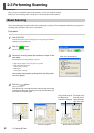
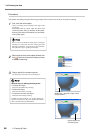
2
Click the [ ] button.
The [Scan] dialog box appears.
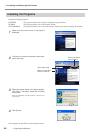
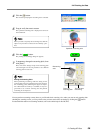
3
Choose the scanning mode that matches the shape of the
scan object.
The [Settings for Scanning] dialog box appears.
• Object whose shape is close to a sphere or cylinder
• Object with little unevenness
Choose rotary scanning.
• Other object
Choose plane scanning.
You normally choose plane scanning, which has little restric-
tions as to shape.
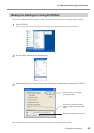
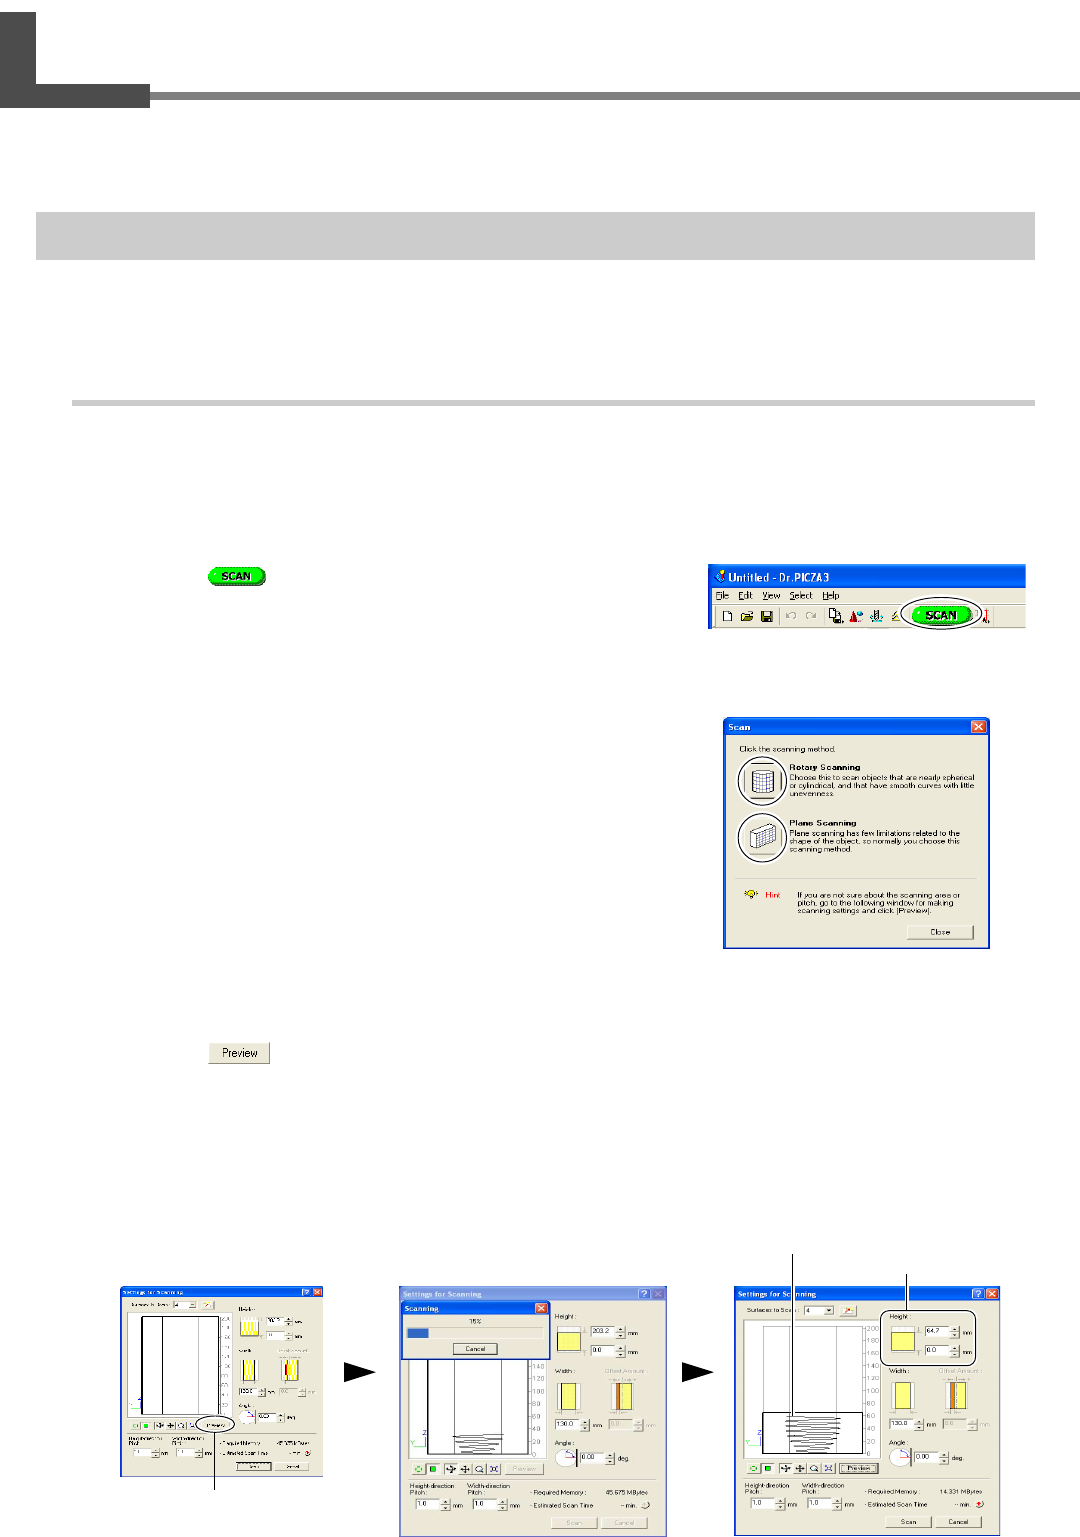
4
Click the [ ] button.
The preview starts.
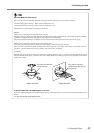
From this point on, never open the door until scanning ends. Doing
so switches off the power. Scanning cannot be resumed when you
then switch on the power again.
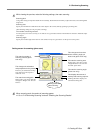
Click one of these buttons.
Click
Preview in progress After preview has finished
The general shape of
the object to be
scanned is displayed.
The height of the
scanning area is
setting automati-
cally at this time.