


Network Camera (Wired LAN) Settings
2 Wired LAN Settings
Once the plug-in software has been installed, use the computer’s web browser to access the camera.
Note: The network camera handles large volumes of image data that has been compressed into
JPEG2000 format. In order to provide smooth access to the camera, you should close any other
applications that you do not need to have open.
1
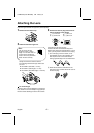
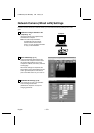
Use an Ethernet cable to connect the
camera and the computer.
Refer to “Basic connections” in the
“Connections” section.
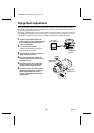
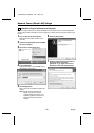
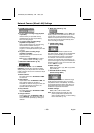
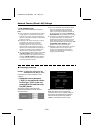
2
Click on the Network Connections icon in
the computer’s Control panel, and then
make the Internet protocol settings (IP
address and subnet mask) for the
computer.
•
IP address setting:
The camera’s IP address is set to
“192.168.0.2”, so type in a spare number
that is 3 or higher for the IP address.
Example: “192.168.0.101”
•
Subnet mask setting:
Type in “255.255.255.0”.
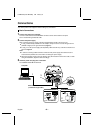
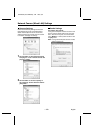
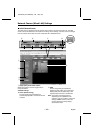
3
Start the web browser on the computer,
type “http://192.168.0.2/” into the location
bar and then press the [Enter] key.
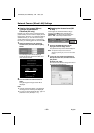
The password entry window will be displayed.
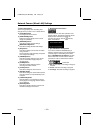
4
Type in the username (ID3) and the
password (3333), and then click the [OK]
button.
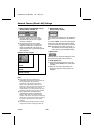
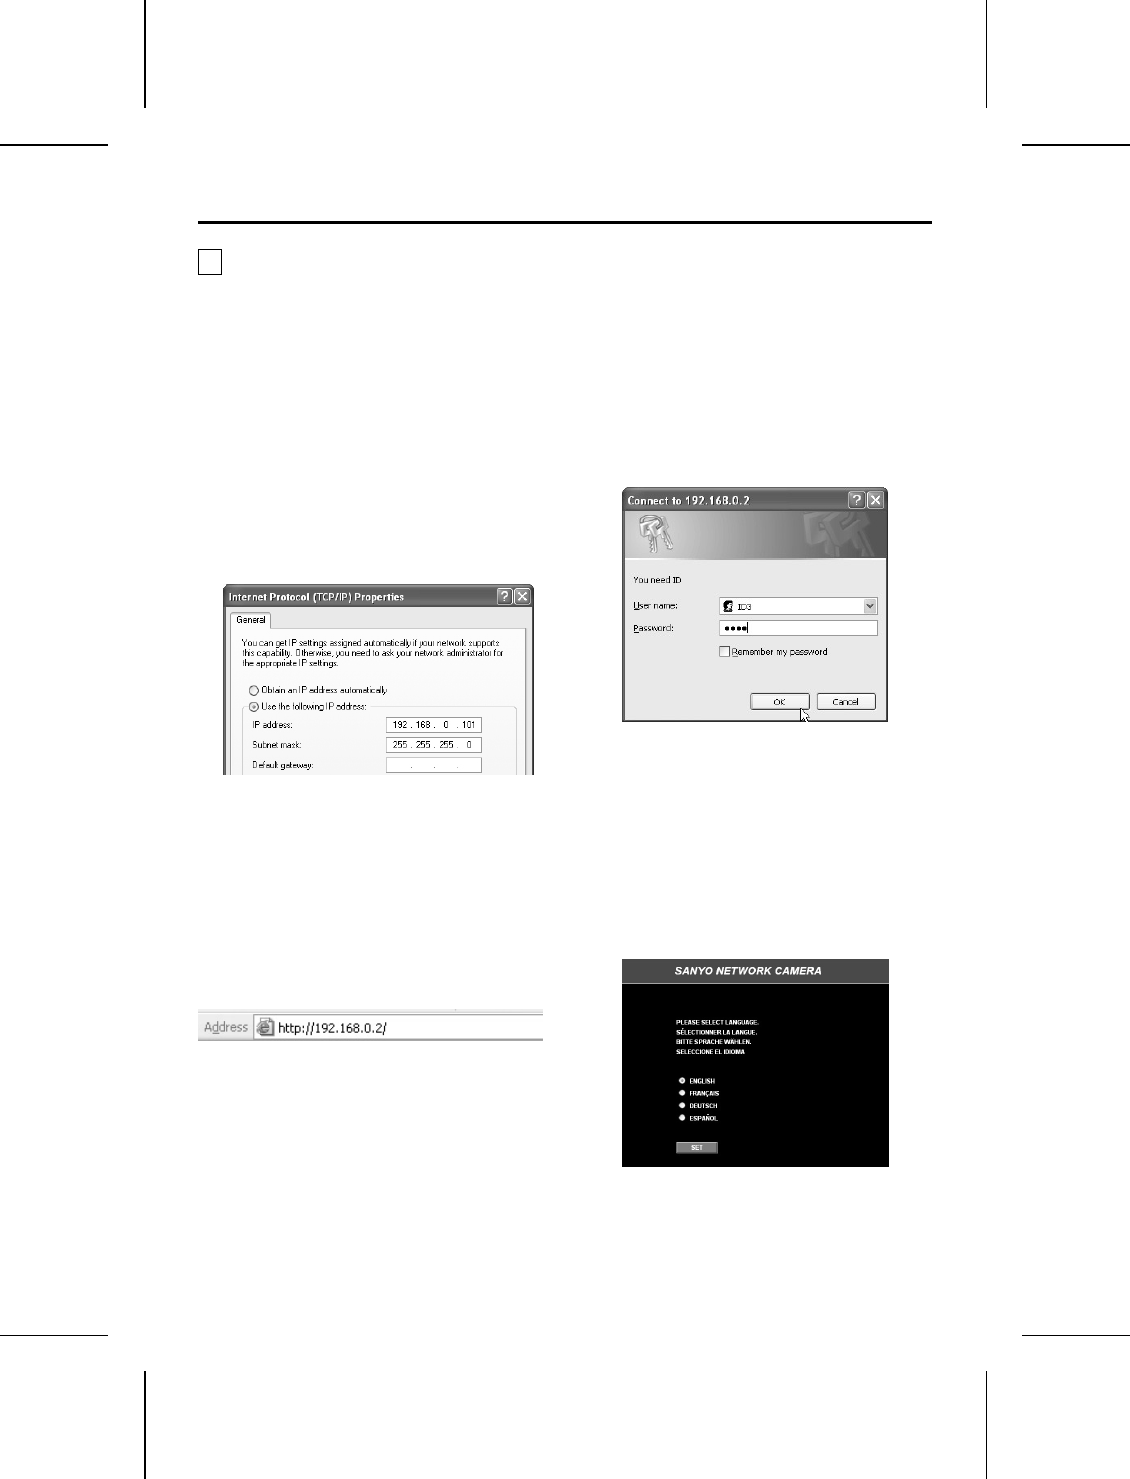
The language selection window will be
displayed.
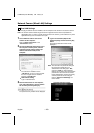
Note: The username and password settings in
this screen are initially set to the
Administrator level settings (ID: “ID3”;
password: “3333”) so that all required
settings can be made. There are separate
passwords for each of the three access
levels (Administrator, Operator and User),
and the passwords can be changed.
Refer to “Access Level Settings” for
further details.
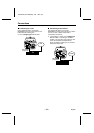
Language selection window
The initial screen will be displayed.
L5AM2/US (VCC-WB4000) GB 2003, 6, 6
English
– 15 –