


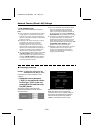

CAMERA Settings
☞
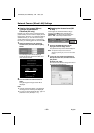
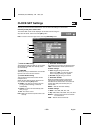
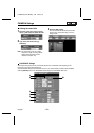
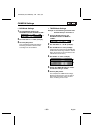
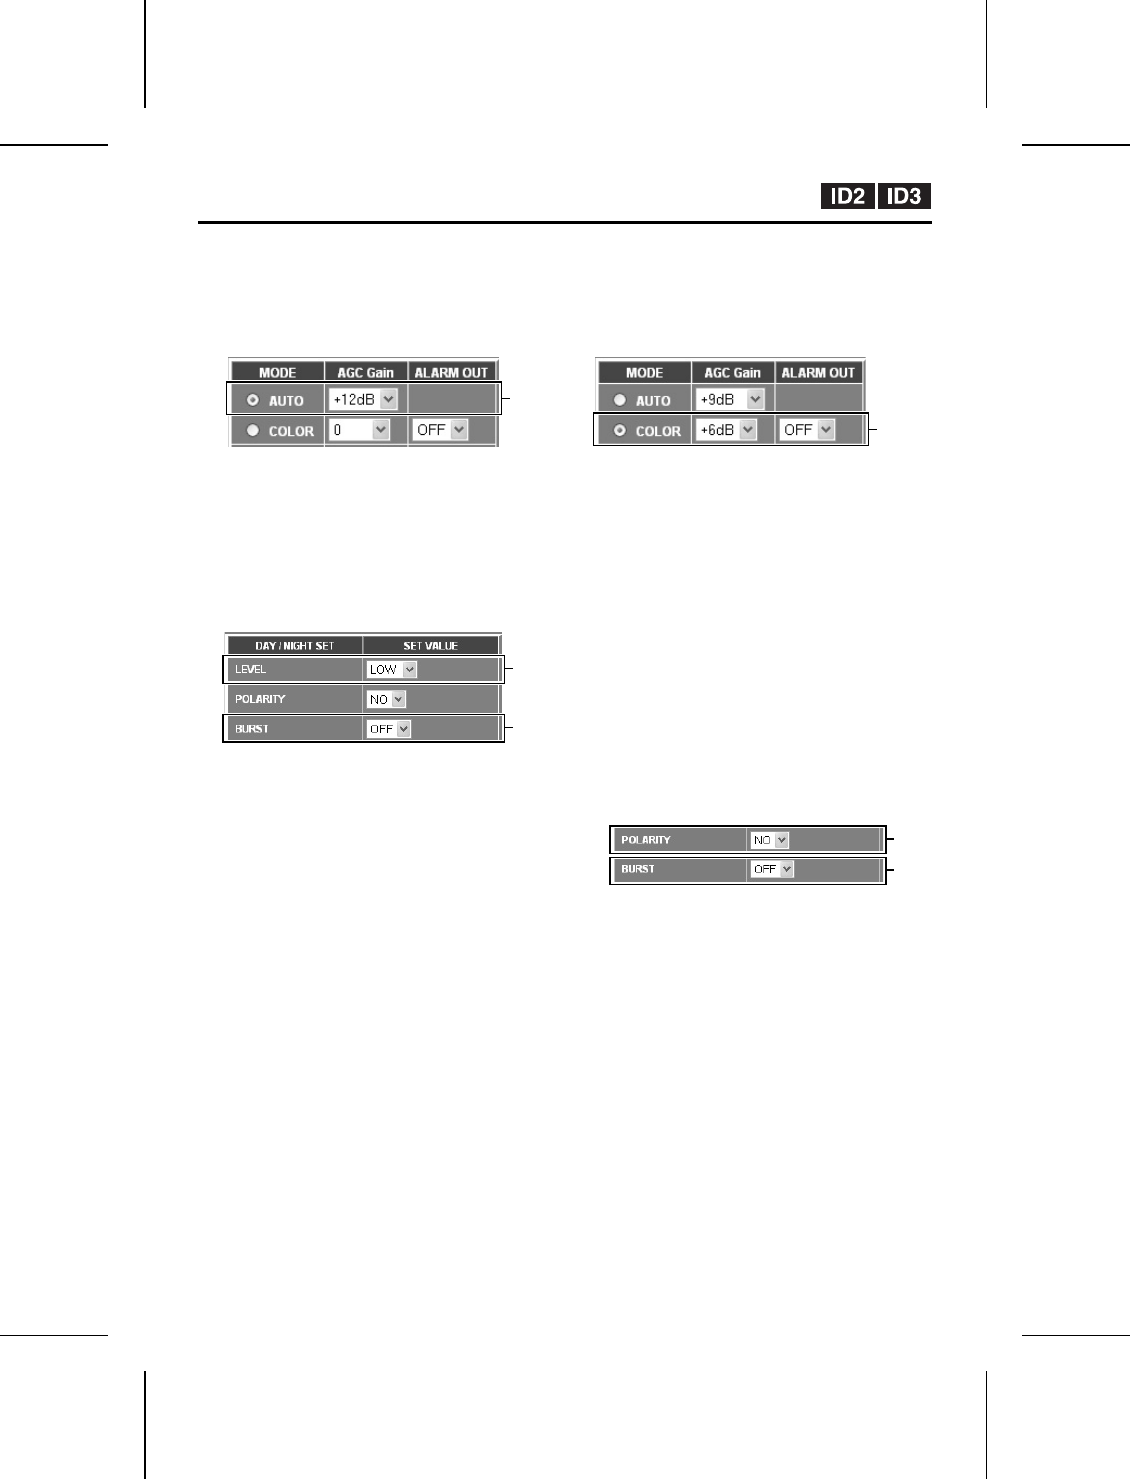
AUTO Mode Settings
1
Click the [DETAIL] button in the
DAY/NIGHT field and set MODE to
“AUTO”.
2
Set “AGC Gain” to “+12 dB” (example).
3
Set “LEVEL” to “LOW” (example).
The switching level for changing between
color and black & white can be set to one of
three levels: LOW, MID and HIGH.
4
Set “BURST” to “OFF” (example).
5
Click the [SET] button.
This completes the AUTO mode settings.
Monitoring will switch between color and
black & white according to the set conditions.
☞
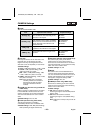
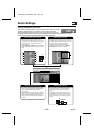
COLOR Mode Settings
1
Click the [DETAIL] button in the
DAY/NIGHT field and set MODE to
“COLOR”.
2
Set “AGC Gain” to “+6 dB” (example).
3
Set “ALARM OUT” to “NO” (example).
A signal can be output from the ALARM OUT
terminal when monitoring switches to black &
white. (An IR lamp can be connected so that
it illuminates at such times.)
4
Set “POLARITY” to “NO” (example).
The D/N IN terminal at the rear of the camera
can be used to forcibly switch monitoring
from color to black & white.
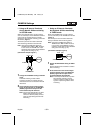
•
NO (Normal open): Normally open, so
that when closed, monitoring switches
between color and black & white.
•
NC (Normal close): Normally closed, so
that when opened, monitoring switches
between color and black & white.
Note: Color/black & white switching settings
are applied when the DAY/NIGHT SET
screen is closed.
5
Set “BURST” to “OFF” (example).
6
Click the [SET] button.
This completes the COLOR mode settings.
Monitoring will switch from color to black &
white according to the set conditions.
1,2
3
4
1,2,3
4
5
L5AM2/US (VCC-WB4000) GB 2003, 6, 6
English
– 29 –