


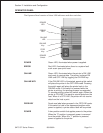


OFFSET
There are three offset setting stored in the printer; one for Dispense mode, one for
the Cut mode and one for the Tear-Off mode. These three offsets can be set
independently for each job using the <ESC>PO Pitch Offset command and will
remain in the printer until a new command is received changing the setting or until
power is turned off. The <ESC>PG Printer Setting command can be used to change
the default settings of the printer. The default setting will always be active after
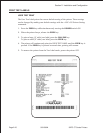
power to the printer is cycled. The default settings can be determined by printing a
User Test Label or displayed by the Printer Configuration Utility Program on the
CD-ROM. Please note that the Printer Configuration Utility Program requires a
bi-directional communications port on a host that is running Windows 9X.
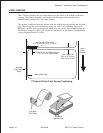
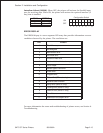
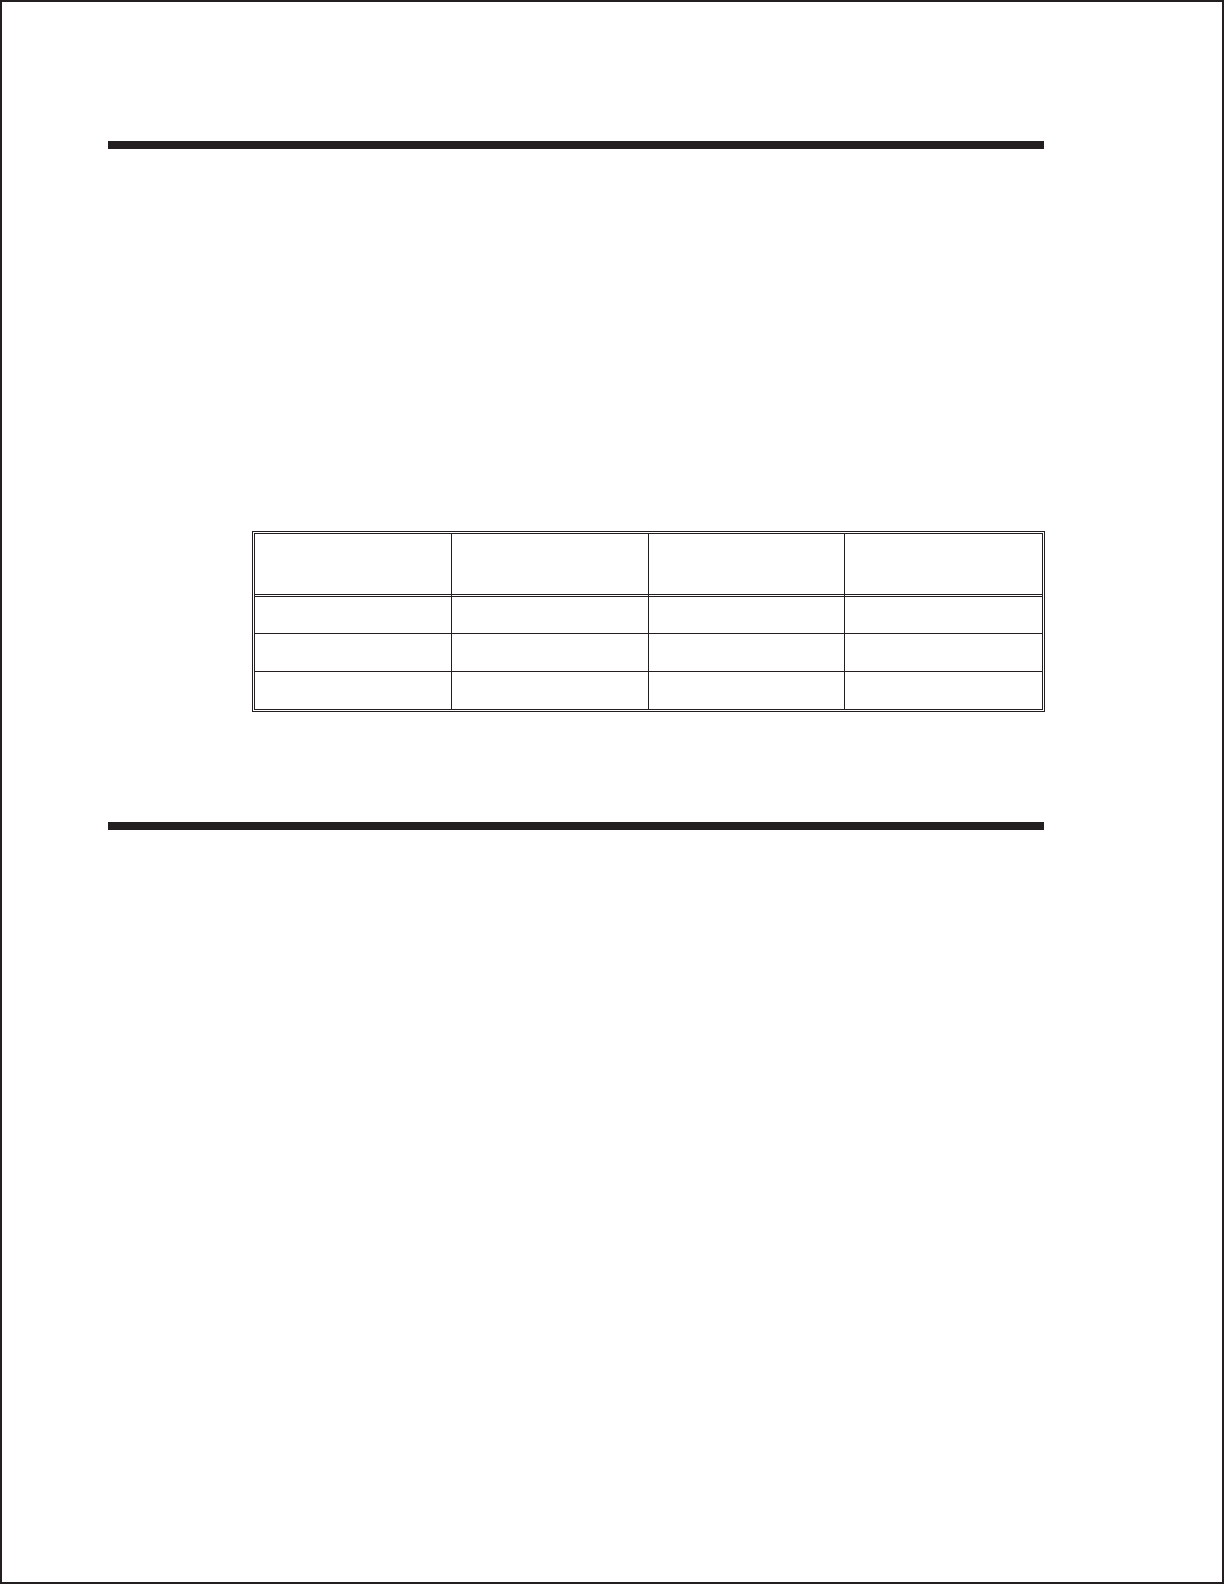
The following should be used as starting points for establishing the three Offset
values:
MODE MILLIMETERS INCHES DOTS
203/305 dpi
CUTTER 17.9 0.70 143/215
DISPENSE 15.2 0.60 122/182
TEAR-OFF 29.2 1.15 234/350
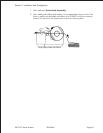
POTENTOMETER ADJUSTMENTS
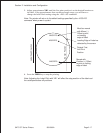
PITCH OFFSET
After the Label Pitch Offset has been set using the <ESC>PO Pitch Offset command,it
is sometimes desirabel to make minor adjustments. This can be done using the VR1
potentiomenter on the Configuration Panel. This potentiometer is set at the factory so
that it has a range of +/-3.75 mm. The midpoint setting should have no effect on the
label pitch. Turning the potentiometer all the way clockwise should move the print
position 3.75 mm upwards towards the leading edge of the label. Turning the it all
the way counterclockwise should move the print position down 3.75mm away from
the leading edge of the label.
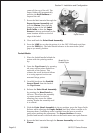
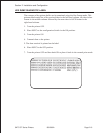
1 Place DSW6 on the Configuration Switch in the OFF position.
2. Turn the Power Switch OFF.
3. While pressing the FEED key on the Operator Panel, turn the Power Switch ON.
4. When you hear one beep from the printer, release the FEED key .
5. Press the LINE key to begin printing large Test Labels (press the FEED key if you
are using labels smaller than 4.1" (104 mm) in width).
Section 2. Installation and Configuration
Page 2-169001069A SATOCTSeriesPrinters