


49
TROUBLESHOOTING
5
PRINTING AND SCANNING PROBLEMS
In addition to this section, troubleshooting information can also be found in the README files for each of the
software programs. To view a README file, see the "Software Setup Guide".
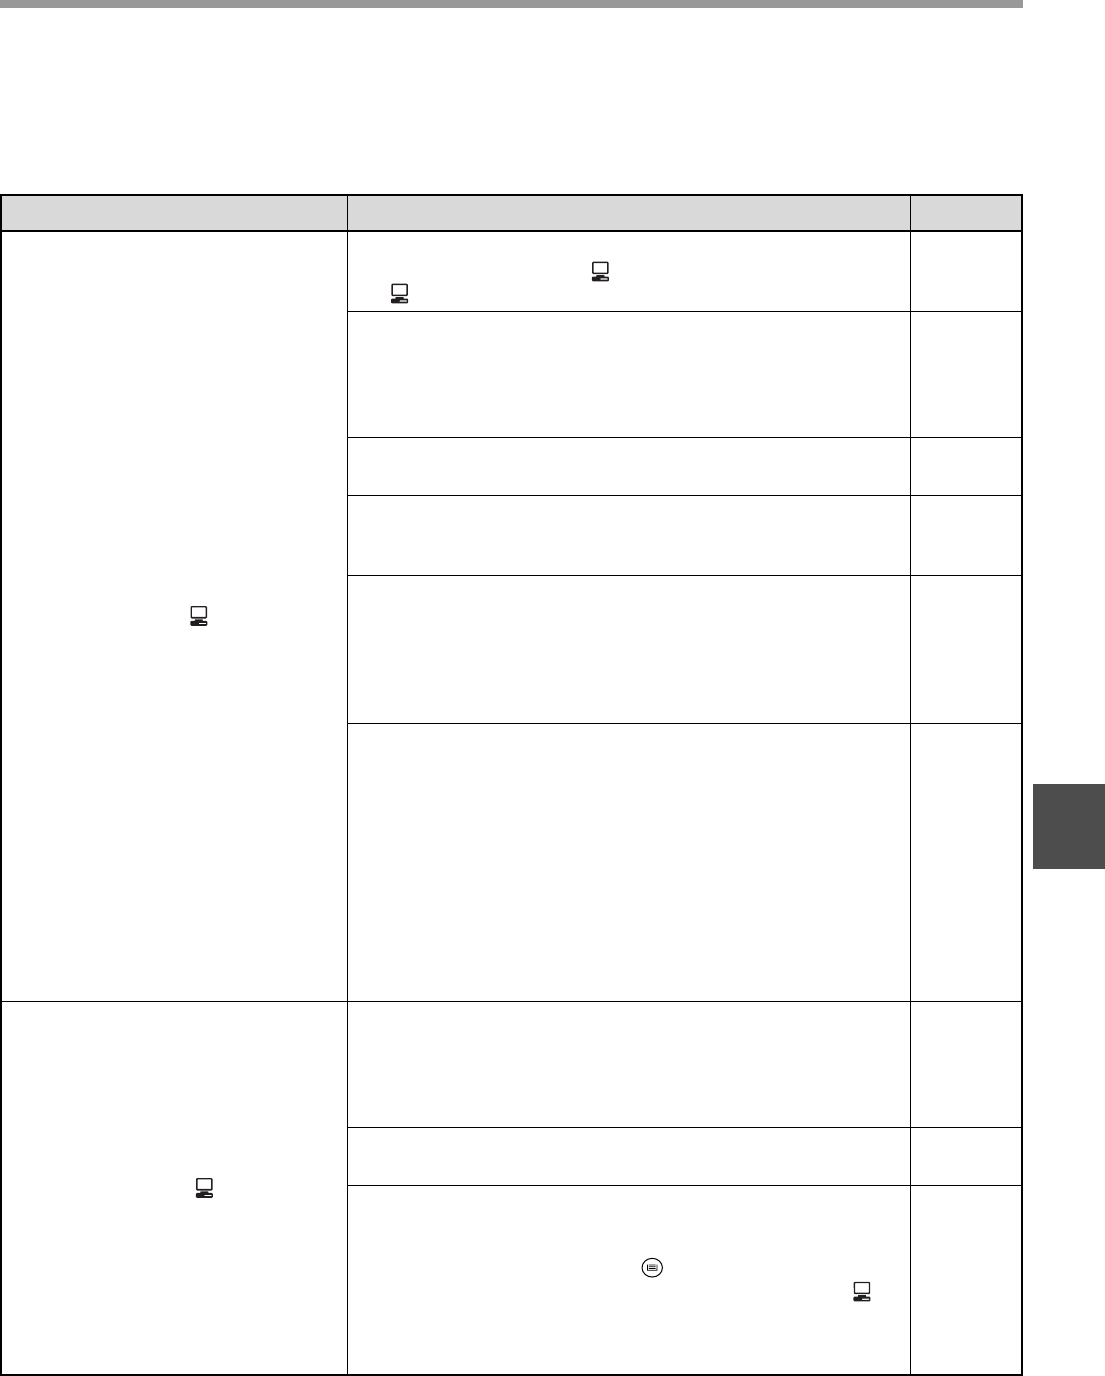
Problem Cause and solution Page
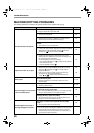
The machine does not print.
(ON LINE indicator ( ) does not
blink.)
The machine is set to off-line mode.
→ Press the [ON LINE] key ( ) to turn on the ON LINE indicator
().
32
The machine is not correctly connected with your
computer.
→ Check both ends of the printer cable and make sure you have a
solid connection. Try a known good cable. For information on
cables, see "SPECIFICATIONS".
71
Copy job is performed.
→ Wait until the copy job is complete.
–
The port setting is not correct.
→ Printing is not possible if the printer driver port setting is not
correct. Set the port correctly.
Software
Setup
Guide
Your machine is not selected correctly in the current
application for the print job.
→ When choosing "Print" from the "File" menu located in
applications, be sure you have selected "SHARP AL-XXXX"
(where XXXX is the model name of your machine) printer
displayed in the "Print" dialog box.
–
The printer driver has not been installed properly.
→ Follow these steps to check and see if the printer driver is
installed.
1 Click the "start" button, click "Control Panel", click "Printers
and Other Hardware", and then click "Printers and Faxes".
(On Windows 95/98/Me/NT 4.0/2000, click the "Start" button,
select "Settings" and then click "Printers".)
2 The "SHARP AL-XXXX" printer driver icon is not shown
(where XXXX is the model name of your machine).
3 If the icon is shown but you still cannot print, the printer driver
may not have been installed correctly. In this case, delete
AL-1633/1644 Software and then reinstall it.
–
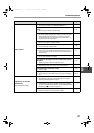
The machine does not print.
(ON LINE indicator ( ) was
blinking.)
The tray size settings are not the same on the machine
and in the printer driver.
→ Make sure that the same tray paper size is set on the machine
and in the printer driver. To change the tray paper size setting in
the printer driver, see the Software Setup Guide.
19
Software
Setup
Guide
The specified size of paper has not been loaded.
→ Load the specified size of paper in the paper tray.
17
The PAPER SIZE indicator is blinking.
→ When "Use close paper size (user program)" is disabled, the
PAPER SIZE indicator on the operation panel will blink. You can
press the [TRAY SELECT] key ( ) to select a tray manually, or
load paper in the bypass tray and press the [ON LINE] key ( ) to
begin printing.
→ When "Use close paper size" is enabled, printing will take place
using a size of paper that is close to the size of the print image.
17, 24
–
AL-1633_1644_EX.book 49 ページ 2003年10月23日 木曜日 午後8時21分