


E-17
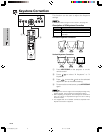
Setup & Connections
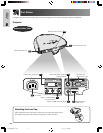
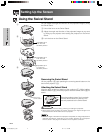
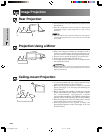
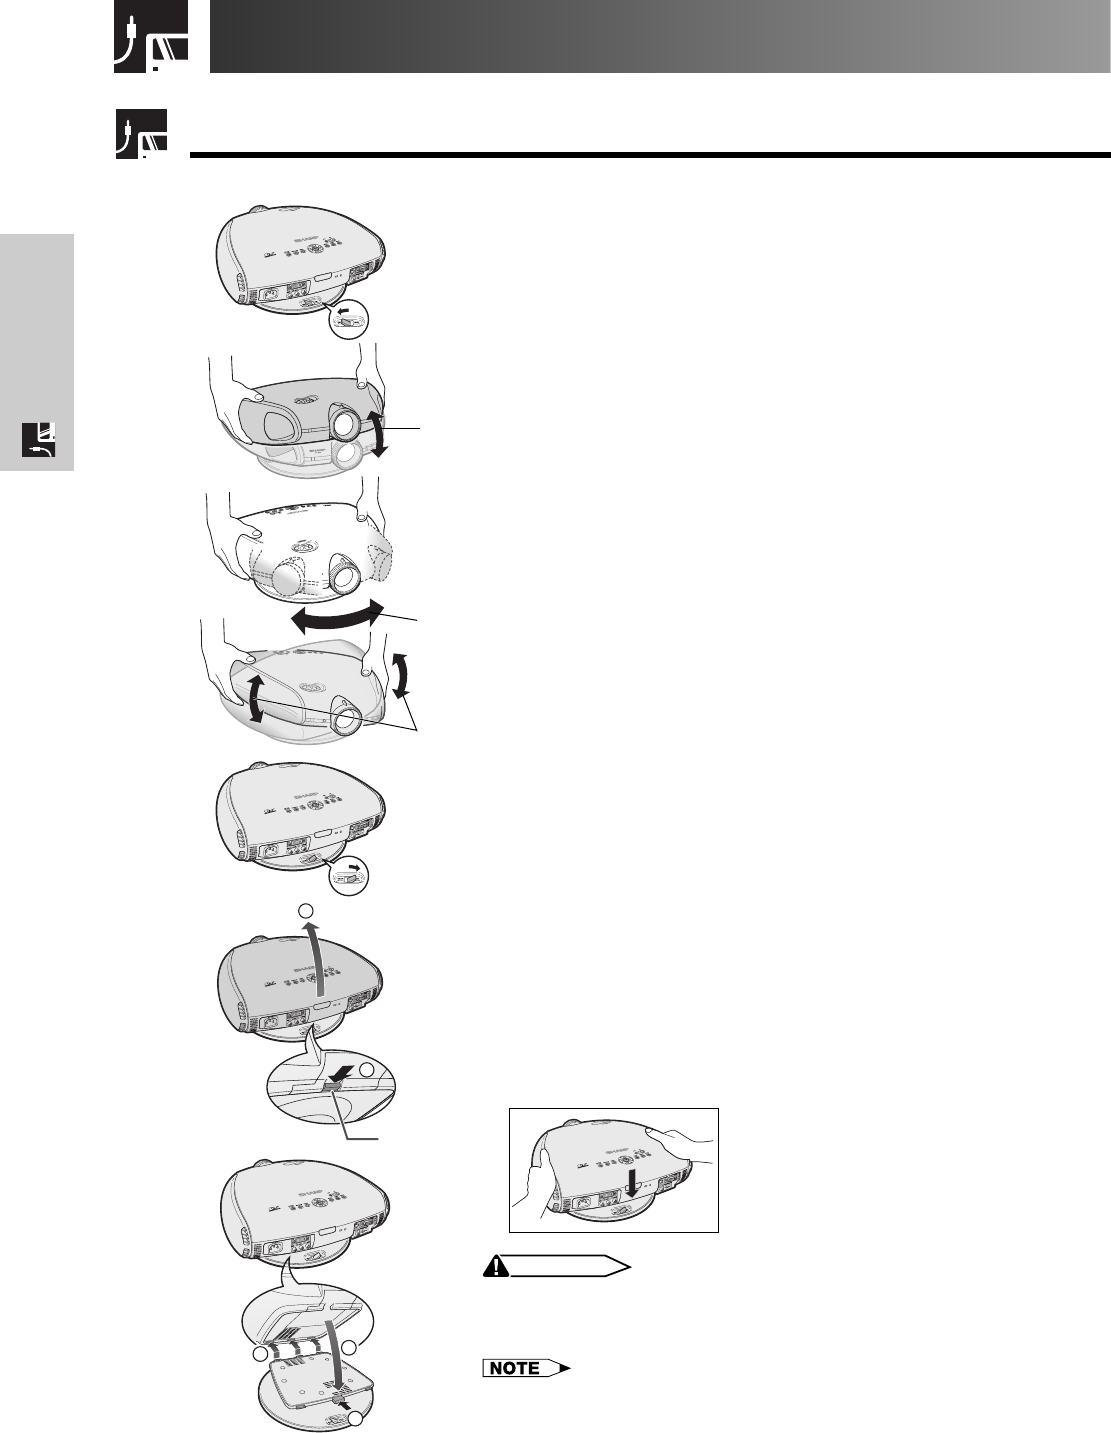
Using the Swivel Stand
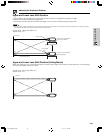
Setting Up the Screen
You can adjust the angle and direction of the projected image by using
the Swivel Stand.
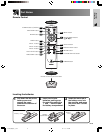
1 Unlock the lever on the Swivel Stand.
2 Adjust the angle and direction of the projected image as you want
by lifting up the projector and rotating the projector on the Swivel
Stand.
3 Lock the lever on the Swivel Stand.
CAUTION
• Do not hold the lens when lifting, lowering or rotating the projector.
• When lowering the projector, be careful not to get your fingers caught in the
area between the Swivel Stand and the projector.
• When the height or direction of the projector is adjusted, the image may become
distorted (keystoned), depending on the relative positions of the projector
and the screen. See page 19 for details on the keystone correction.
1
2
3
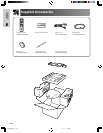
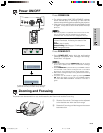
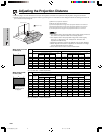
Removing the Swivel Stand
Lift the projector (2) with pressing the removing-stand button on the
back of the projector (1).
Attaching the Swivel Stand
Align the tabs on the front bottom of the projector (1). While holding
down the button (2), place the projector onto the Swivel Stand (3) to
attach.
Press the projector down firmly to attach
it to the Swivel Stand to make sure it is
securely attached to the Swivel Stand.
1
2
Removing-
stand button
1
3
2
Adjustable up to
±10° from the
standard position.
Adjustable up to
±25° from the
standard position.
Adjustable up to
±3° from the
standard position.
DT-200(E)#p15_21.p65 02.11.21, 11:30 AM17