


E-20
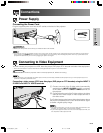
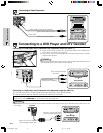
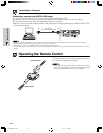
Setup & Connections
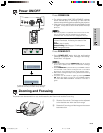
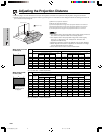
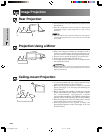
Place the projector at a distance from the screen that allows images to
be projected onto the screen by referring to “Adjusting the Projection
Distance” on pages 21 and 22.
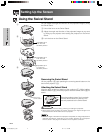
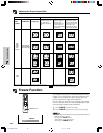
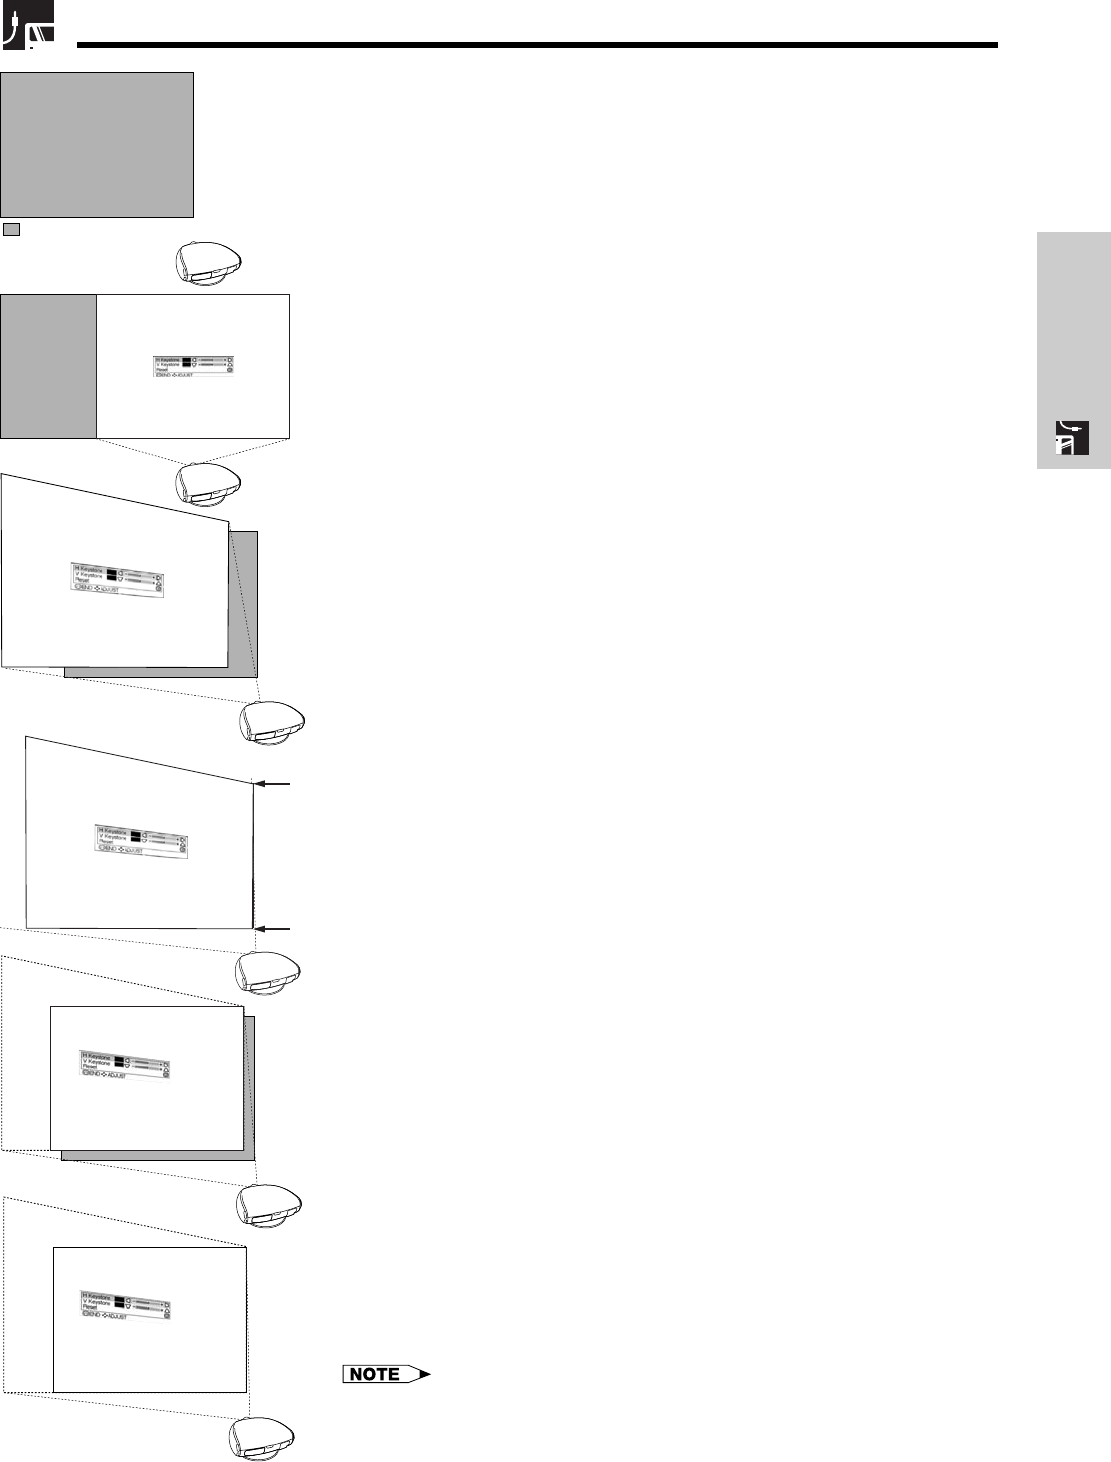
Placement of the Projected Image Using the Keystone Correction
: Screen area
1Project the test pattern of the Keystone correction function onto the
screen. Rotate the Focus ring until the image on the screen becomes
clear. (See page 16.)
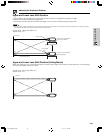
2Change the projection angle using the Swivel Stand to properly
project images onto the screen. (See page 17).
3Align the edge of the screen closest to the projector with the test
pattern by adjusting the zoom and the Swivel Stand. (See pages 16
and 17.)
4Adjust the Keystone function so that the size of the projected image
matches the screen size. (See page 19.)
5Align the image on the screen by adjusting the zoom function and the
Swivel Stand.
6Adjust the focus so that the projected image is in focus at the center
of the screen. (See page 16.)
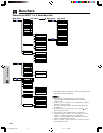
• The aspect ratio of the projected image shifts slightly when the lens
shift is at a position other than the top position.
• The aspect ratio of the projected image also shifts slightly when the “H
Keystone” and “V Keystone” functions are adjusted simultaneously.
DT-200(E)#p15_21.p65 02.11.21, 11:31 AM20