E-26
Basic Operation
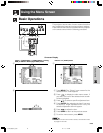
Basic Operations
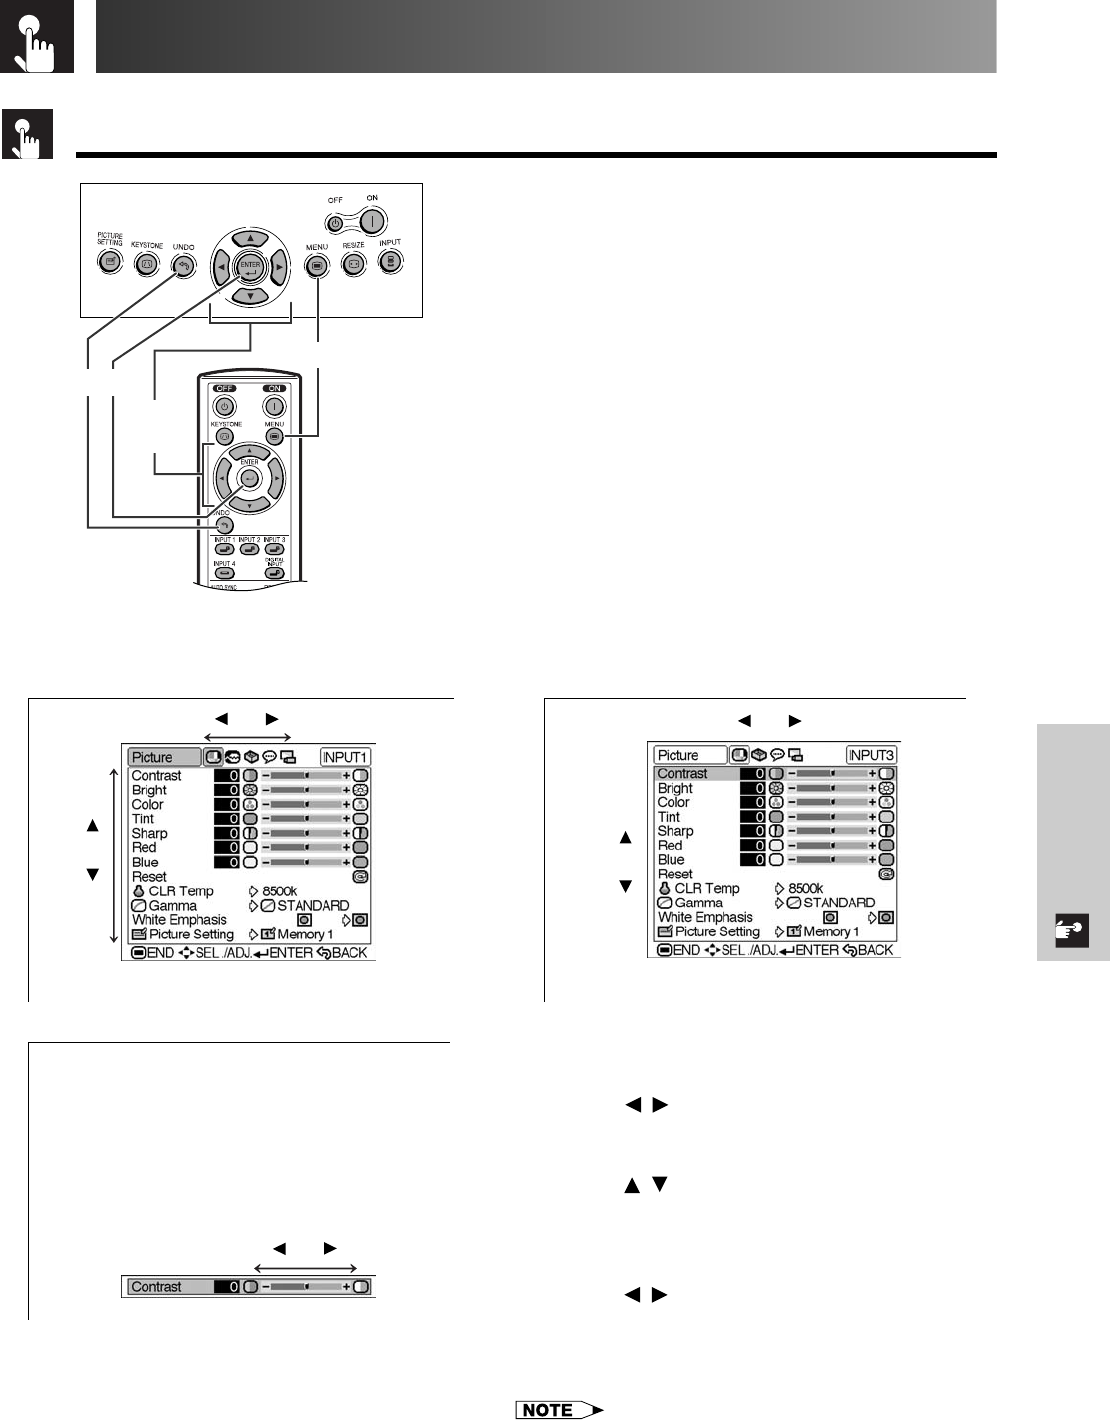
Using the Menu Screen
On-screen Display
1
INPUT 3 or 4 (VIDEO) mode
1
INPUT 1 (COMPONENT), 2 (COMPONENT or analog
RGB) or DIGITAL INPUT (digital RGB) mode
4
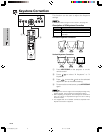
1 Press MENU. The “Picture” menu screen for the
selected INPUT mode appears.
2 Press / to display the other menu screen, if
you want. The icon for the selected menu screen
will be highlighted.
3 Press / to select a specific adjustment item.
4 Press ENTER after selecting the item if you want
to display a single adjustment item. Only the
selected adjustment item will appear.
5 Press / to adjust the item.
6 Press UNDO to return to the previous screen.
7 To exit the menu screen, press MENU.
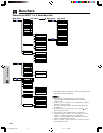
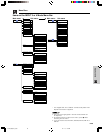
• For details on items on the menu screen, see the tree charts
on pages 27 and 28.
This projector has two sets of menu screens that allow
you to adjust the image and various projector settings.
These menu screens can be operated from the projector
or the remote control with the following procedure.
5
2
3
3
1, 7
2, 3,
5
64
2
DT-200(E)#p26_32.p65 02.11.21, 11:38 AM26


